15 Cute Fall Nail Ideas for a Cozy and Stylish Autumn
Trends & Background
Cute nail art has exploded over the past few years, and fall gives it a whole new set of themes to play with. Think tiny pumpkins, delicate leaves, and warm color palettes that feel like a cozy hug for your hands. Social media has played a huge role in this trend, with simple, charming designs becoming just as popular as elaborate nail art. People are also leaning into “micro nail art,” which means small, delicate details rather than covering the whole nail. Cute fall nails capture that lighthearted, seasonal spirit while still feeling easy enough to try yourself.
How to Pick the Right One for You
The cutest fall nail designs often come down to how much detail you want to commit to. If you’re new to nail art, start with something simple like a single polka dot or a tiny accent design on just one nail. If you love a challenge, more detailed looks like hand-painted leaves or gradients can be really rewarding once you get the hang of them. Your skin’s undertone still matters too, so pick a base color that flatters you before adding any cute details on top. And don’t forget your lifestyle, since delicate art might need more careful upkeep than a simple solid color.
Table of Contents
- Tiny Leaf Accent
- Polka Dot Pumpkin Patch
- Soft Gradient Sunset
- Little Daisy Fall Edition
- Checkerboard Cutie
- Speckled Egg Nails
- Mini French with a Heart
- Swirly Spiral Fun
- Two-Tone Half Moon
- Cozy Plaid Accent
- Dainty Star Scatter
- Ombre Tip with Dots
- Abstract Line Art
- Smiley Face Fun Nail
- Glazed Donut Shimmer
15 Cute Fall Nail Ideas to Try This Season
1. Tiny Leaf Accent For Fall Nails
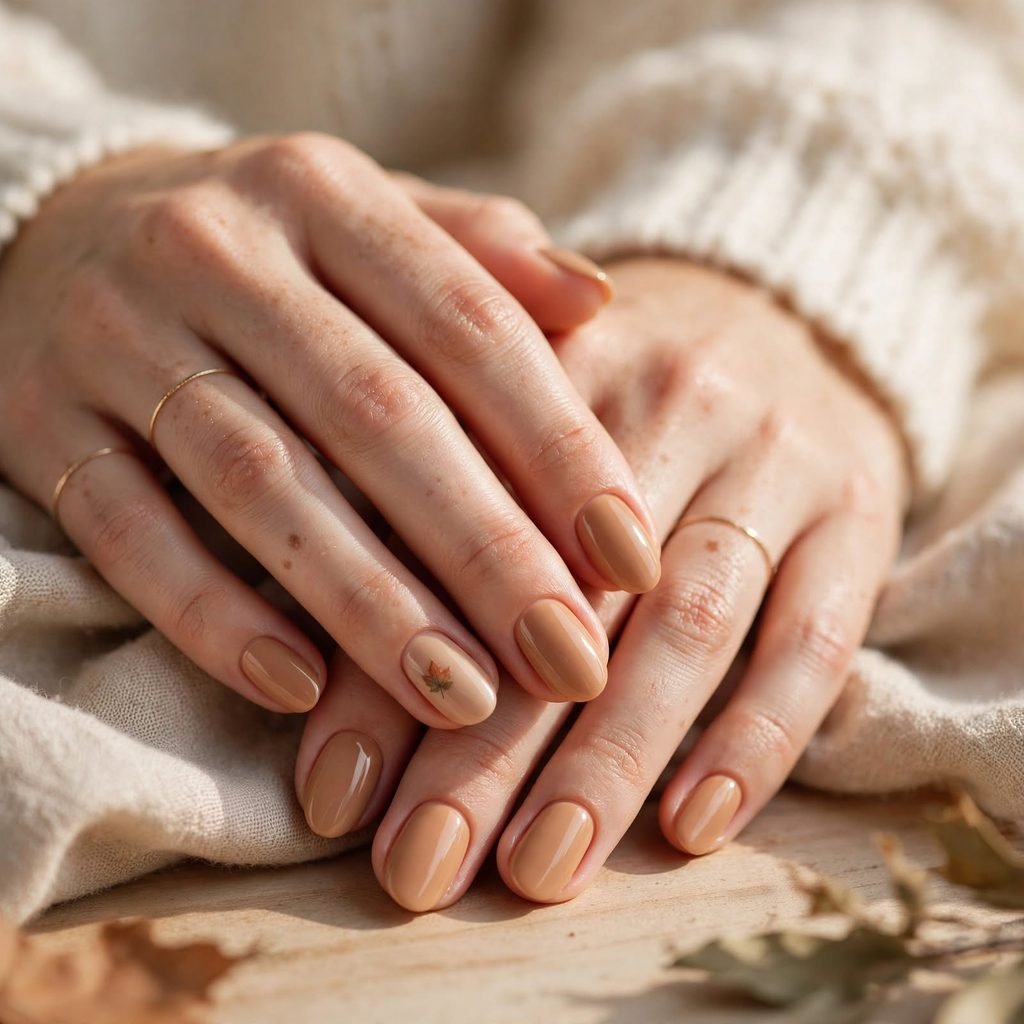
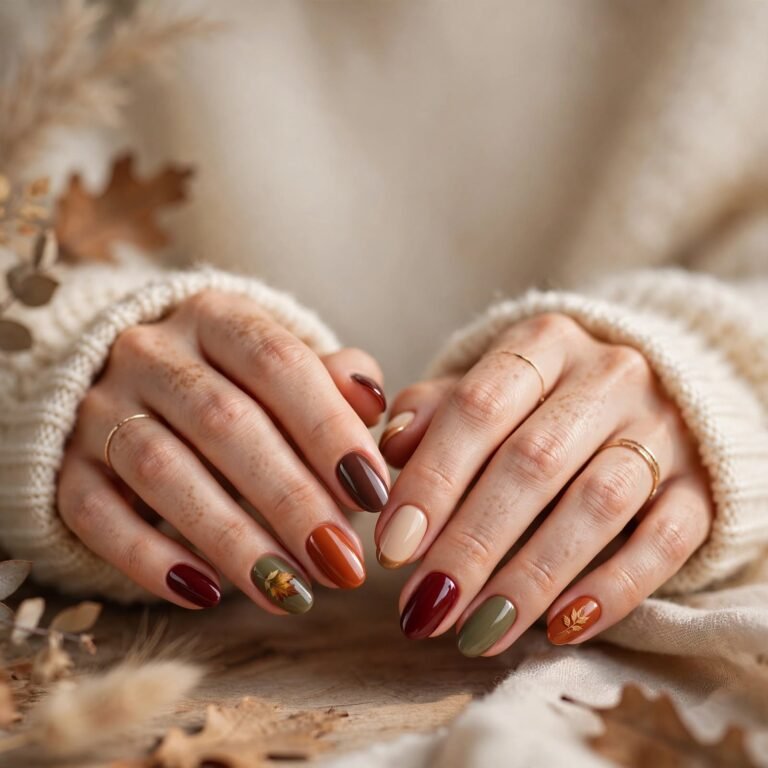
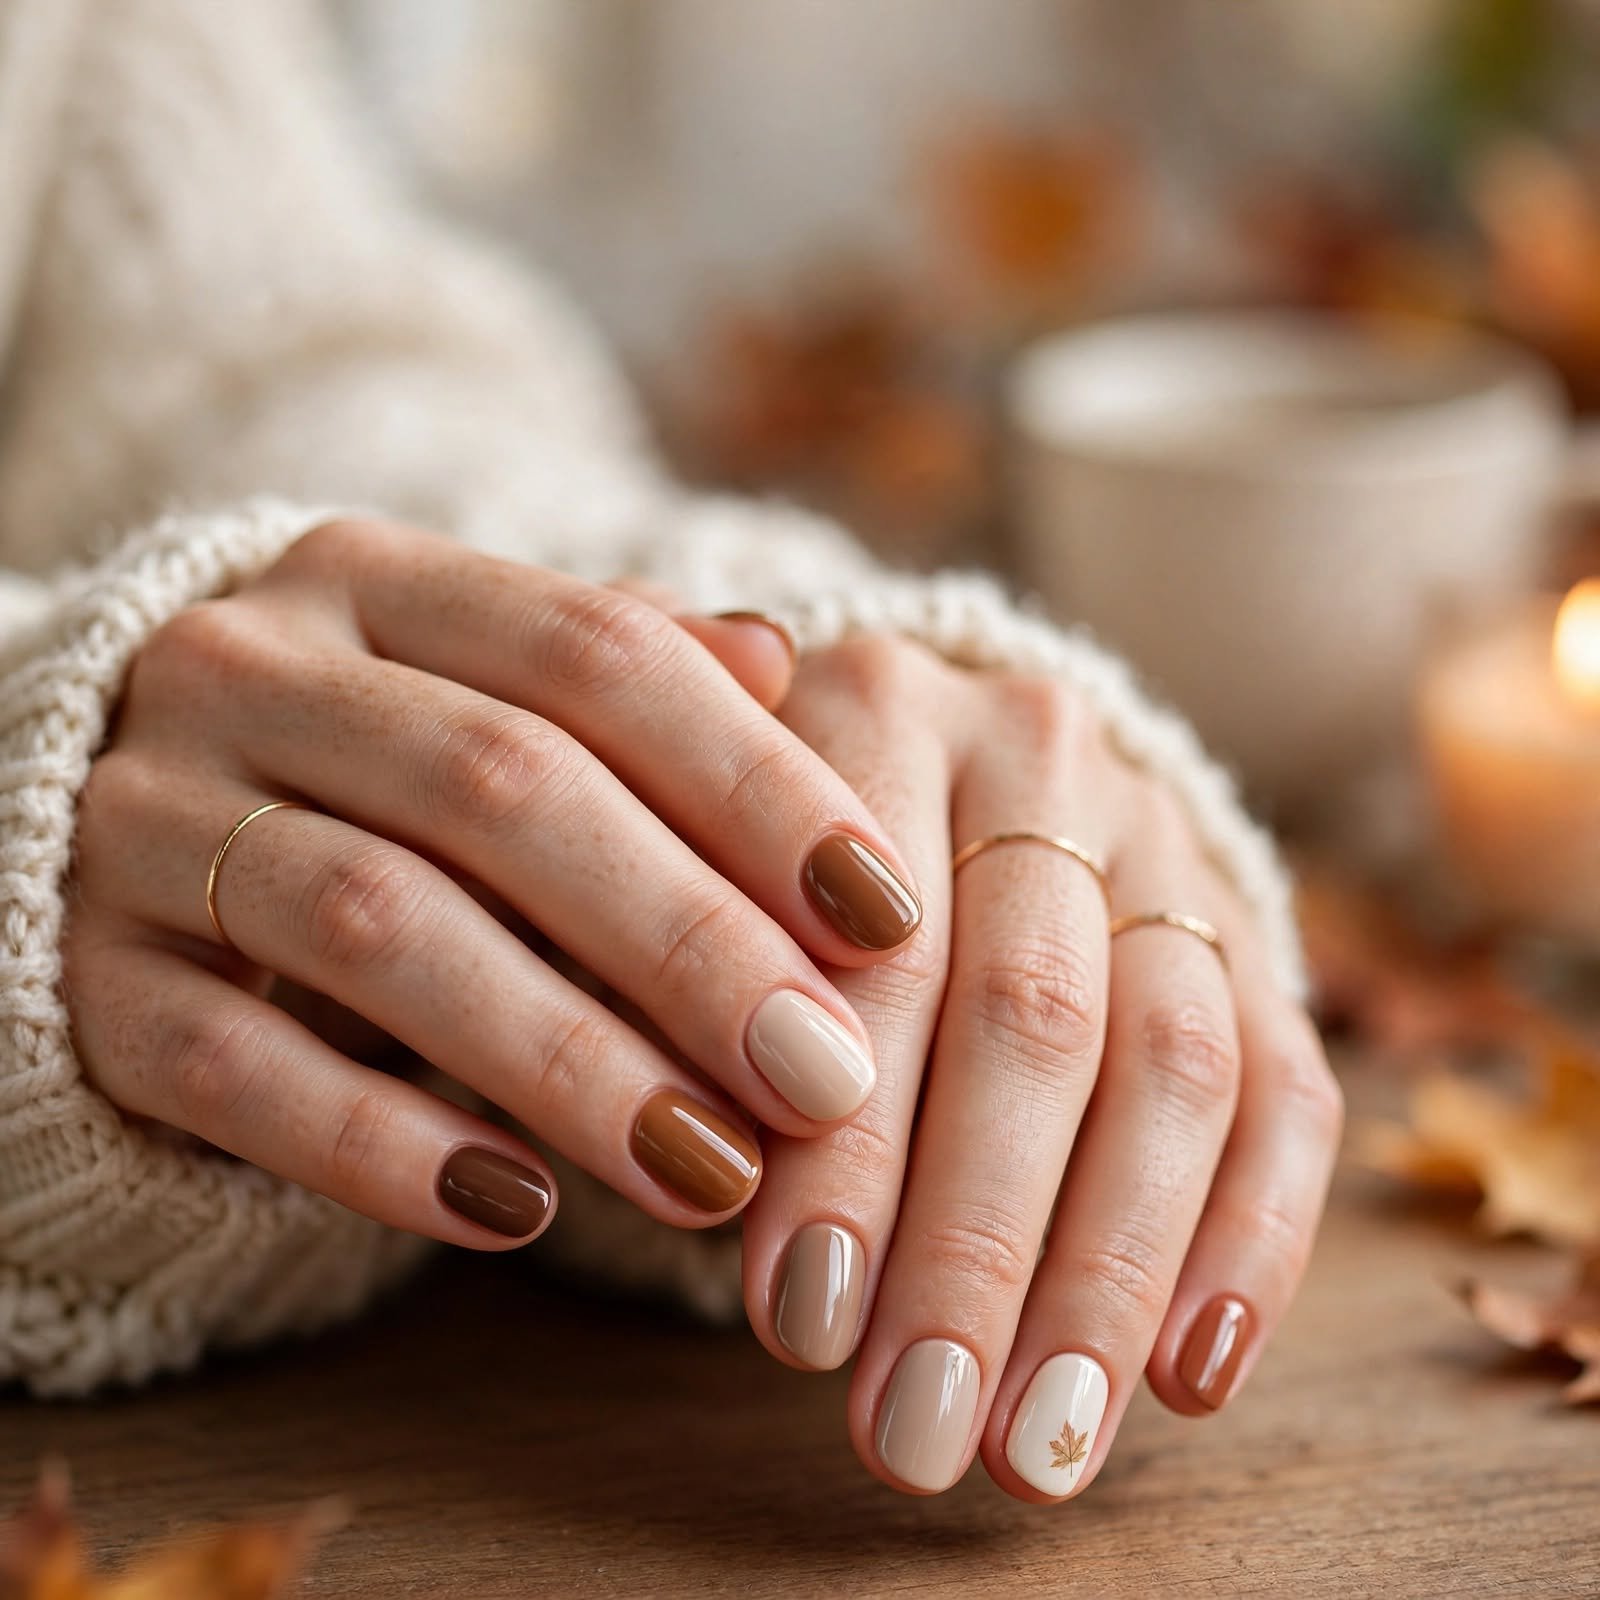
A tiny hand-painted leaf on one or two nails is one of the easiest ways to add a cute, seasonal touch. You can keep the rest of your nails a solid warm color, like caramel or rust, and let the leaf be the star of the show. This design is simple enough for beginners, since you only need a thin brush and a steady hand for one small detail. It instantly makes any manicure feel fall-themed without going overboard. This look is perfect if you want something charming but still easy to wear every day.
Who it suits best: Beginners and anyone who wants subtle nail art without much fuss.
Styling tip: Use a dotting tool or toothpick for the leaf’s tiny veins for extra detail.
2. Polka Dot Pumpkin Patch For Fall Nails
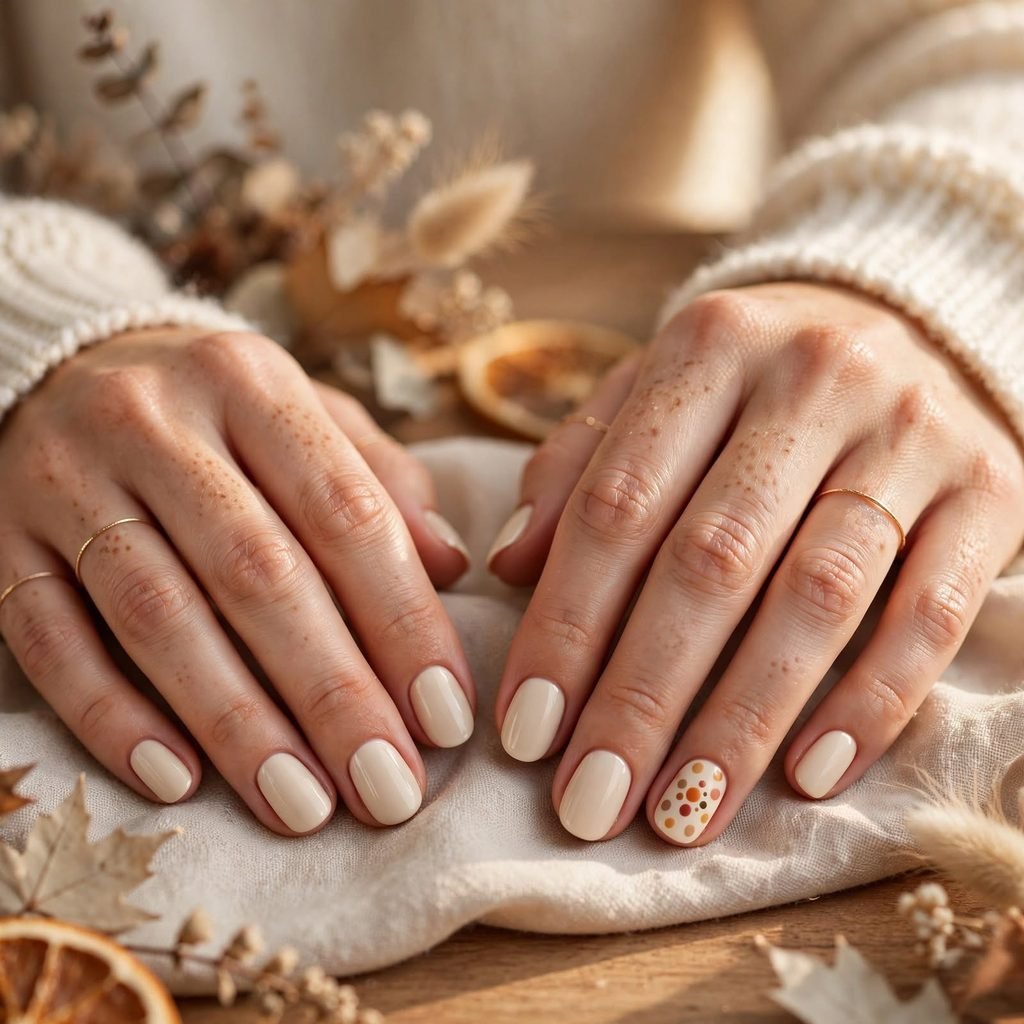
This design uses small orange dots scattered across a cream or beige base to look like a cute little pumpkin patch. It’s playful without being too busy, and it works great as an accent on just one or two nails. The dots are simple to create using a dotting tool or even the round end of a bobby pin. This look feels fun and seasonal, perfect for coffee dates or casual fall outings. It’s an easy way to bring a smile to your manicure without a lot of extra effort.
Who it suits best: Anyone who loves playful, whimsical nail art.
Styling tip: Vary the dot sizes slightly for a more natural, handmade look.
3. Soft Gradient Sunset For Fall Nails
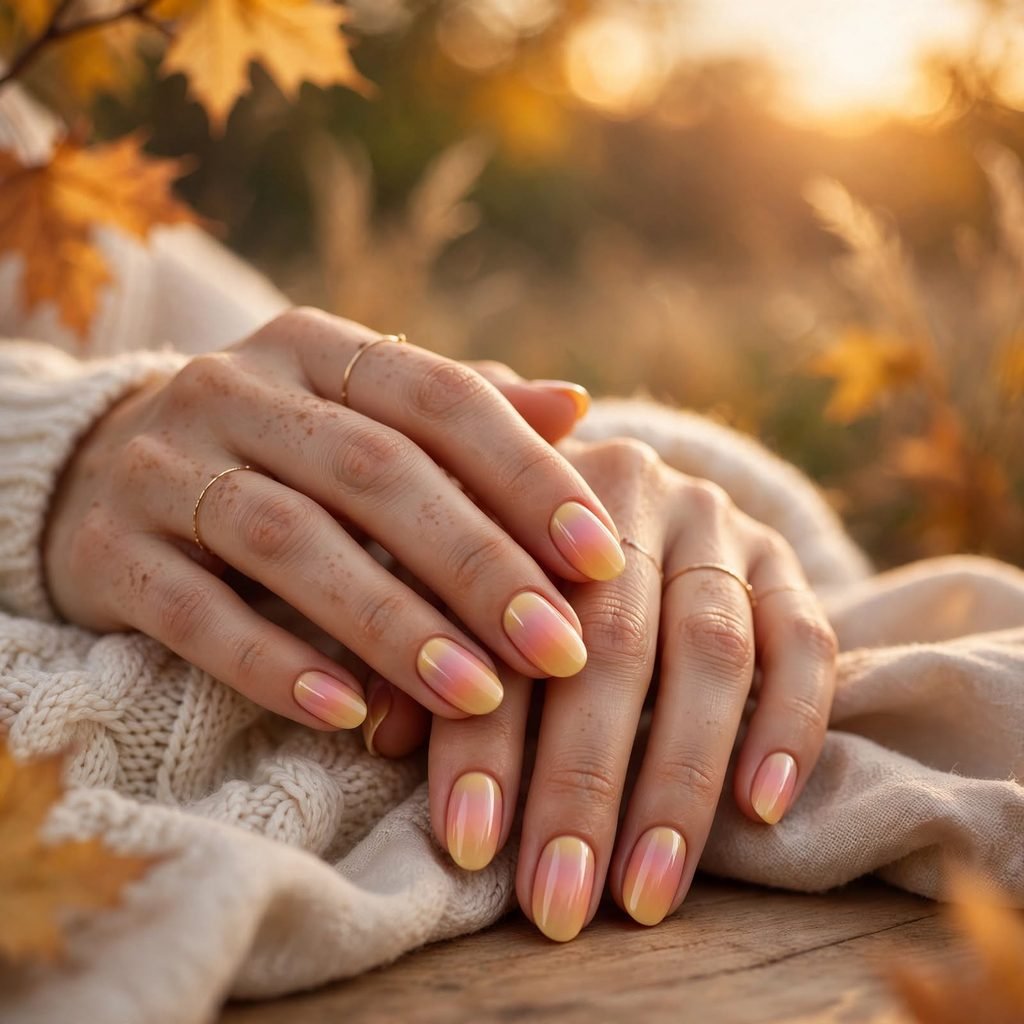
This design blends warm oranges, pinks, and yellows together to look like a cozy fall sunset right on your nails. It’s a beautiful way to combine multiple fall colors without needing to paint anything too detailed. A makeup sponge makes this gradient technique much easier, even for beginners. This look feels romantic and dreamy, perfect for fall festivals or cozy date nights. It’s a great choice if you love color but want something soft rather than bold.
Who it suits best: Anyone who loves color blending and a dreamy, romantic look.
Styling tip: Dab colors onto the sponge first before applying to your nail for smoother blending.
4. Little Daisy Fall Edition For Fall Nails
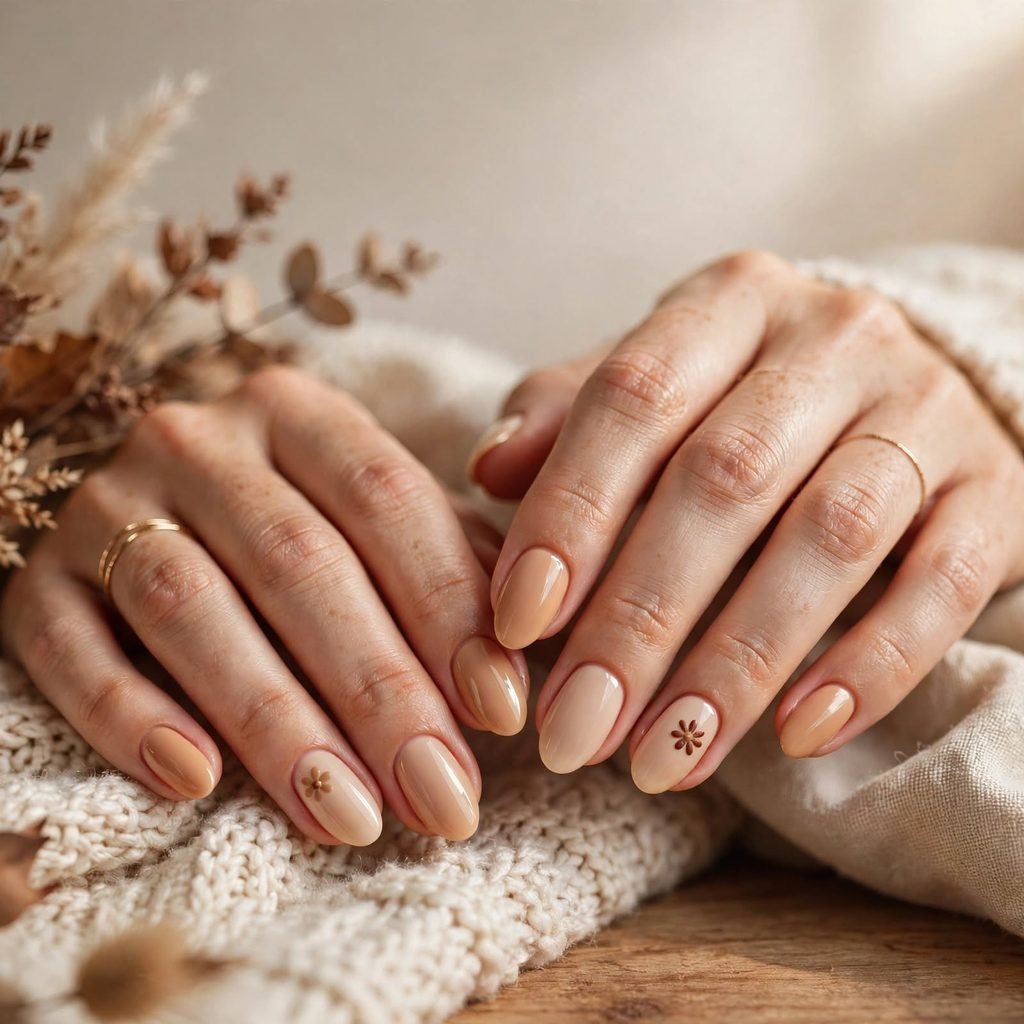
Daisies aren’t just for spring, and this fall version swaps the usual white petals for warm caramel or burgundy tones instead. A small daisy on an accent nail adds a sweet, feminine touch to an otherwise simple manicure. This design is fairly beginner-friendly, since daisies are just small ovals arranged around a center dot. It pairs beautifully with a warm nude or caramel base color on the rest of your nails. This look feels cute and put-together without requiring advanced nail art skills.
Who it suits best: Anyone who loves floral, feminine nail designs with a seasonal twist.
Styling tip: Use a dotting tool for the petals and a contrasting color for the center.
5. Checkerboard Cutie For Fall Nails
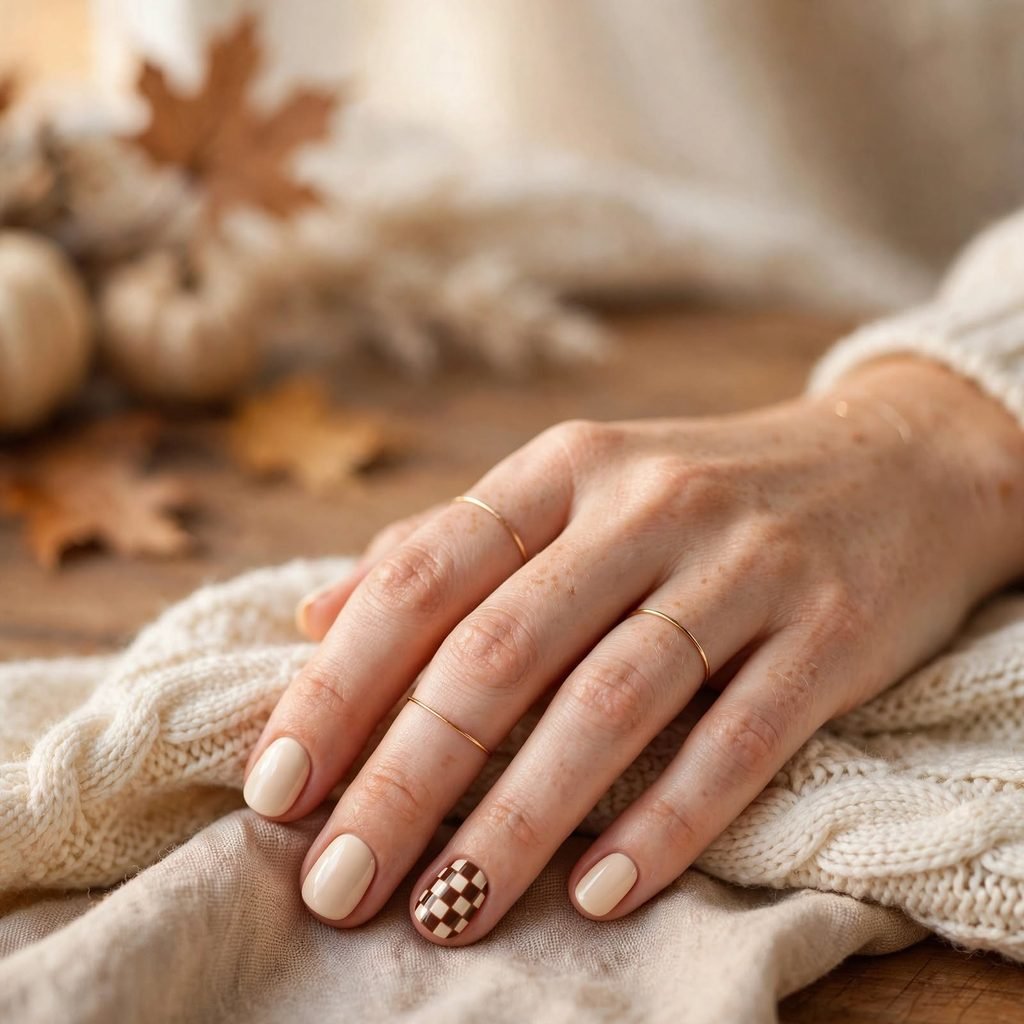
A small checkerboard pattern in warm fall tones, like brown and cream, brings a fun, retro feel to your nails. This design works best as an accent nail rather than a full set, since the pattern is eye-catching on its own. It takes a bit of patience to get the lines straight, but nail art tape can make this much easier. This look feels playful and a little nostalgic, perfect for fall festivals or casual outfits. It’s a great way to add a bold pattern without going overboard on color.
Who it suits best: Anyone who loves playful patterns and doesn’t mind a little extra effort.
Styling tip: Use thin nail striping tape to keep your checkerboard lines clean and even.
6. Speckled Egg Nails For Fall Nails
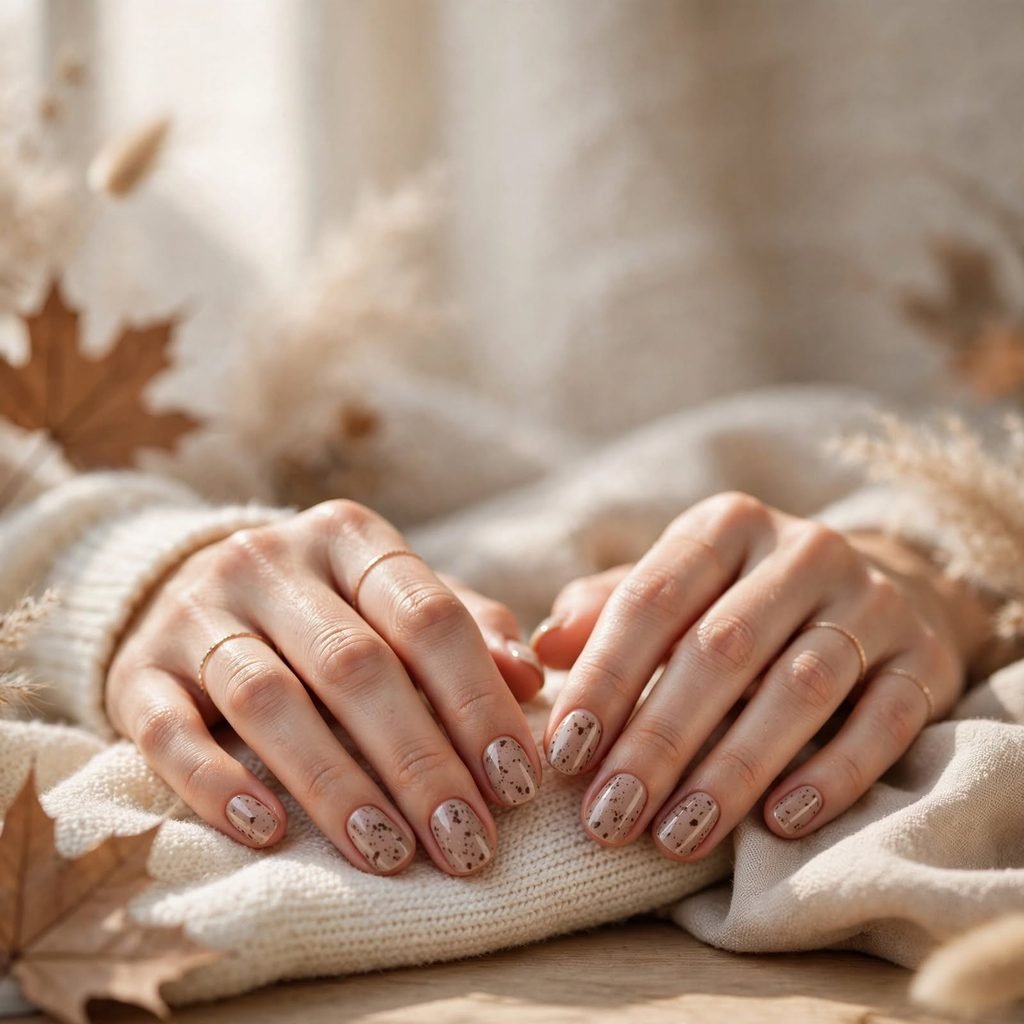
This design uses tiny, scattered dots in brown and cream tones to mimic the look of a speckled bird’s egg. It’s a soft, earthy pattern that feels unique and a little unexpected for fall. The technique is simple, using a dotting tool or a fan brush to flick small dots across the nail. This look pairs beautifully with warm neutral colors like taupe or caramel as the base. It’s a great choice if you want something textured and interesting without any bold colors.
Who it suits best: Anyone who loves subtle texture and earthy, natural-looking designs.
Styling tip: Flick the brush gently for a more random, natural speckled effect.
7. Mini French with a Heart For Fall Nails
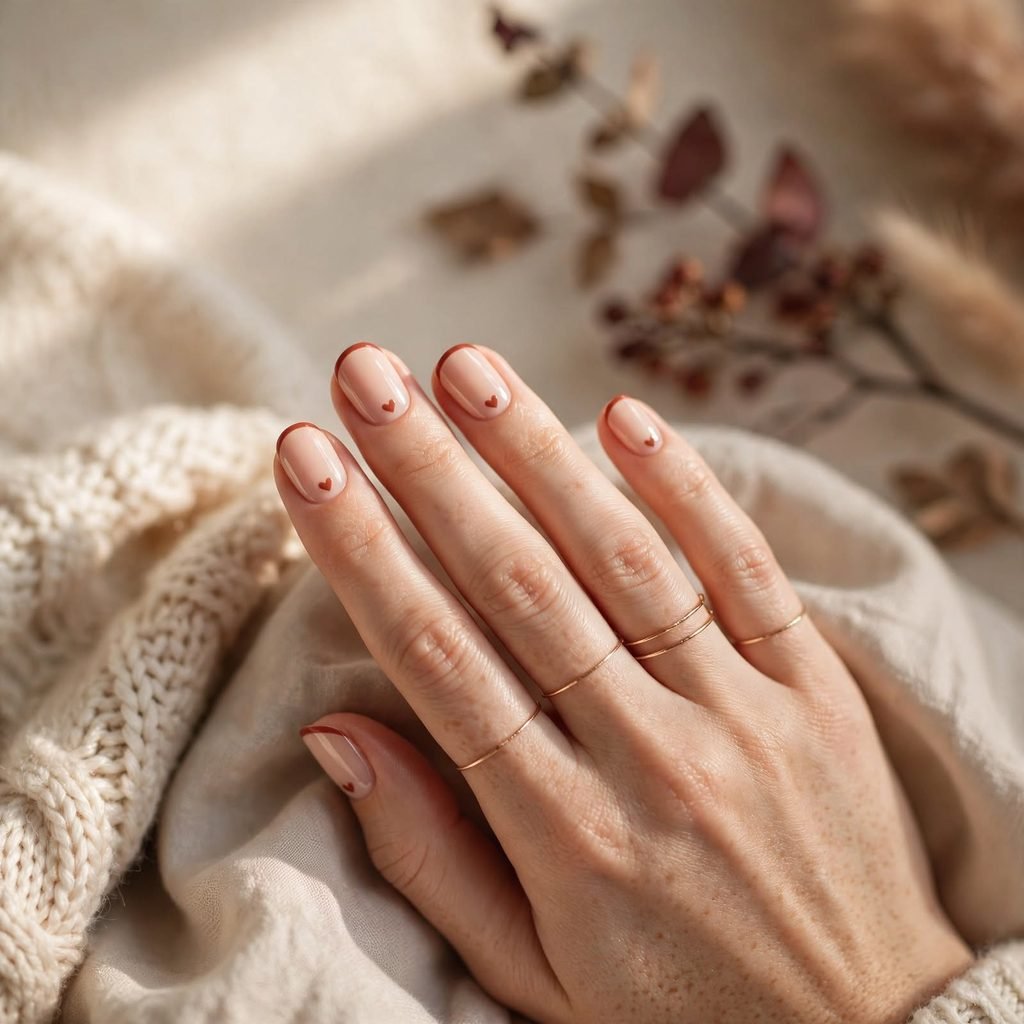
This cute twist on the French manicure adds a tiny heart at the base of the nail instead of just a plain tip color. Use a warm fall shade like rust or berry for the tip, and a small contrasting heart near the cuticle. This design feels sweet and a little romantic, perfect for date nights or fall gatherings. It’s simple enough for most skill levels, since the heart only takes two small dots and a little point. This look combines a classic style with a playful, cute detail.
Who it suits best: Anyone who loves a mix of classic and cute nail styles.
Styling tip: Use a small dotting tool to create two dots, then drag them together into a heart shape.
8. Swirly Spiral Fun For Fall Nails
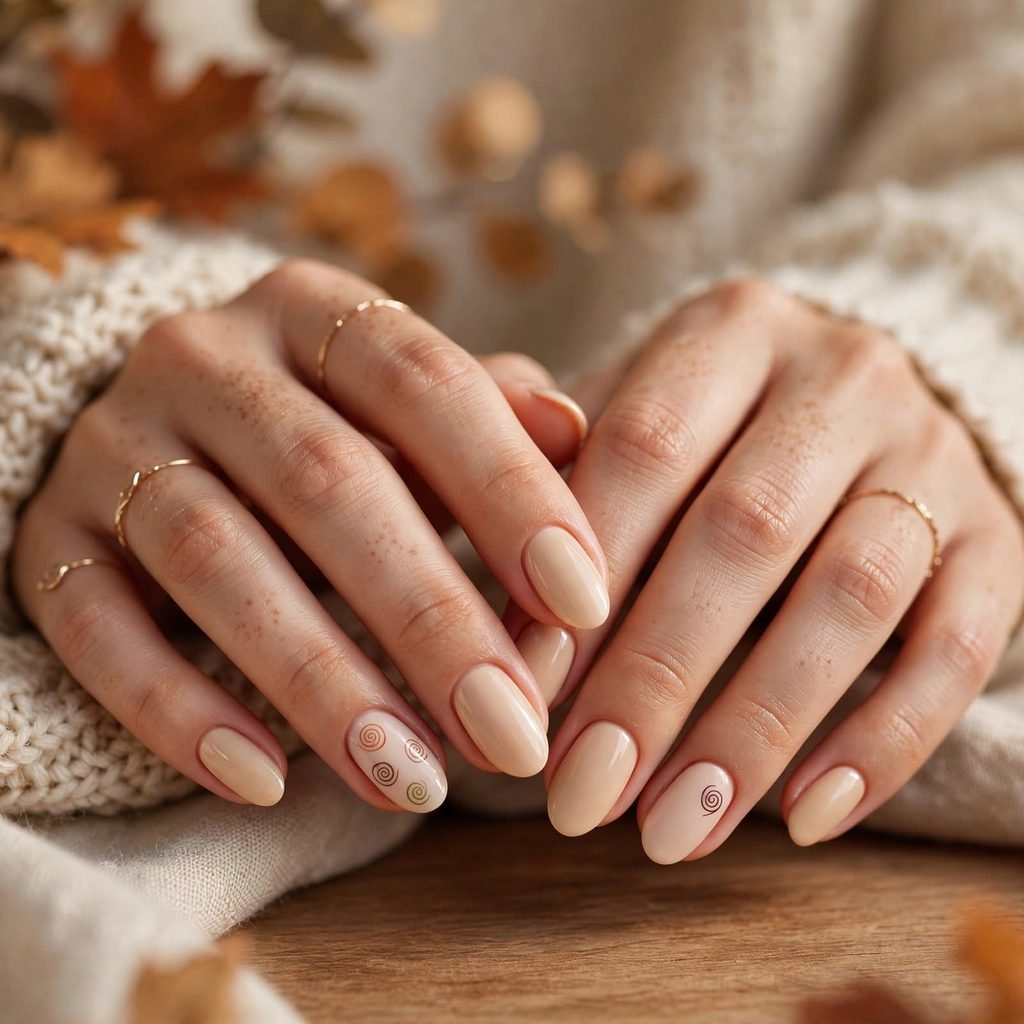
Small, hand-drawn spirals in warm fall colors bring a playful, doodle-like energy to your nails. This design works great as an accent nail on one or two fingers, paired with a solid color on the rest. It’s a fun way to practice your fine motor skills with nail art, since spirals are more forgiving than perfectly straight lines. This look feels youthful and a little quirky, perfect if you want your nails to stand out. It’s an easy way to add movement and personality to an otherwise simple manicure.
Who it suits best: Anyone who loves quirky, artistic nail designs.
Styling tip: Use a thin nail art brush and go slowly for the cleanest spiral shape.
9. Two-Tone Half Moon For Fall Nails
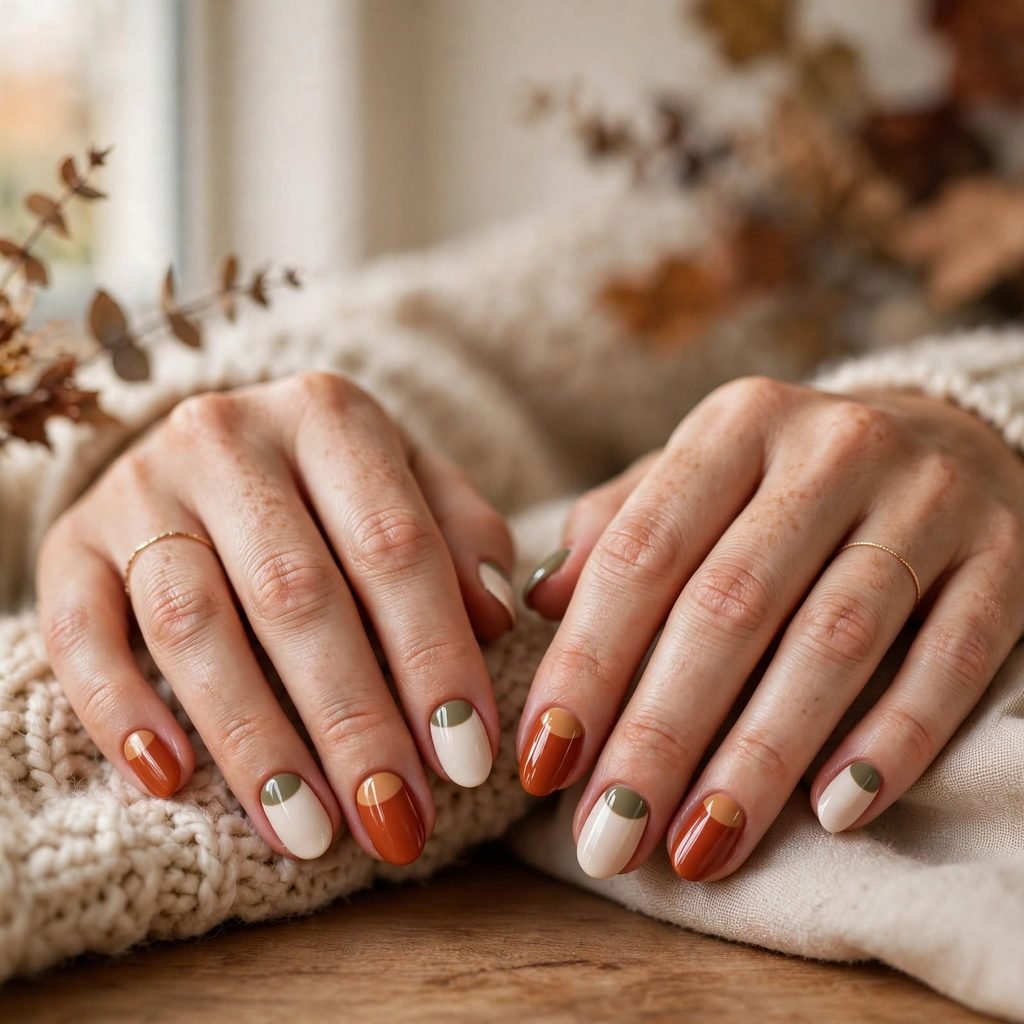
This design splits the base of your nail into two different fall colors, creating a cute half-moon effect near the cuticle. Try pairing colors like caramel and rust, or olive and cream, for a warm, seasonal combination. This look is a fun update on the classic half-moon manicure, which has been a timeless style for decades. It’s fairly simple to do using a small piece of tape or a sticker as a guide. This design feels modern and a little artistic without being too complicated.
Who it suits best: Anyone who loves color combinations and a modern twist on classic styles.
Styling tip: Use a hole-reinforcement sticker as a stencil for a perfectly round half-moon shape.
10. Cozy Plaid Accent For Fall Nails
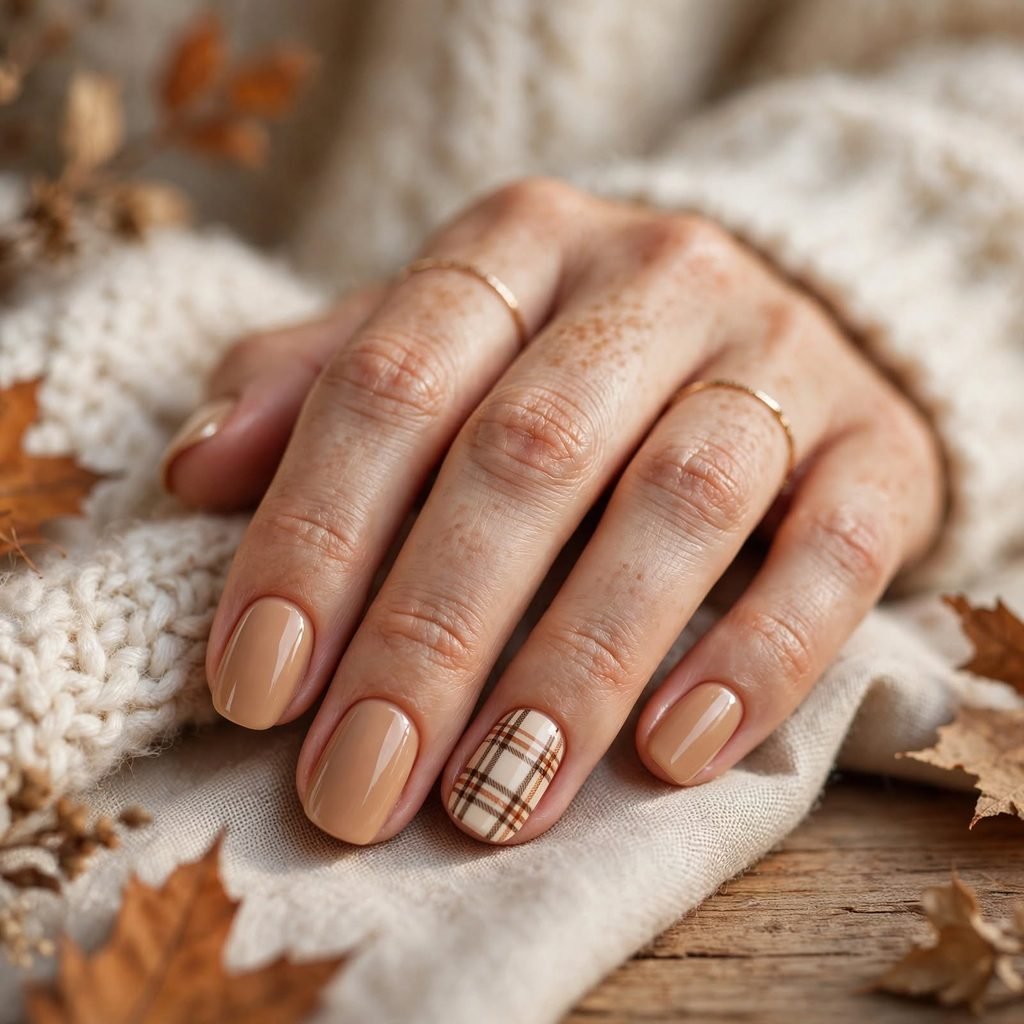
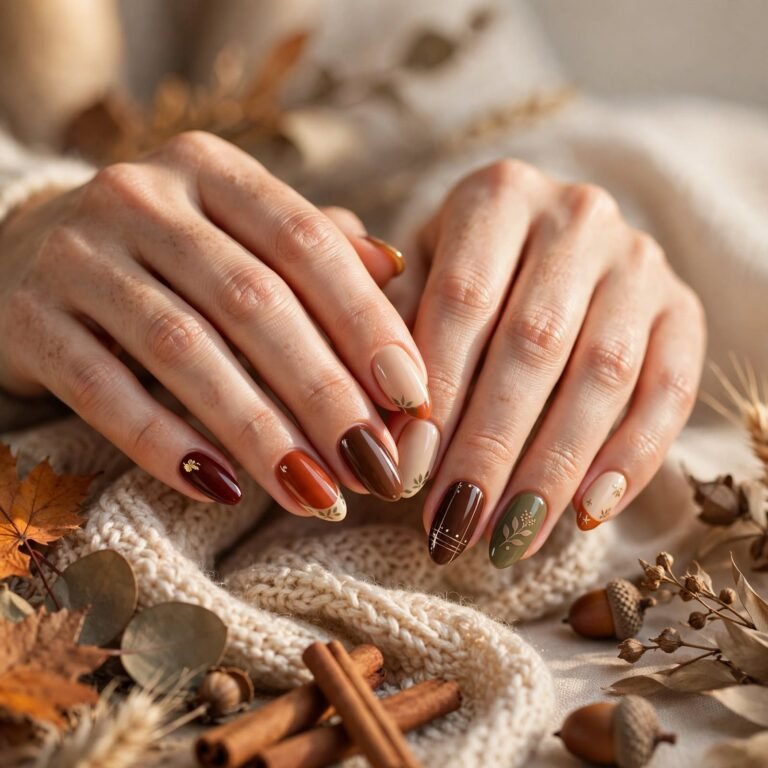
A small plaid pattern on one accent nail brings all the cozy, autumn sweater vibes straight to your fingertips. Use two or three fall colors, like brown, cream, and rust, layered in thin crisscrossing lines. This design takes a bit of practice, but nail striping tape makes the lines much easier to control. It pairs beautifully with a solid, warm base color on the rest of your nails. This look feels festive and seasonal, perfect for cooler months and holiday gatherings.
Who it suits best: Anyone who loves cozy, pattern-based nail art.
Styling tip: Let each line dry fully before adding the next to avoid smudging the plaid pattern.
11. Dainty Star Scatter For Fall Nails
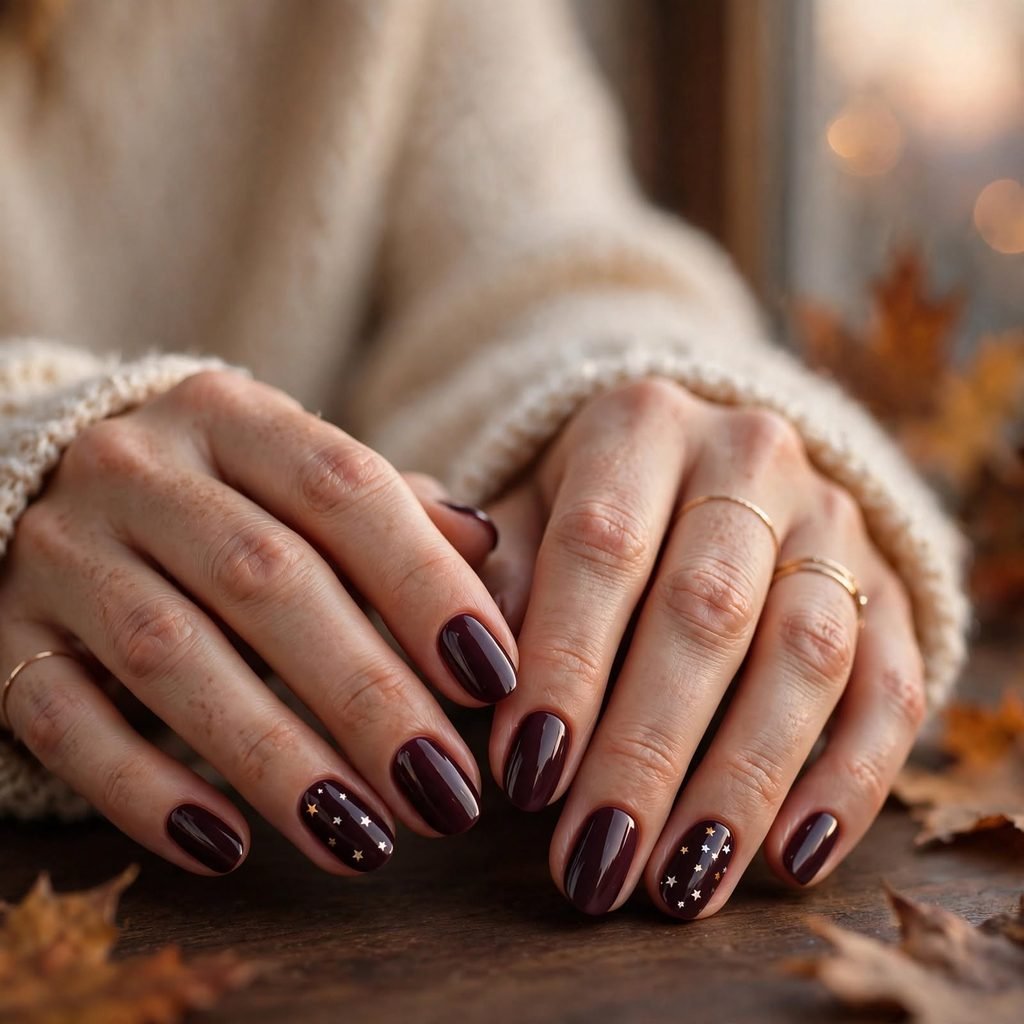
Tiny gold or silver stars scattered across a deep fall color, like plum or espresso, create a subtle sparkle without much effort. This design uses small nail art stickers or a fine detail brush to place each star. It feels a little magical and works especially well for fall evenings or holiday gatherings. The dark base color makes the stars really stand out, giving your nails a soft, twinkling effect. This look is a great way to add a little sparkle without going full glitter.
Who it suits best: Anyone who loves subtle sparkle and a bit of nighttime magic.
Styling tip: Place stars in small clusters rather than evenly spaced for a more natural look.
12. Ombre Tip with Dots For Fall Nails
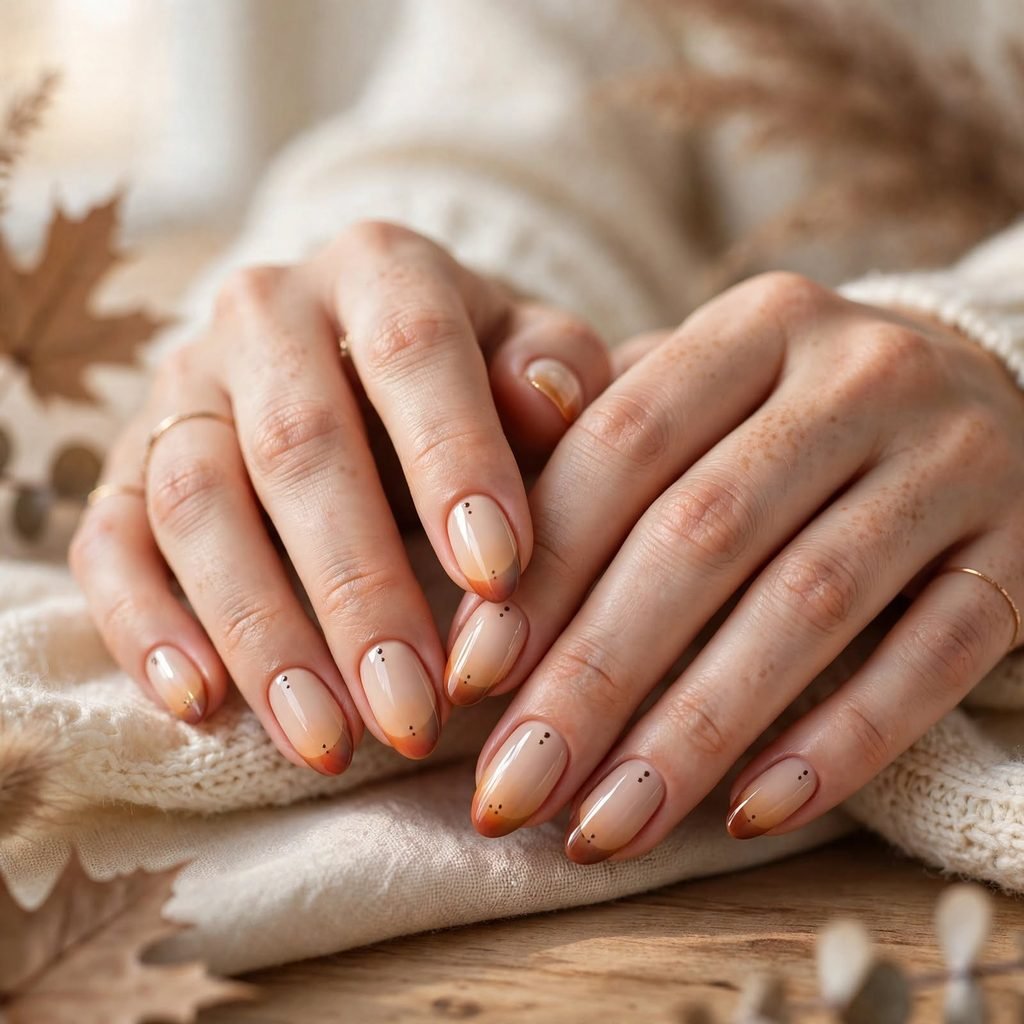
This design combines a soft ombre tip in a warm fall color with a few small dots scattered near the base of the nail. It’s a fun mix of two techniques, giving your manicure some extra visual interest without being too busy. A sponge helps create the ombre effect, while a dotting tool adds the finishing touch. This look feels modern and a little artistic, perfect for anyone who likes to mix and match nail art styles. It’s a great option if you love the gradient look but want a little something extra.
Who it suits best: Anyone who enjoys experimenting with multiple nail art techniques at once.
Styling tip: Keep the dots in a random cluster near the cuticle for the most natural effect.
13. Abstract Line Art For Fall Nails
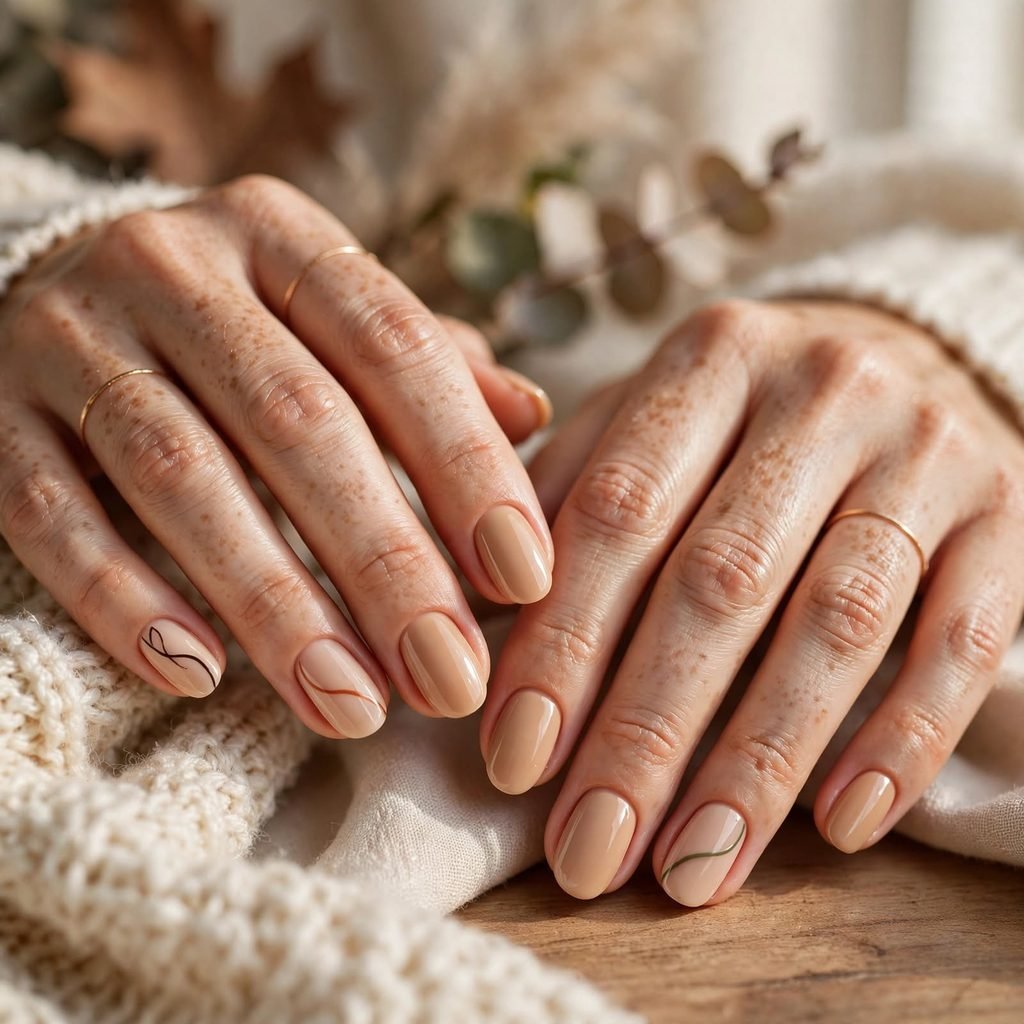
Simple, swooping lines in two or three fall colors create a modern, artsy look that feels fresh and unique. This design doesn’t need to be perfect, since the abstract style is meant to look loose and free-flowing. It works best with a thin nail art brush and a steady but relaxed hand. This look feels artistic and a little edgy, perfect for anyone who wants their nails to feel like a small canvas. It’s a great way to express some creativity without following a strict pattern.
Who it suits best: Anyone who loves artistic, expressive nail designs.
Styling tip: Practice your lines on paper first to get comfortable with the brush before painting your nails.
14. Smiley Face Fun Nail For Fall Nails
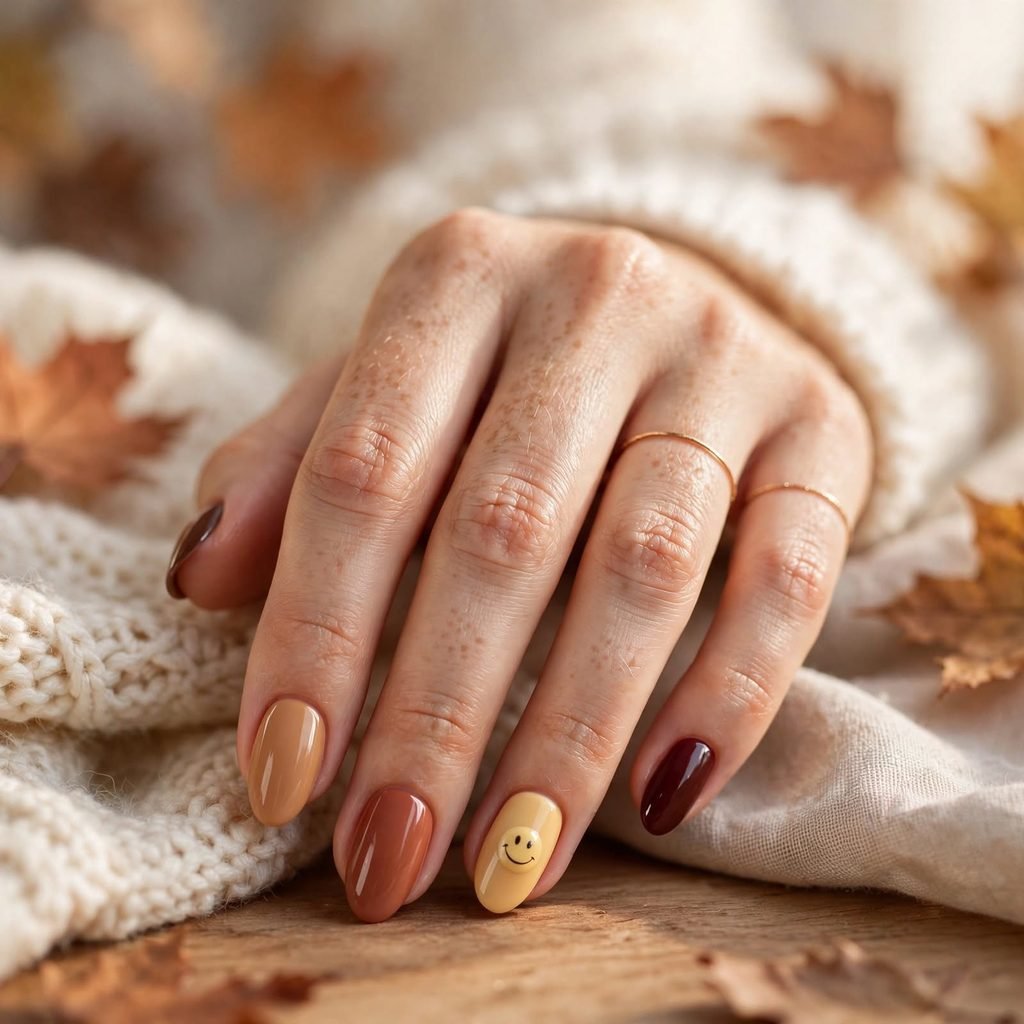
A tiny smiley face on one accent nail brings a playful, happy energy to your whole manicure. Use a warm yellow or cream color for the face, with simple black dots and a curved line for the smile. This design is easy enough for most skill levels, since it only requires a few small, simple shapes. It pairs well with almost any solid fall color on the rest of your nails. This look is a fun way to add a little joy and personality to your look.
Who it suits best: Anyone who loves playful, cheerful nail designs.
Styling tip: Use a fine detail brush or a small dotting tool for the cleanest smiley features.
15. Glazed Donut Shimmer For Fall Nails
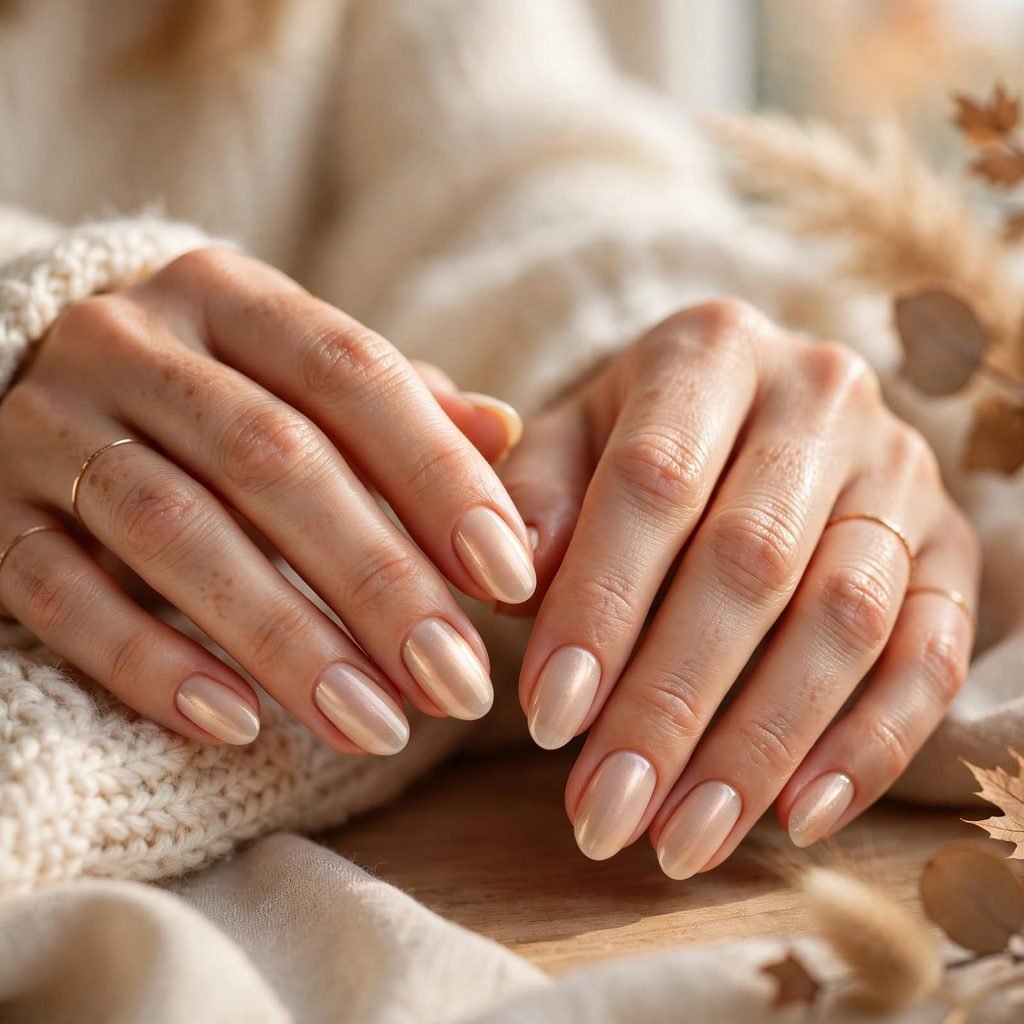
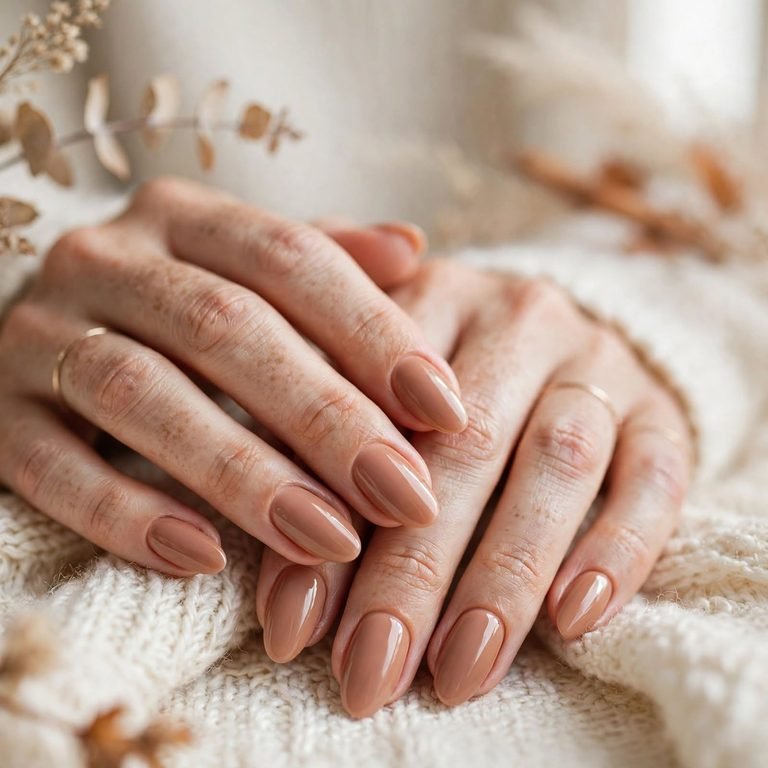
This design uses a sheer, milky base with a soft pearl shimmer, similar to the popular “glazed donut” nail trend, but in warmer fall tones. Think soft caramel or champagne shimmer instead of the usual cool-toned version. It creates a soft, glowing finish that still feels simple and elegant. This look works beautifully at any nail length and pairs well with almost any outfit. It’s a great choice if you want something trendy but still easy to wear every day.
Who it suits best: Anyone who loves soft, glowy, trendy nail looks.
Styling tip: Apply the shimmer polish over a sheer nude base for the most natural glow.
How to Do This at Home
- Prep your nails. Remove old polish, trim and shape your nails, then gently push back your cuticles.
- Buff lightly. A light buff smooths out ridges and helps your polish and art go on more evenly.
- Apply a base coat. This protects your natural nail and gives your art a smooth surface to work with.
- Add your base color. Apply two thin coats of your chosen fall shade, letting each one dry a little.
- Add your cute detail. Use a thin brush, dotting tool, or nail art tape for your chosen design, working slowly and carefully.
- Let the art dry fully. Small details need extra time to dry before sealing, so be patient here.
- Seal with a top coat. This protects your design and adds a smooth, glossy or matte finish.
- Clean up the edges. Use a small brush dipped in polish remover to tidy up any stray polish.
Cost & Time
Doing cute fall nail art at home is generally affordable, especially if you already have basic polish and a few small tools like a dotting tool or thin brush. A salon version with detailed nail art usually costs more, since hand-painted designs take extra time and skill. At home, simple designs like a leaf accent or polka dots take about 30 to 40 minutes, while more detailed looks like plaid or checkerboard can take closer to an hour. These looks typically last five to seven days with regular polish, or two to three weeks if done with gel. Practicing on a spare nail or paper first can help you feel more confident before committing to your full set.
Care Tips
Cute nail art designs need a little extra care to stay looking crisp and clean. Always seal your design with a strong top coat, since this helps protect delicate details from smudging or fading. Wear gloves when doing dishes or cleaning, since hot water and chemicals can cause both polish and art to lift early. Try to avoid using your nails as tools, since chipping is even more noticeable on a detailed design than on a plain color. Touching up your top coat every few days can help your cute nail art last as long as possible.
Frequently Asked Questions
Do I need special tools for cute fall nail art?
Most of these designs only need basic tools like a thin nail art brush, a dotting tool, and maybe some nail striping tape. You don’t need anything fancy or expensive to get started with simple designs. Household items like toothpicks or bobby pins can even work in place of a dotting tool. As you get more comfortable, you can slowly build up a small nail art kit over
How long does cute nail art usually last?
With regular polish, most designs last about five to seven days before chipping. Using gel polish and a strong top coat can extend that to two to three weeks. Detailed designs may show wear a little faster than solid colors, simply because there’s more going on visually. Sealing your art well with a top coat makes a big difference in how long it lasts.
I’m not good at drawing, can I still try these designs?
Absolutely, many of these designs are more forgiving than they look, especially with the help of dotting tools and nail tape. Simple designs like polka dots or a basic gradient don’t require any drawing skill at all. Starting with an easier design and practicing a few times will help build your confidence. Nail art gets easier with practice, so don’t worry about your first try being perfect./
Can I mix a few of these cute designs together?
Yes, many of these looks work well combined, like a soft gradient base with a few dainty stars scattered on top. Mixing designs is a great way to make your manicure feel more personal and unique. Just be careful not to overload one nail with too many details, since it can start to look busy. Picking one main design and one small accent usually looks the most balanced.
What nail shape works best for cute nail art?
Almost any nail shape can work well with these designs, since most of them are placed as small accents rather than covering the whole nail. Rounded and squoval shapes tend to show off dots and florals nicely. Square shapes work especially well for geometric designs like checkerboard or plaid. Ultimately, the shape comes down to your personal preference and comfort.
How do I keep small nail art details from smudging?
Patience is key here, since rushing to add a top coat too soon is the most common cause of smudging. Let each layer of your design dry fully before moving on to the next step. Using a fast-drying top coat can also help lock everything in place more quickly. Working in a cool, dry space rather than somewhere warm and humid can help your polish set faster too.
Final Thoughts
Cute fall nails are all about adding a little joy and personality to your everyday look. Simple vibes come through with a tiny leaf accent, speckled egg nails, or a mini French twist. Glam vibes shine with glazed donut shimmer, dainty star scatter, or a soft gradient sunset. And if you’re after something bold and playful, try checkerboard cuties, cozy plaid accents, or abstract line art. However you wear it, cute fall nails are a fun, easy way to bring a smile to your hands all season long.