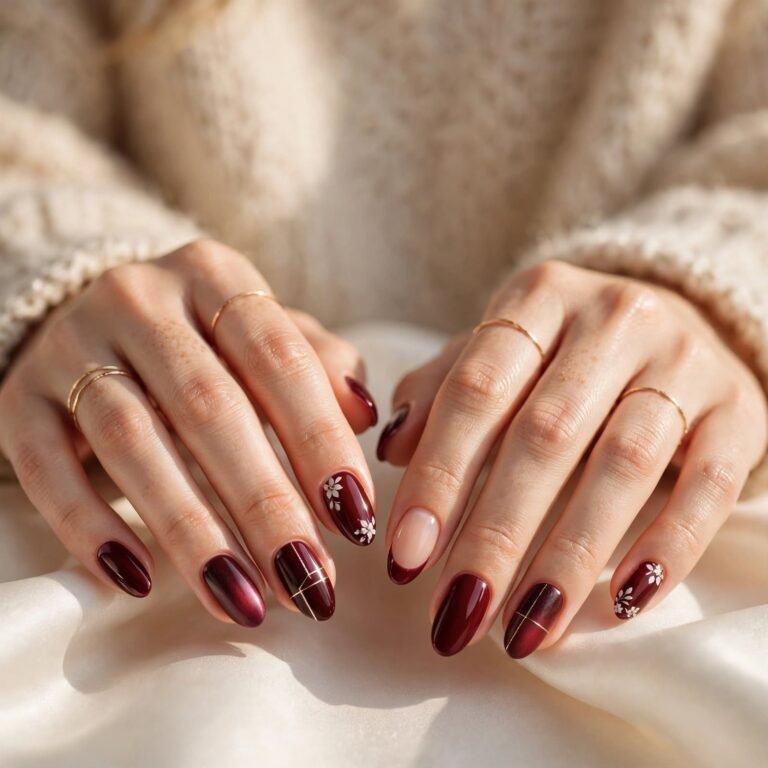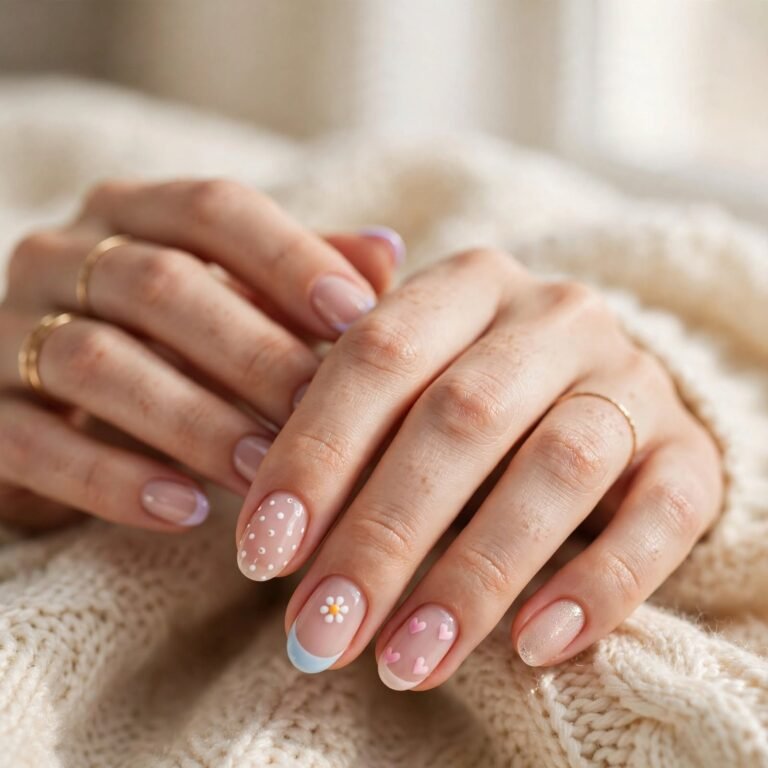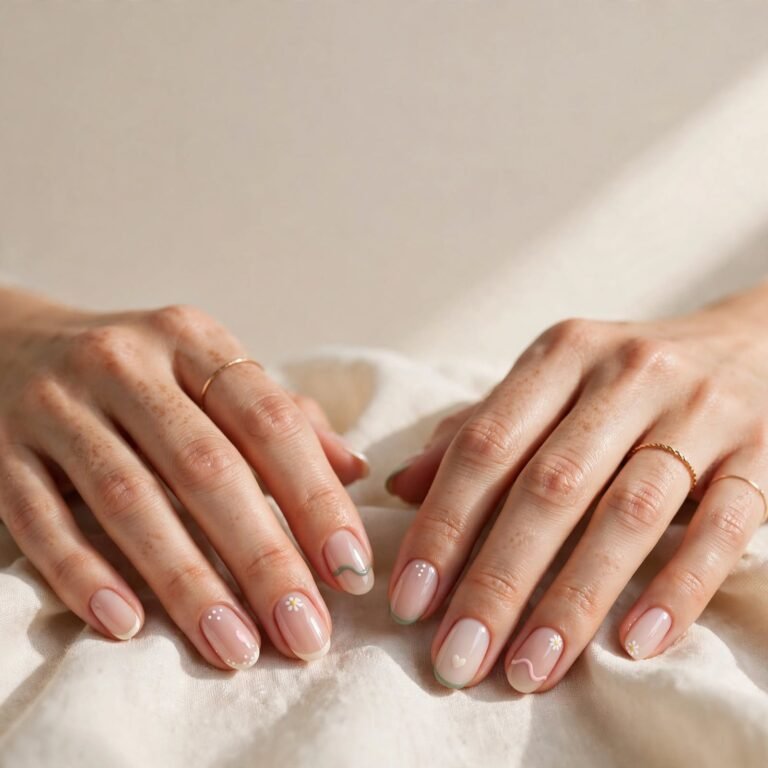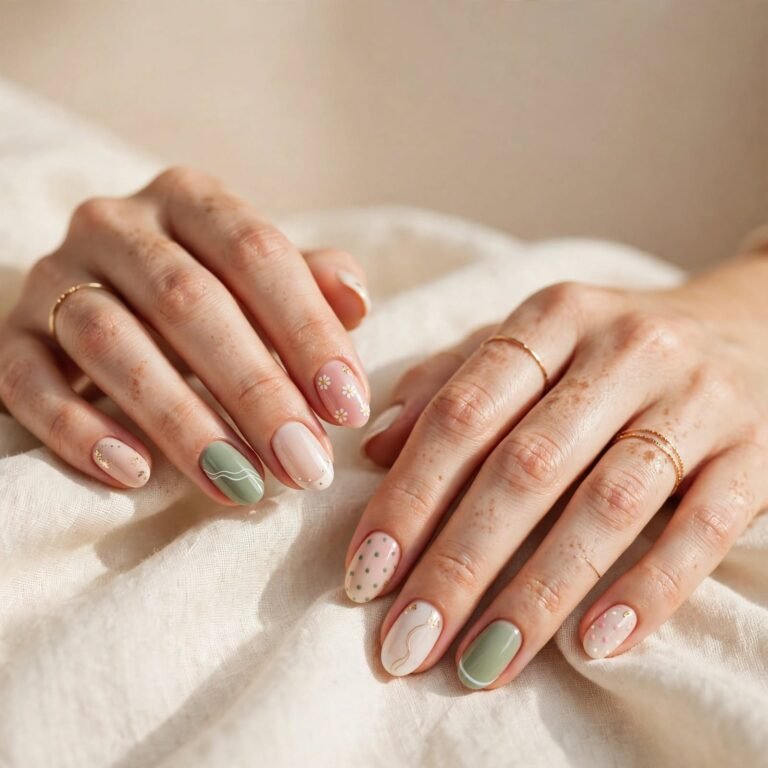
15 Simple Nail Art Ideas You Can Do at Home
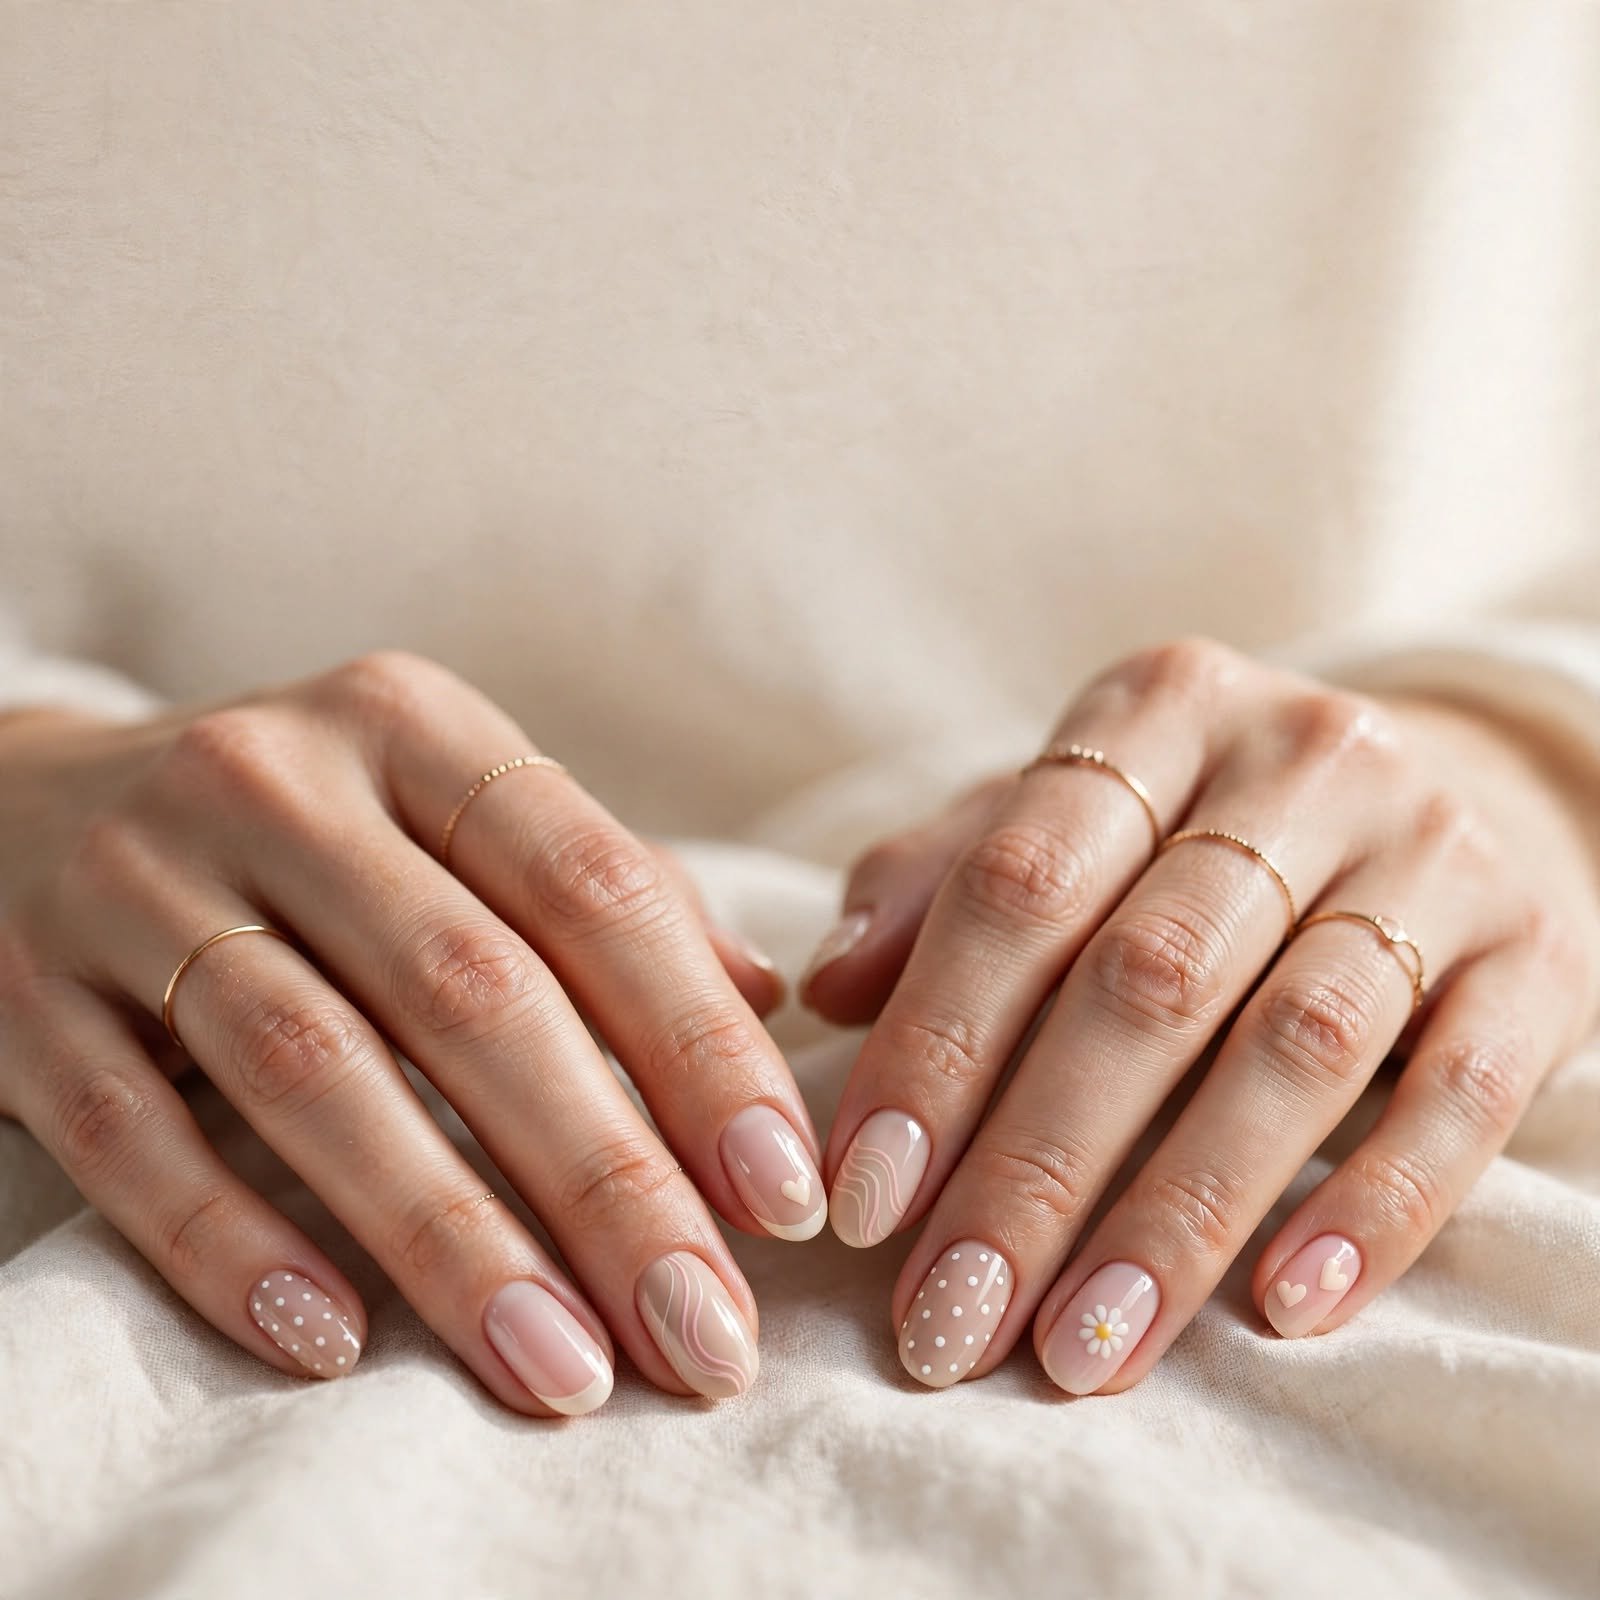
Simple nail art is the sweet spot between a plain manicure and a full salon design. It adds a little fun to your fingertips without taking hours. You do not need steady hands, fancy tools, or a big budget to get a pretty result. In this guide, you will find 15 easy ideas, plus tips for picking a look, doing it at home, and keeping it fresh. Grab your favorite polish, and let’s get started.
Why Simple Nail Art Is Everywhere Right Now
Simple nail art has grown fast, and it is easy to see why. Many people now want nails that look neat and personal, not loud and busy. Fall is a great time to try it, because cozy shades like cocoa, olive, and deep plum feel just right. Short nails are popular too, and small designs look best on them. Quick video tutorials have also shown that anyone can try a new look in minutes.
Painted nails have a long story. People in ancient China and Egypt colored their nails thousands of years ago, often to show rank. In the 1920s, the half-moon manicure became a big hit, and it is still loved today. Over time, nail color moved from a sign of status to a way to show your own style. Today’s simple nail art keeps that spirit alive with small touches that feel fresh and easy.
How to Pick the Right Simple Nail Art for You
Your nail shape and length help decide which design works best. Short nails look great with small details, like dots, tiny hearts, and thin lines. Long nails give you more room, so stripes, half-moons, and color blocks show off nicely. Round and oval shapes feel soft, so curvy designs suit them well. Square and squoval shapes feel clean, so straight lines and checkerboards fit right in.
Skin tone matters too, though there are no strict rules. Warm tones often glow with peach, gold, olive, and cream. Cool tones tend to shine with berry, lilac, silver, and icy pink. Deep skin tones look stunning with bright white, rich plum, and metallic gold. If you feel unsure, hold the polish bottle next to your hand in daylight and trust your eyes.
Think about where you are going, too. For work or school, soft shades and thin lines feel tidy and calm. For parties, a touch of glitter or metallic gold adds fun. For casual days, dots, daisies, and squiggles bring a happy mood. And if you are short on time, pick a one-color idea like an accent nail or mix-and-match shades.
Table of Contents
- Why Simple Nail Art Is Everywhere Right Now
- How to Pick the Right Simple Nail Art for You
- 15 Simple Nail Art Ideas You Can Try Today
- One Pretty Accent Nail for an Instant Pop of Color
- Thin Micro French Tips for a Fresh, Clean Look
- Playful Polka Dots Made with a Toothpick
- Skinny Stripes for a Neat, Graphic Finish
- Half-Moon Manicure for a Vintage Touch
- Soft Glitter Fade for a Little Sparkle
- Tiny Hearts That Look Harder Than They Are
- Wavy Squiggle Lines for Easy, Artsy Style
- Two-Tone Color Block for a Bold Yet Simple Look
- Mini Daisies for a Fresh, Happy Feel
- Matte and Shine Combo for a Subtle Twist
- A Thin Gold Accent Line for a Little Luxe
- Cozy Speckled Nails for a Fall Feel
- One Checkerboard Accent for a Trendy Twist
- Mix-and-Match Shades for an Easy, Relaxed Style
- How to Do Simple Nail Art at Home
- Cost and Time: Doing It Yourself vs. Going to a Salon
- Care Tips to Keep Your Nails Looking Great
- Simple Nail Art FAQ
- Final Thoughts: Pick Your Simple Nail Art Vibe
15 Simple Nail Art Ideas You Can Try Today
1. One Pretty Accent Nail for an Instant Pop of Color
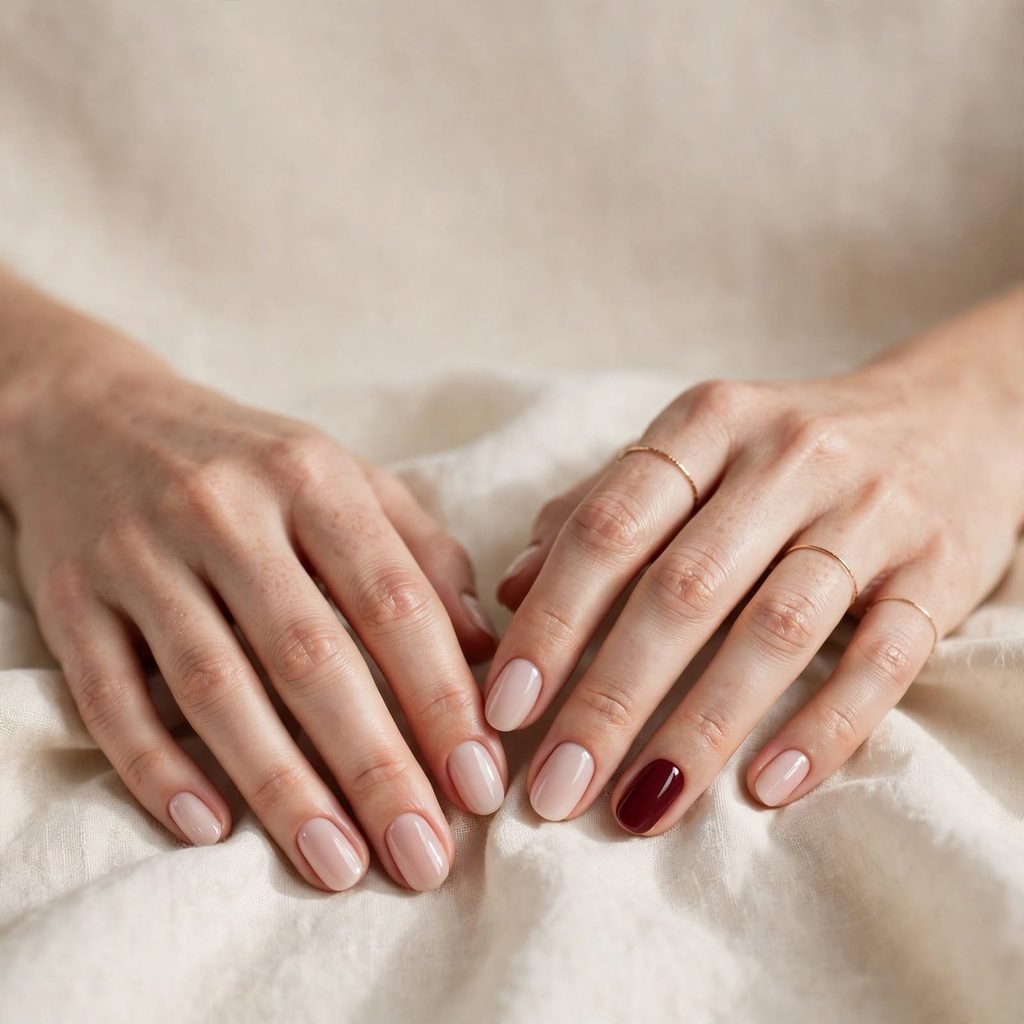
This is the easiest simple nail art idea of all. You paint all your nails in one calm shade, then paint just one nail in a different color. The ring finger is the classic pick, but any finger works. Your hand looks planned and polished, yet you only added one extra step. It is also a great way to test a new color without going all in.
Who it suits best: Beginners, short nails, and anyone with a busy week.
Quick styling tip: Pick an accent shade from the same color family, like soft pink with deep rose, for a smooth look.
2. Thin Micro French Tips for a Fresh, Clean Look
A micro French is the modern take on the classic French manicure. Instead of a thick white tip, you paint a very thin line at the edge of the nail. The line can be white, nude, or even a bright shade. Because it is so slim, it makes nails look longer and neater. It also grows out gracefully, so small chips are hard to spot.
Who it suits best: Office days, weddings, and anyone who likes a polished, quiet style. It works on short and long nails.
Quick styling tip: Rest the brush at one side of the tip and pull it across in a single swipe, with your hand braced on a table.
3. Playful Polka Dots Made with a Toothpick
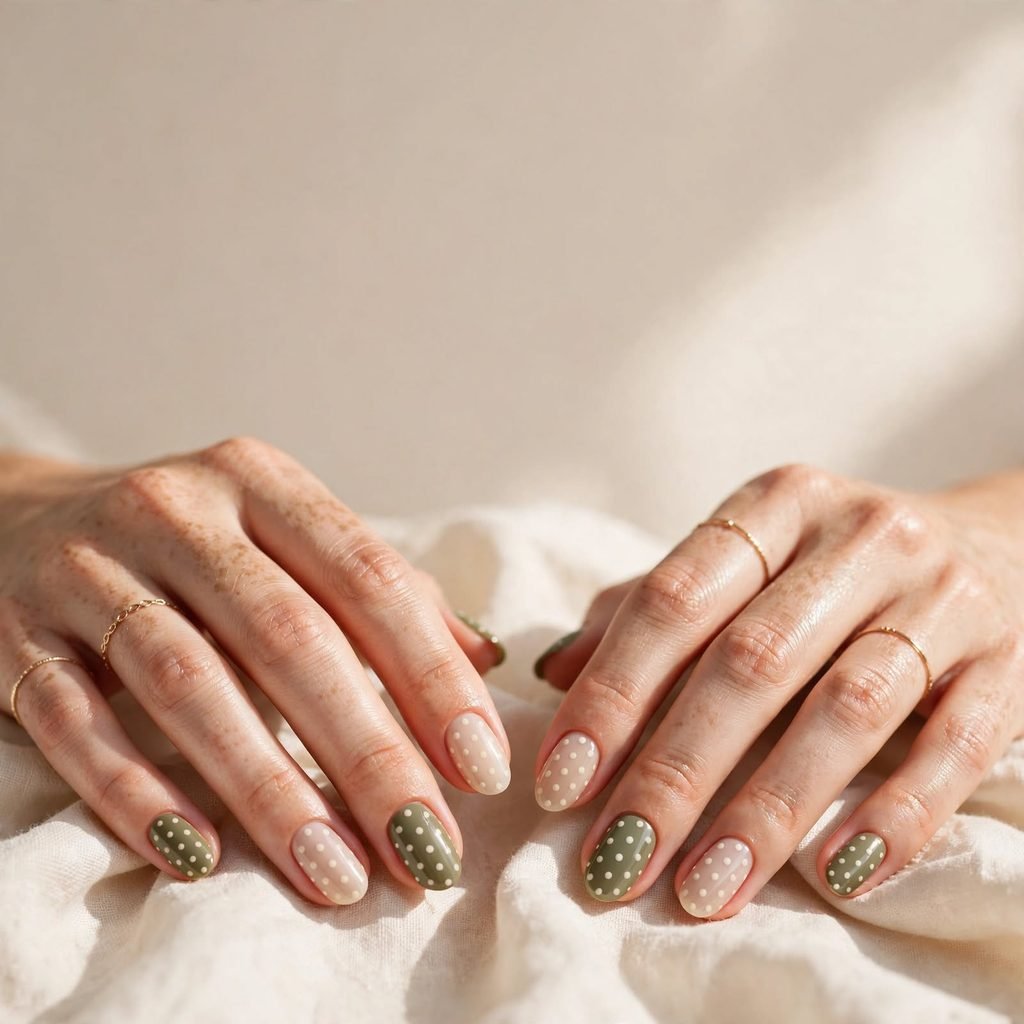
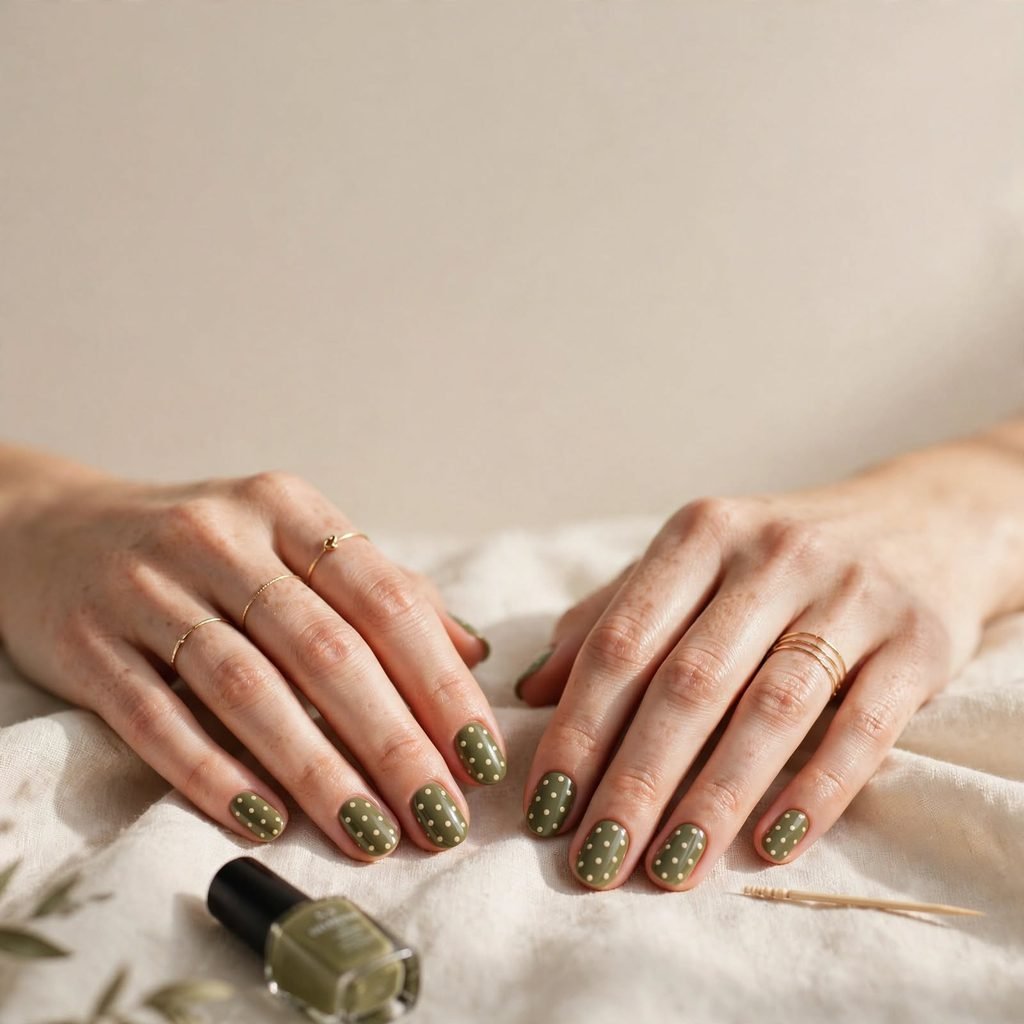
Polka dots are cute, cheerful, and truly simple. You dip a toothpick or the end of a bobby pin into polish and press it onto the nail. Each press leaves a neat little circle. You can place the dots in a row, in a pattern, or all over for a fun look. They work with almost any color pair, such as cream on olive or white on navy.
Who it suits best: Anyone who loves a retro feel, especially for casual weekends and brunches.
Quick styling tip: Wipe your tool clean between dots so every circle stays the same size.
4. Skinny Stripes for a Neat, Graphic Finish

Thin stripes give your nails a clean, modern look. You can paint one line down the middle, a diagonal line, or a few lines side by side. A thin brush makes it easy, but a strip of tape also works as a guide. Stripes look sharp in black and white, yet they feel soft in pastel shades. Just keep the lines slim so the design stays simple.
Who it suits best: Anyone who likes tidy, minimal style. It looks great on oval and square nails.
Quick styling tip: Place tape on a fully dry base color, paint over it, and peel it off right away for crisp edges.
5. Half-Moon Manicure for a Vintage Touch
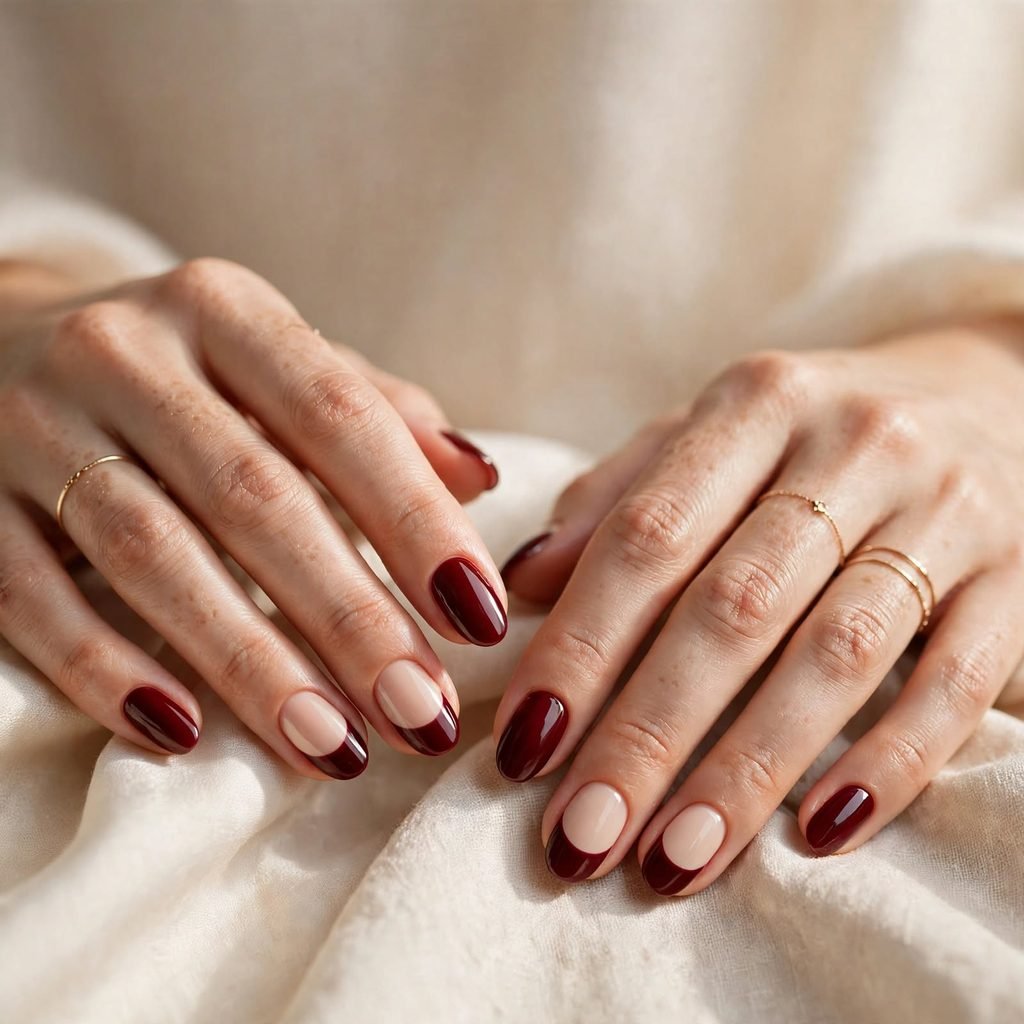
The half-moon design leaves a small curve at the base of your nail bare or painted in a different shade. It looks fancy, but it is mostly about careful placement. The style first became popular in the 1920s, and it keeps coming back. You can use a paper hole reinforcement sticker as a guide to get a perfect curve. Try a nude moon with a bold color for a look that feels both old and new.
Who it suits best: People who love classic style. It shows best on medium to long nails.
Quick styling tip: Use a thin metallic shade for the moon to add a little shine.
6. Soft Glitter Fade for a Little Sparkle
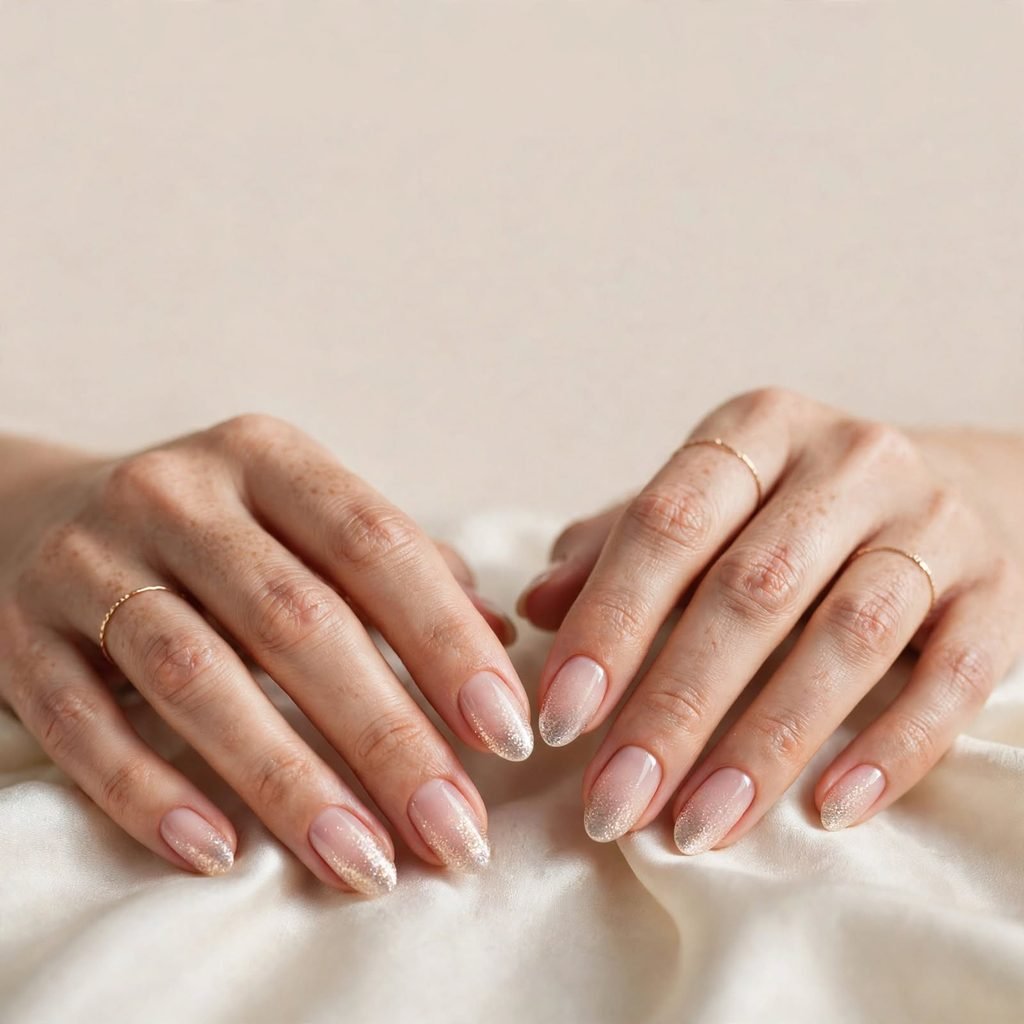
If you love sparkle but not the mess, try a glitter fade. You paint your nails in a base color, then dab glitter polish near the tips only. The sparkle fades toward the middle, so it looks soft and dreamy. A makeup sponge helps you blend it, but a small brush works too. It feels festive, yet it is still easy to wear every day.
Who it suits best: Party nights, holidays, and anyone who wants glam without going over the top.
Quick styling tip: Add a clear top coat over the glitter to smooth out the bumpy texture.
7. Tiny Hearts That Look Harder Than They Are

Little hearts are one of the cutest simple nail art ideas. To make one, place two small dots side by side. Then drag the tip of your tool down from the dots to form a point. That is all it takes, and the heart is done. Paint just one or two per nail, and the look stays sweet instead of busy.
Who it suits best: Date nights, Valentine’s Day, and anyone who likes a soft, girly touch.
Quick styling tip: Red hearts on a nude base are classic, but white hearts on pale pink look extra gentle.
8. Wavy Squiggle Lines for Easy, Artsy Style

Squiggles look artsy, yet they need no special skill. Use a thin brush to draw a loose, wavy line across the nail. It does not have to be perfect, because the charm comes from the relaxed shape. Try one wavy line on a few nails and leave the rest plain. This look is trendy and forgiving, so small slips just blend right in.
Who it suits best: Creative types and anyone who gets nervous about straight lines.
Quick styling tip: Use two colors across different nails, like sage and cream, so the lines feel like a set.
9. Two-Tone Color Block for a Bold Yet Simple Look
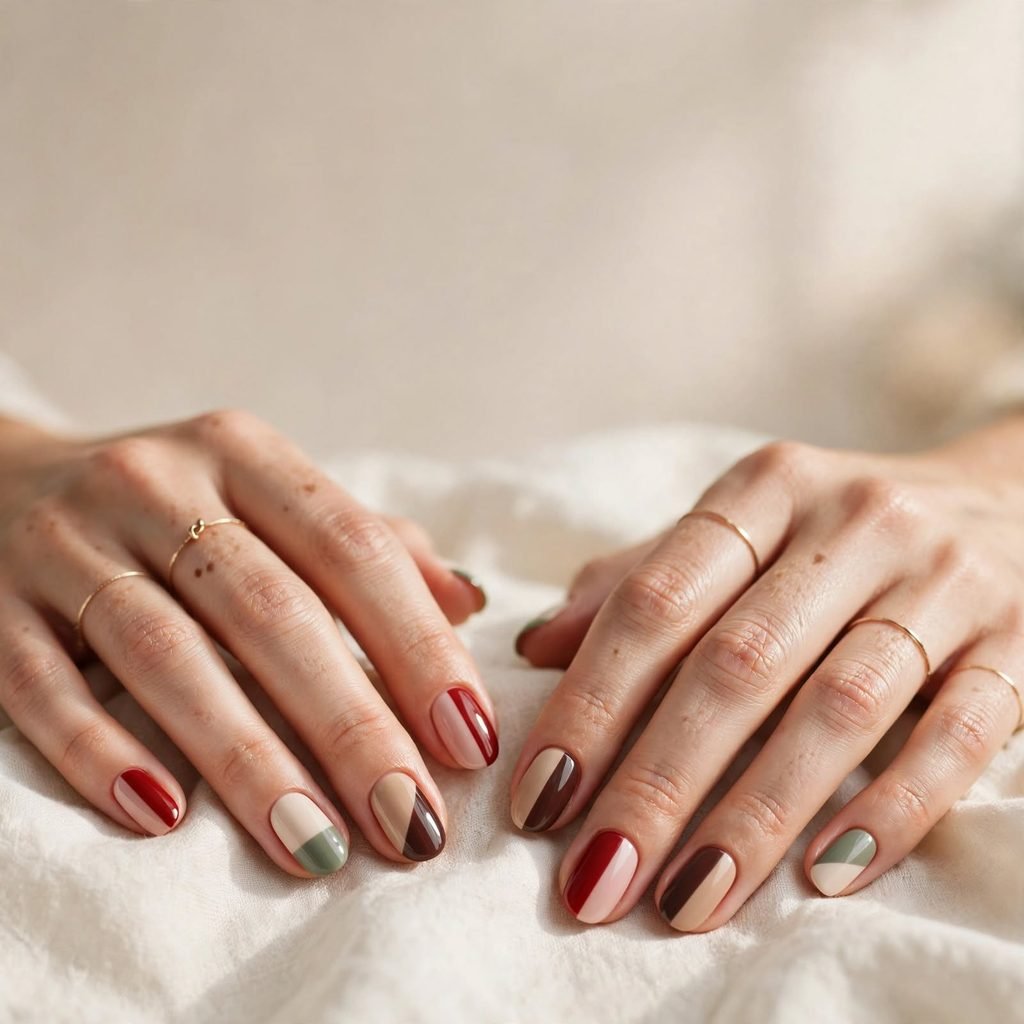
Color blocking splits each nail into two parts, using two shades. You might paint the left half one color and the right half another. A diagonal split also looks great. The edge between the colors can be neat or a little wobbly, and both styles look good. It is a smart way to wear two favorite colors at once.
Who it suits best: Anyone who loves color. It looks good on all shapes and lengths.
Quick styling tip: Pick shades that sit close on the color wheel, like orange and rust, for a calm, blended feel.
10. Mini Daisies for a Fresh, Happy Feel
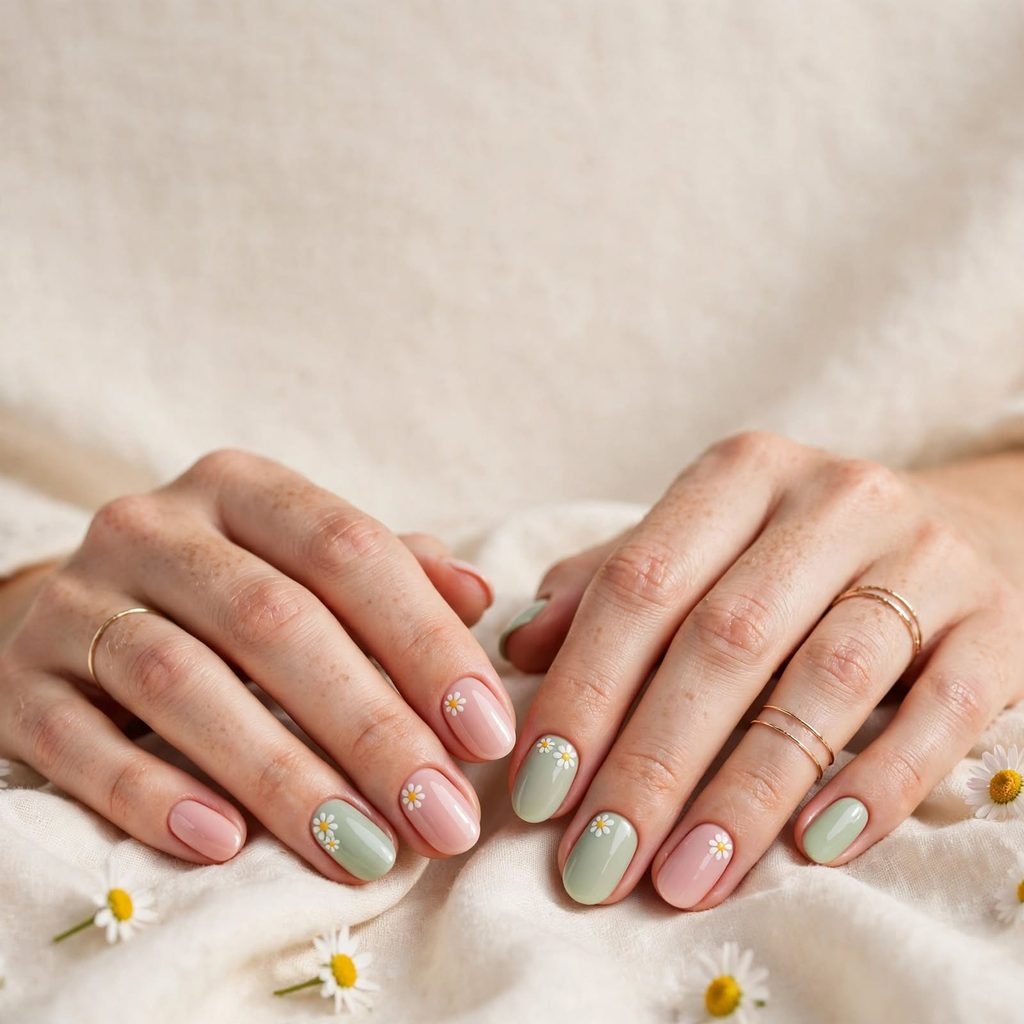
A daisy needs only dots. Place five white dots in a ring so they touch, then add one yellow dot in the middle. The flower looks sweet on a soft pink or light green base. You can paint one big flower or a tiny bunch near the cuticle. It is an easy way to bring a little garden to your hands.
Who it suits best: Spring lovers, picnic days, and anyone who wants a cheerful, gentle look.
Quick styling tip: Let the white dots dry for a minute before adding the yellow center so the colors stay clean.
11. Matte and Shine Combo for a Subtle Twist

This idea plays with finish instead of color. You paint all your nails in one shade, then cover them with a matte top coat. Leave one nail or one small design shiny, like a dot, a line, or a shape. The change between flat and glossy catches the light in a pretty way. It looks high-end, yet it costs very little to try.
Who it suits best: Anyone who likes a calm, grown-up look. It is lovely with dark fall shades like plum and forest green.
Quick styling tip: Draw a small shape with clear glossy polish over a matte nail, and it will show up on its own.
12. A Thin Gold Accent Line for a Little Luxe
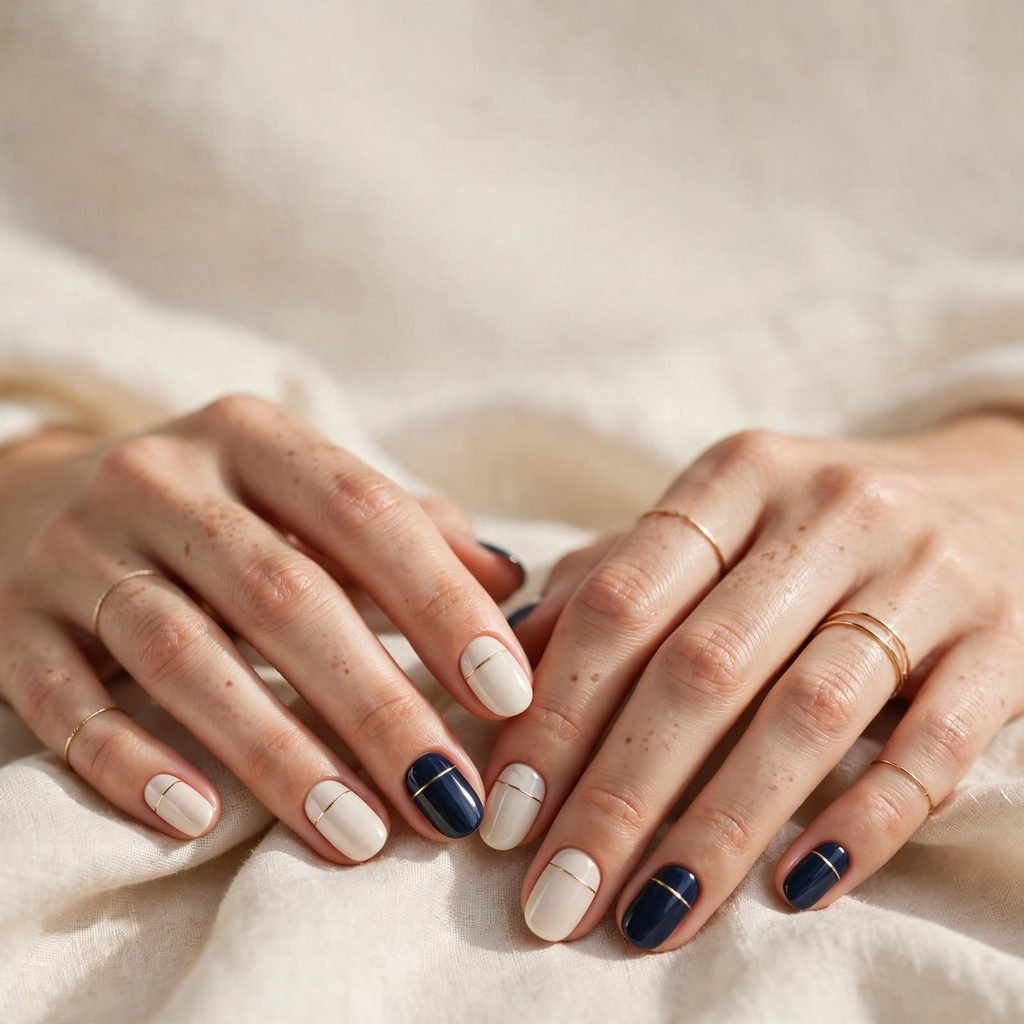
A thin metallic line can make a plain manicure feel special. Paint your nails in a solid color first, such as black, navy, or cream. Once dry, draw a single gold or silver line across the nail or along the cuticle. The shiny stripe looks fancy, but it is just one quick step. It also works well if you already have a metallic polish at home.
Who it suits best: Evening events, holiday parties, and anyone who likes a hint of shine.
Quick styling tip: Keep the line very thin, because a wide one stops looking delicate.
13. Cozy Speckled Nails for a Fall Feel

Speckled nails look like tiny freckles on a pretty egg. Start with a soft base, such as beige, cream, or pale sage. Then tap small dots of dark polish on top with the tip of a thin brush. Space them out randomly so the pattern feels natural. This look fits fall well, and it hides small flaws because the dots draw the eye.
Who it suits best: Fans of earthy, natural style. It works well on short nails.
Quick styling tip: Tap instead of drag, and use two dot sizes for a more natural pattern.
14. One Checkerboard Accent for a Trendy Twist

Checkerboard nails look bold, but you can keep them easy. Paint only one nail in a small grid and keep the others plain. Use a thin brush to make a few squares in two colors. They do not need to be perfect, because slightly uneven squares look cool too. Black and white is the classic combo, yet brown and cream feels warm for fall.
Who it suits best: Trend lovers. It looks best on medium nails that have room for the squares.
Quick styling tip: Paint every other square first, let them dry, and then fill in the rest.
15. Mix-and-Match Shades for an Easy, Relaxed Style

Mix-and-match nails use a different shade on each finger. Choose three to five colors from the same family, like soft pinks or warm browns. Paint one color per nail in any order you like. Because the shades go well together, the look feels planned. It is the easiest simple nail art idea if you dislike drawing, and it takes almost no skill.
Who it suits best: Beginners, teens, and anyone short on time.
Quick styling tip: Line up your bottles in a row first and pick the order before you start.
How to Do Simple Nail Art at Home
You do not need a full kit to get started. A few basic tools are enough for every idea in this list. Gather nail polish remover, cotton pads, a nail file, a base coat, your color polishes, and a top coat. Add a toothpick or dotting tool, a thin brush, and a small piece of foil or paper to hold a drop of polish. Then follow these steps.
- Remove old polish with remover and a cotton pad, then wash and dry your hands.
- Trim and file your nails into the shape you like, and gently push back your cuticles.
- Wipe each nail with a little remover so the surface is free of oil.
- Brush on one thin layer of base coat and let it dry for about two minutes.
- Paint your main color in two thin coats, letting each coat dry before the next.
- Put a small drop of polish on your foil, dip your toothpick or brush in it, and add your design.
- Work slowly, and wipe your tool clean any time it gets gloopy.
- Let the design dry for at least five minutes so it does not smudge.
- Seal everything with a thin layer of top coat, and run the brush along the free edge of the tip.
- Dip a small brush in remover and clean up any polish on your skin.
Take your time with the first try. The first nail is often the hardest, and the rest get easier. If a design goes wrong, wipe it off with a cotton swab and try again. Practice makes your lines smoother and your dots rounder.
Cost and Time: Doing It Yourself vs. Going to a Salon
Simple nail art is friendly on your wallet, especially at home. Most of your cost comes from the polish and a few small tools, and you can use them again and again. A salon adds a fee for each design, and the price grows with the detail. Time also changes with the method you choose. The numbers below are rough estimates, so prices in your area may differ.
| Option | Rough cost | Time | How long it lasts |
| At home with regular polish | 10–25 to start, then almost free | 30–60 minutes | 5–7 days |
| Salon with regular polish | 25–45 including simple art | 45–75 minutes | 5–10 days |
| Salon with gel polish | 40–70 including simple art | 60–90 minutes | 2–3 weeks |
Care Tips to Keep Your Nails Looking Great
A little care helps your nail art last longer and keeps your nails healthy. Fresh polish takes time to harden fully, even when it feels dry. Your daily habits also play a big part in how long a design stays pretty. Think of your nails as something that needs gentle treatment, not a tool. Here are the habits that help most.
- Wait at least 30 minutes before washing dishes or soaking your hands.
- Add a fresh thin layer of top coat every two or three days to refresh the shine.
- Rub a little cuticle oil or hand cream into your nails each night.
- Wear gloves for cleaning, gardening, or anything that uses harsh soap.
- Never pick at or peel off chipped polish, since it can pull layers from your nail.
- Remove old polish with a gentle remover, and give your nails a short break between designs when they feel dry.
Frequently Asked Questions
How long does simple nail art take?
Most designs in this list take 30 to 60 minutes from start to finish. Much of that time is just waiting for the polish to dry. An accent nail or mix-and-match look can be done in under 30 minutes. Detailed ideas like daisies or checkerboards may take a bit longer at first. You will get faster each time you try.
Can I do simple nail art on short nails?
Yes, and short nails are a great canvas for it. Small designs like dots, tiny hearts, and thin lines fit short nails perfectly. Keep the art light so the nail does not look crowded. Pale and nude shades can also make short nails look a bit longer. Try the micro French or speckled nails for a neat result.
What if I make a mistake?
Do not worry, because almost every mistake can be fixed. If the polish is still wet, wipe it away with a cotton swab dipped in remover. If it has dried, cover the spot with a small dot or line and call it part of the design. A thin layer of top coat can also hide tiny bumps. Many people find that a relaxed, imperfect look is part of the charm.
Do I need special tools?
No, you can start with items you already own. A toothpick works as a dotting tool, and a bobby pin can make larger dots. A thin brush helps with lines, but a steady toothpick can do small details too. Tape and paper reinforcement stickers make good guides for stripes and curves. You can buy proper nail art tools later if you fall in love with the hobby.
How can I make my nail art last longer?
Start with clean, dry nails and a good base coat. Paint thin layers, since thick coats stay soft and chip more easily. Always seal your design with top coat, and cap the free edge of each nail. Add another thin layer of top coat every few days to keep the shine. Wearing gloves for chores also helps a lot.
What colors work best for fall?
Warm, earthy shades are a natural pick for the season. Think cocoa brown, olive, rust, deep plum, and forest green. Cream and beige also make a lovely base for speckles or small designs. For a little extra glow, add a thin line of gold. Mix two or three of these shades, and your nails will match the cozy mood.
Final Thoughts: Pick Your Simple Nail Art Vibe
Every idea in this list is easy, and every one can be made your own. You do not need to master them all at once. Pick one that fits your mood, your nails, and your day, and give it a try. If you want a quick guide, use the vibes below.
- Simple and calm: Accent nail, micro French tips, half-moon, matte and shine, or mix-and-match shades.
- Glam and sparkly: Soft glitter fade, gold accent line, or tiny hearts on a soft base.
- Bold and playful: Color block, polka dots, checkerboard accent, wavy squiggles, or mini daisies.
Your nails are a tiny canvas that you get to change whenever you like. Do not stress about perfect lines or perfect dots. Have fun, play with color, and enjoy the little boost it gives you. Happy painting, and I can’t wait to see what you create!