13 Nail Art Ideas You’ll Want to Try This Season
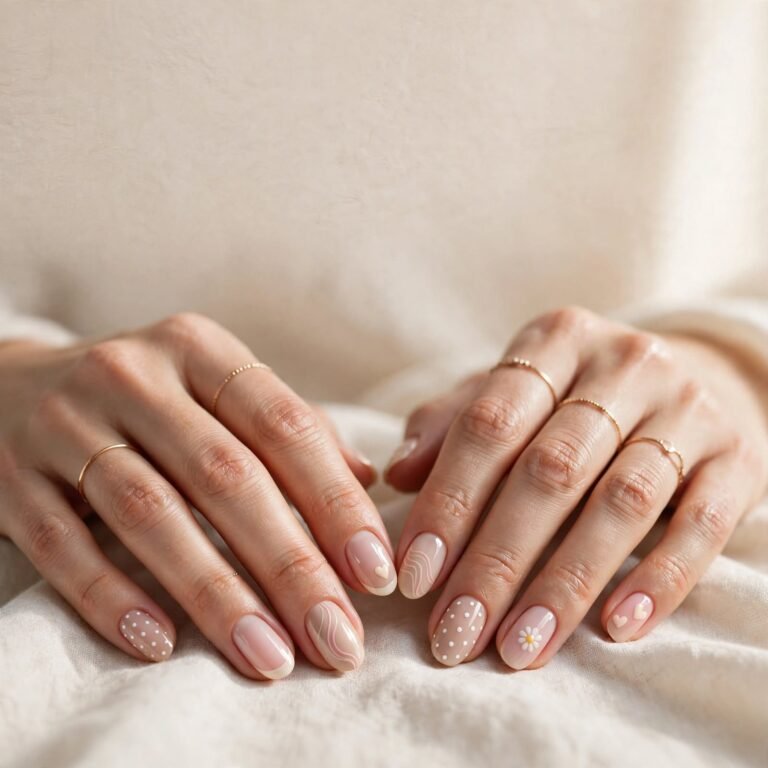
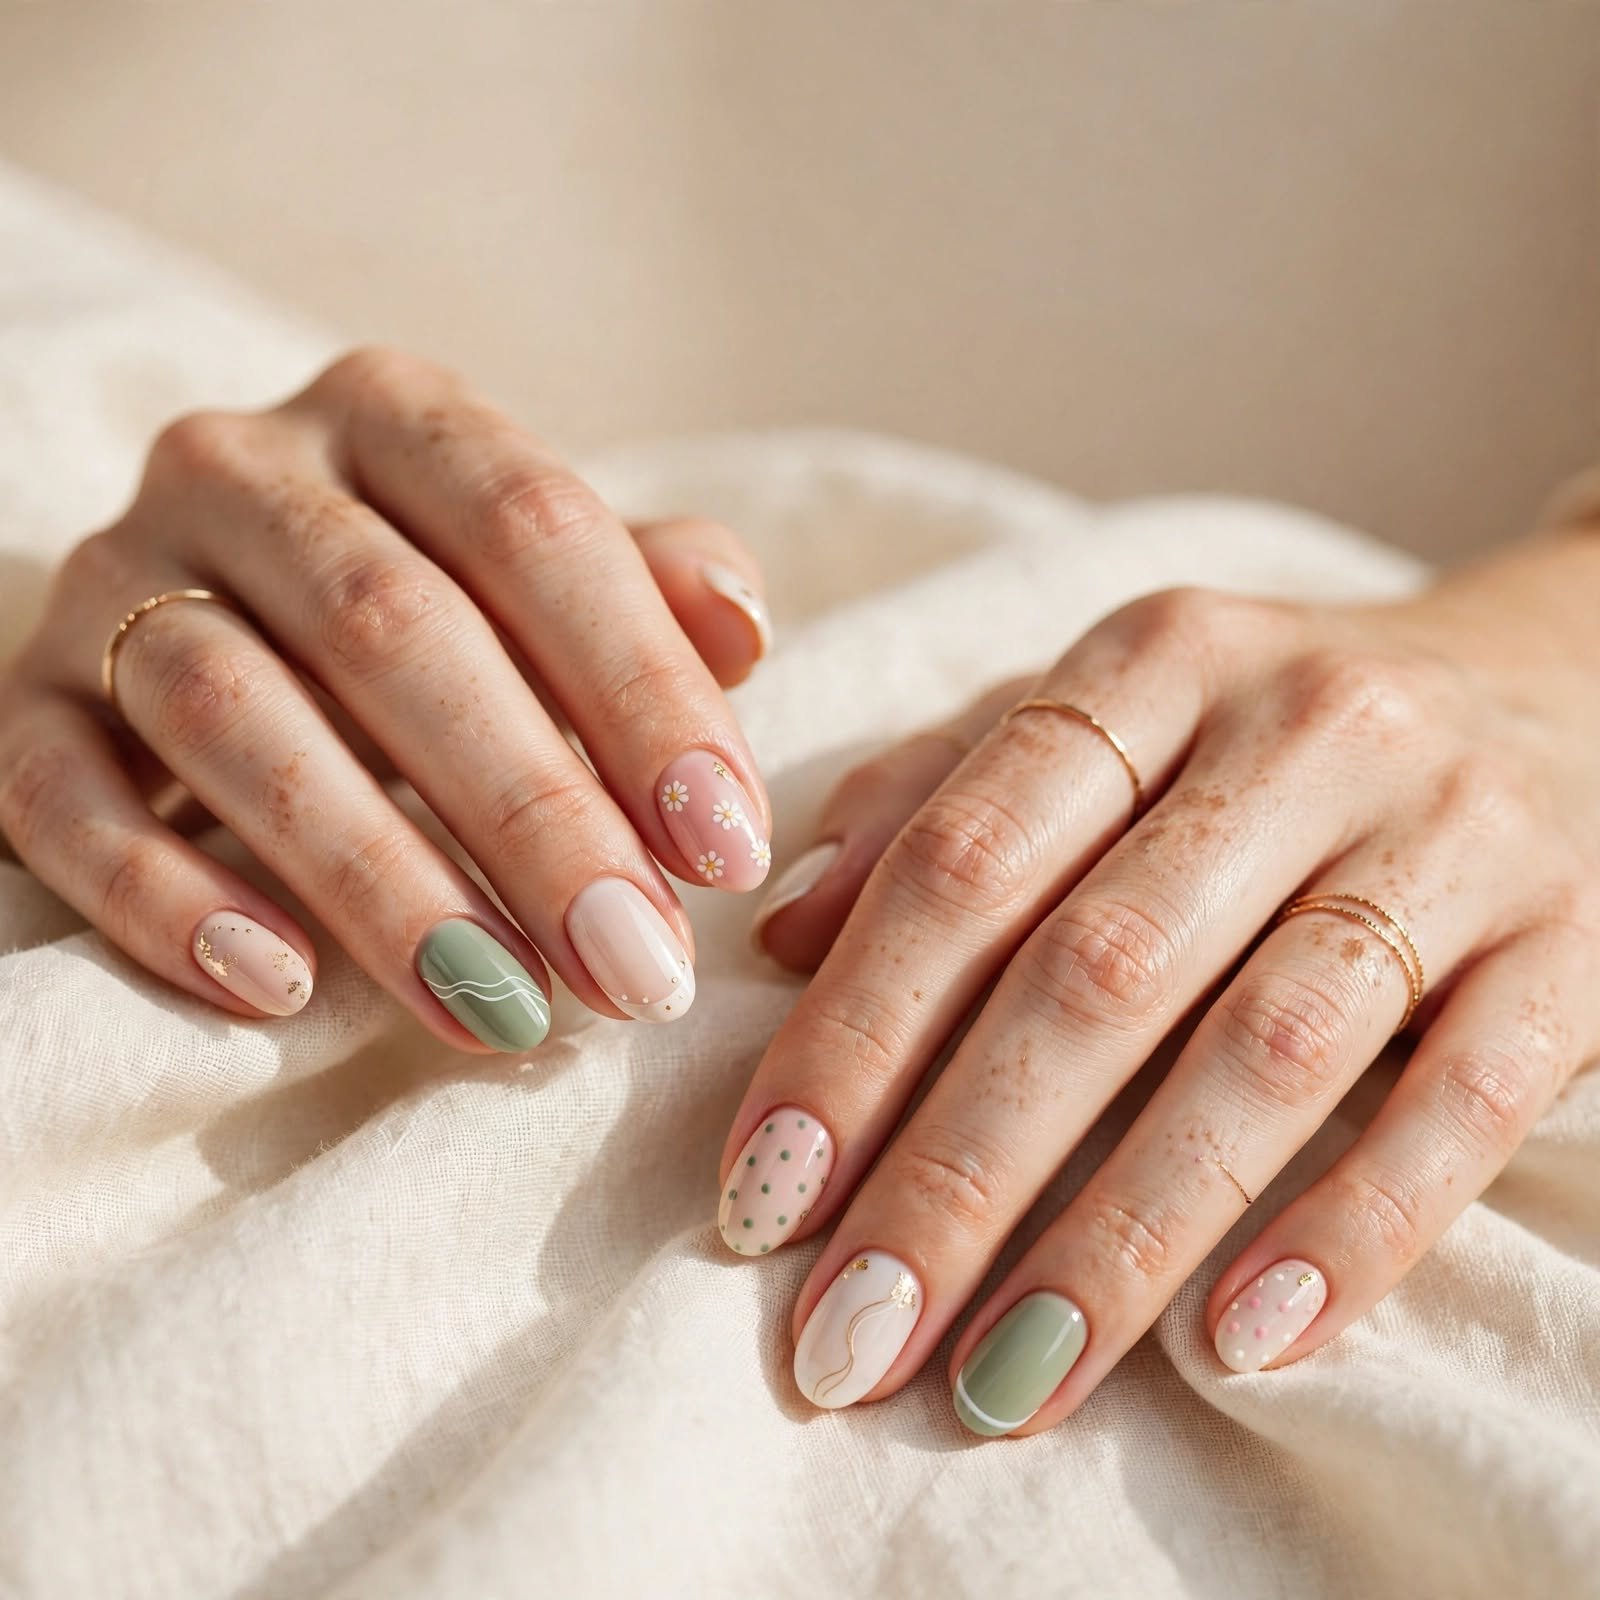
Have you ever looked at your bare nails and thought, “I need something fun”? You are not alone. Nail art is one of the easiest ways to show off your personality, and you do not need to be an artist to try it. In this guide, we share 13 nail art ideas, from soft and simple to bold and bright. You will also learn how to pick a style that fits you, how to try each one at home, and how to keep it looking fresh.
Why Nail Art Is Having a Big Moment
People have decorated their nails for thousands of years. Ancient groups used natural dyes like henna to color their fingertips, and nail color often showed a person’s place in society. Today, the meaning is simpler and much friendlier. Nail art is a small, low-cost way to feel put together and add a bit of joy to your day.
Right now, the season is a big reason people are trying new designs. It is late October, so fall shades like burgundy, rust, and chocolate brown are everywhere. Halloween and the holidays are close, which makes playful and sparkly looks feel extra fun. Many people also want cozy, calm styles for the colder months ahead. That is why this season has room for both spooky ideas and soft, quiet ones.
Across the nail world, a few big themes keep showing up. Many people love short, natural-shaped nails that feel easy and clean. Mirror-like shine, soft glossy finishes, and delicate hand-drawn details are also popular. At the same time, bold color mixing and playful shapes keep gaining fans. The best part is that nail art has no single rule, so you can pick what feels right for you.
How to Pick the Right Nail Art for You
Start with your nail shape and length. Short nails look great with simple lines, tiny dots, and small accents, because busy designs can feel crowded. Long nails give you more room, so full designs, gradients, and bigger art work well. Narrow nail beds look wider with soft side-to-side shapes, while wide nail beds look slimmer with vertical lines. If you are unsure, try a style on one nail first and see how you feel.
Next, think about your skin tone. Warm undertones, which often look golden or peachy, glow with caramel, rust, olive, and warm gold. Cool undertones, which often look pink or blue, shine with berry, silver, navy, and icy shades. Neutral undertones can wear almost anything, so you have the most freedom. A quick trick is to hold a color near your hand in daylight and see if your skin looks bright or dull.
Table of Contents
- Colorful French Tips for a Fresh Take on a Classic
- Chrome Mirror Nails That Catch Every Bit of Light
- Cozy Autumn Leaf Accents for Fall Days
- Minimalist Negative Space Nails for a Calm, Modern Look
- Spooky Spiderweb Nails for Halloween Fun
- Dreamy Aura Nails With a Soft, Glowing Center
- Tiny Hand-Drawn Doodles: Hearts, Stars, and Squiggles
- Elegant Marble Nails With Soft, Swirly Veins
- Sparkly Glitter Fade for Holiday Parties
- Velvet Cat-Eye Nails With a Gemstone Glow
- Retro Checkerboard Nails With Playful Squares
- Soft Floral Accents for a Fresh, Sweet Touch
- Mix-and-Match Color Pop for the Playful at Heart
- Nail Art FAQ
- Final Thoughts: Find Your Nail Art Vibe
13 Nail Art Ideas to Try
Then, match the design to your day. If you work with your hands a lot, pick a simple look that will not show chips right away. For a party, a date, or a holiday dinner, you can go bolder and shinier. Your comfort matters too, so pick a look you can type, cook, and live in. Most of all, choose something that makes you smile every time you look down.
1. Colorful French Tips for a Fresh Take on a Classic
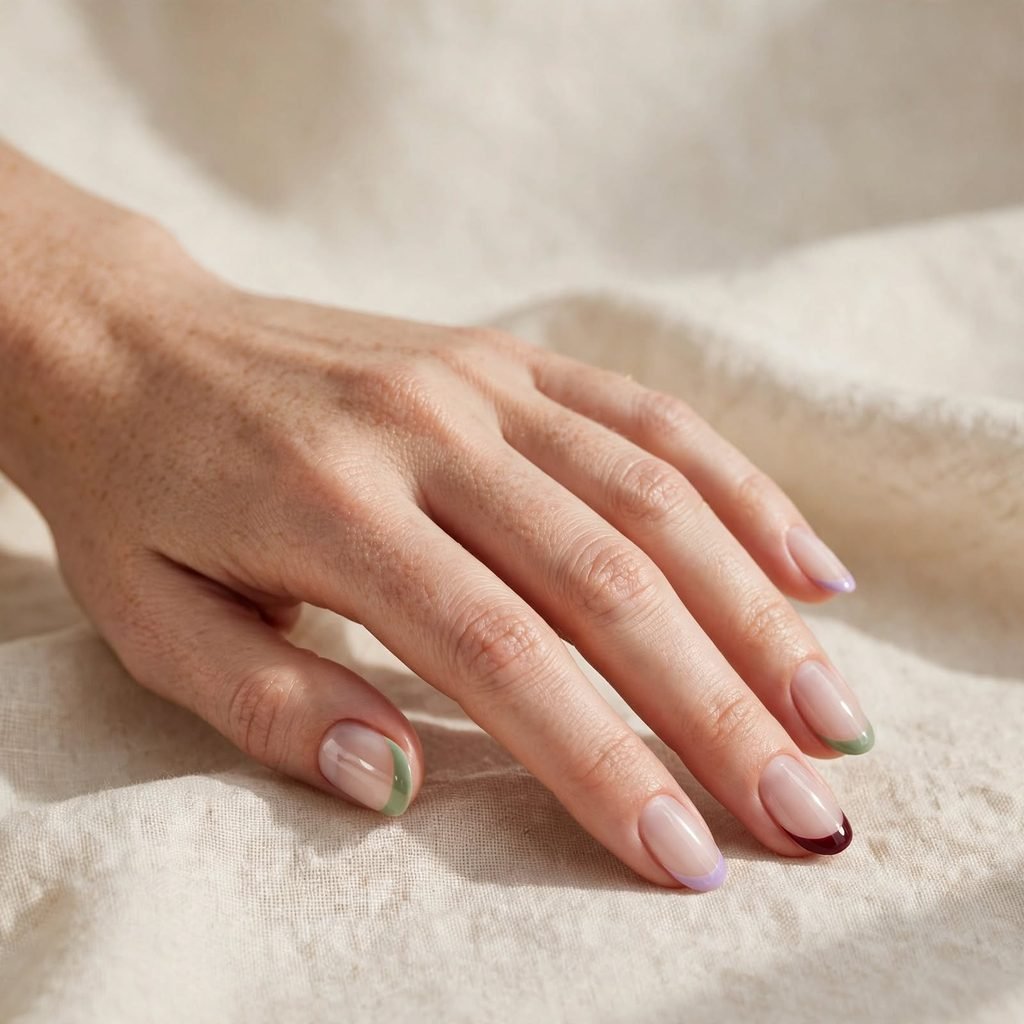
The French manicure is a classic, and a little color makes it feel brand new. Instead of white, you paint the tips in a shade like sage green, soft lilac, or deep burgundy. The base stays sheer and natural, so the look still feels clean and neat. It is one of the easiest nail art looks to learn, and it grows out nicely. It also goes with almost any outfit.
Who it suits best: Short to medium nails, work and school days, and anyone who loves a tidy look.
Styling tip: Match your tip color to your scarf, bag, or favorite sweater.
How to do this at home:
- Push back your cuticles, shape your nails, and lightly buff the surface.
- Apply a sheer pink or nude base color and let it dry.
- Use a thin brush, or a small strip of tape, to paint a slim curve at each tip.
- Clean the edges with a tiny brush dipped in remover, then add a clear top coat.
Cost & time: DIY costs about $5 to $15 if you buy one new polish. A salon visit runs about $30 to $65. Plan on 30 to 45 minutes. Regular polish lasts 5 to 7 days, and gel can last 2 to 3 weeks.
Care tips: Add a fresh layer of top coat every two or three days. Wear gloves when you wash dishes. Rub cuticle oil into your nails each night.
2. Chrome Mirror Nails That Catch Every Bit of Light

Chrome nails have a shiny, mirror-like finish that sparkles every time you move your hands. The look comes from a fine powder that is rubbed onto a smooth gel layer, so it looks like liquid metal. Silver and gold are the classics, but soft pearl and rose shades are lovely too. It looks fancy, yet it only needs one main color. Many people love it for parties because it works with dressy outfits and jeans alike.
Who it suits best: Any nail length, special events, and people who love a little shine.
Styling tip: Pair your chrome shade with jewelry in the same metal tone.
How to do this at home:
- Prep your nails, then paint on a base color. Black or a dark shade makes the shine pop.
- Cure the base under a nail lamp, then add a no-wipe gel top coat and cure it again.
- Rub a tiny bit of chrome powder over each nail with a small pad until it looks smooth and shiny.
- Brush off any loose dust, seal with another thin top coat, and cure one last time.
Cost & time: DIY has a starter cost of about $20 to $40, since you need a lamp and powder. A salon visit runs about $45 to $90. Set aside 60 to 90 minutes. The finish lasts about 2 to 3 weeks.
Care tips: Skip harsh scrubbing, since it can dull the shine. Wear gloves for cleaning. Never peel the gel off, because it can thin your natural nails.
3. Cozy Autumn Leaf Accents for Fall Days
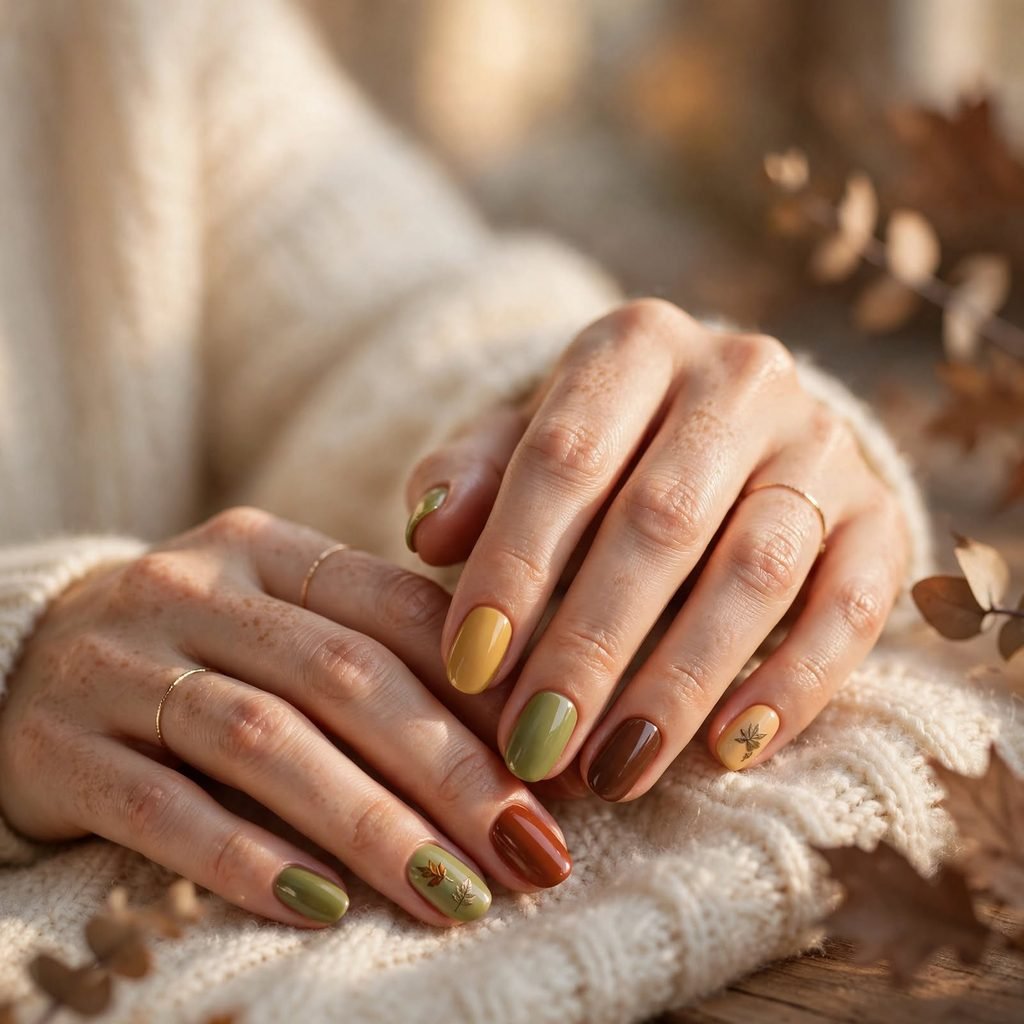
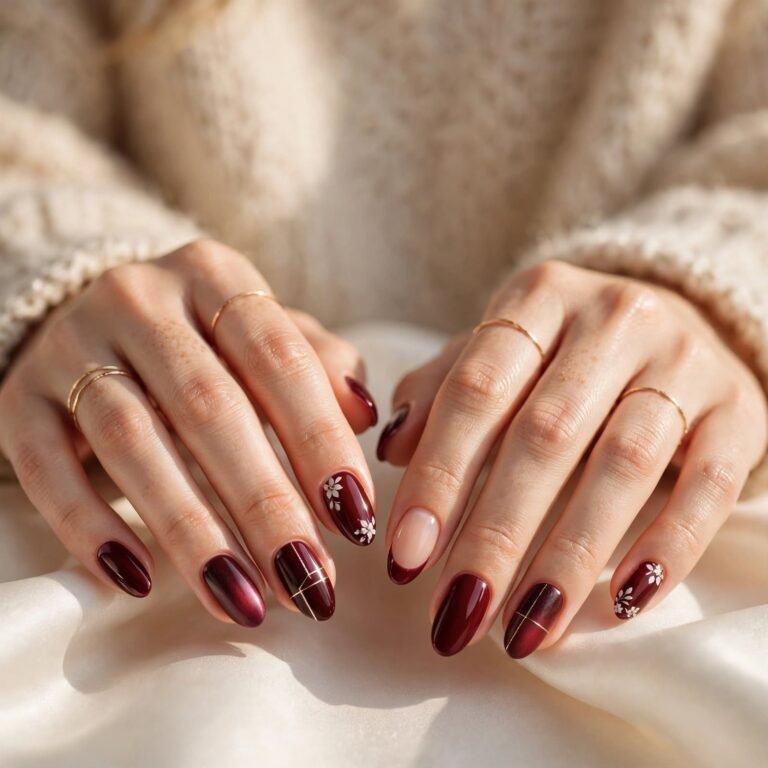
Fall is the perfect time for earthy colors like rust, mustard, olive, and chocolate brown. For this look, you paint most nails in one warm shade and add tiny leaves to just one or two. The leaves can be simple, like a few curved strokes made with a thin brush. It feels cozy, like a warm sweater for your hands. It is also pretty enough for a big family dinner.
Who it suits best: Medium nails, warm skin undertones, and anyone who loves fall style.
Styling tip: Keep the leaf art to your thumb and ring finger so the look stays balanced.
How to do this at home:
- Paint two thin coats of your base color and let them dry fully.
- Dip a thin brush or a toothpick into a contrasting shade.
- Make a small teardrop shape, then pull a thin line through the middle for the leaf stem.
- Add a few tiny dots nearby, then seal everything with top coat.
Cost & time: DIY costs about $5 to $20. A salon visit runs about $40 to $70 with art. It takes 45 to 60 minutes. Polish lasts about a week, and gel lasts 2 to 3 weeks.
Care tips: Add top coat every few days to protect the art. Moisturize your hands often, since cold air dries them out. Avoid long, hot soaks that can loosen polish.
4. Minimalist Negative Space Nails for a Calm, Modern Look

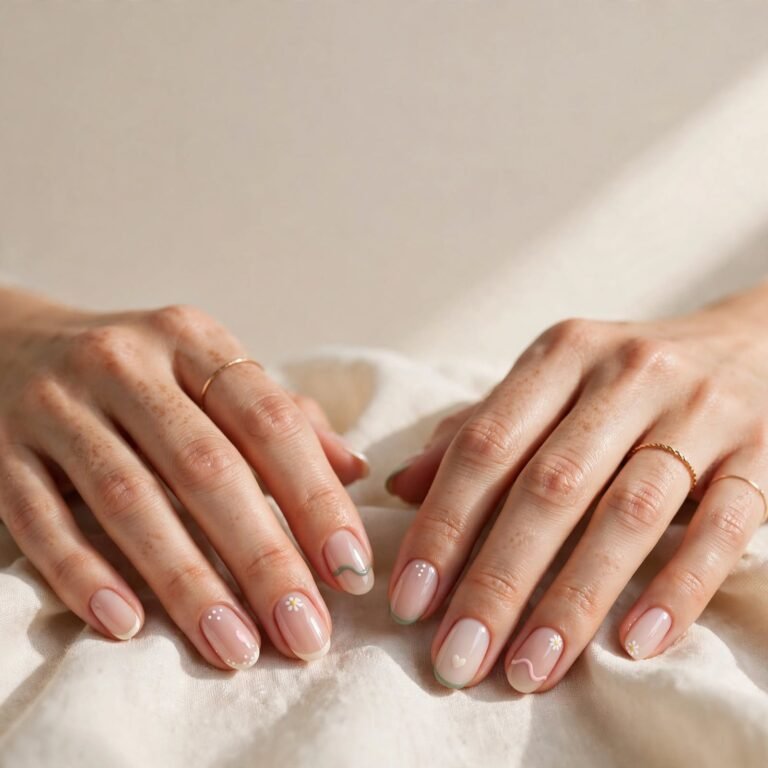
Negative space nail art leaves part of the nail bare, and that empty space becomes part of the design. You might paint a thin line, a half moon, or a tiny curve and let your natural nail show through. It feels light, clean, and modern. It is also very forgiving, because a small wobble hides easily on a clear base. If you want a calm look, this one is for you.
Who it suits best: Short nails, beginners, office settings, and fans of simple style.
Styling tip: Pick one accent color and repeat it on every nail so the set feels connected.
How to do this at home:
- Prep your nails and add a clear or sheer base coat.
- Place a thin strip of tape on each nail to mark off a curve or a straight line.
- Paint over the open area with your chosen color.
- Peel off the tape gently while the polish is still a little wet, then add top coat.
Cost & time: DIY costs about $5 to $12. A salon visit runs about $35 to $60. Plan on 30 to 40 minutes. Polish lasts about a week, and gel lasts 2 to 3 weeks.
Care tips: File small chips right away so they do not catch on fabric. Use cuticle oil each day. Reapply top coat every few days to keep the lines crisp.
5. Spooky Spiderweb Nails for Halloween Fun
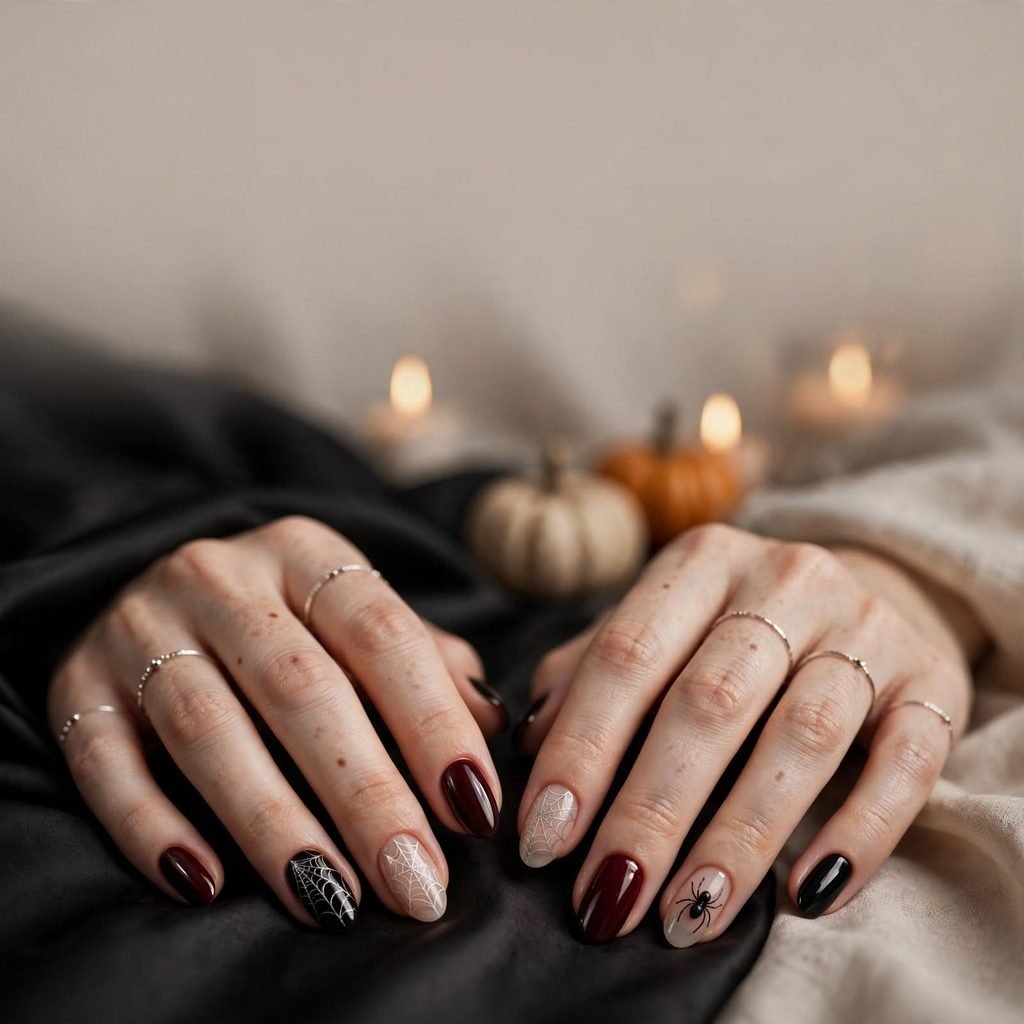
Halloween is just around the corner, and spiderweb nails are a fun way to join in. You paint a dark base, then draw thin curved lines that meet near one corner of the nail. A few small cross lines turn them into a web. Add a tiny spider if you like, or keep it simple with just the web. It looks spooky, but it still feels neat and stylish.
Who it suits best: Medium to long nails, Halloween parties, and anyone who likes a dramatic look.
Styling tip: Put webs on two or three nails and leave the rest solid black for balance.
How to do this at home:
- Paint two coats of black or deep plum polish and let them dry fully.
- Dip a very thin brush into white or silver polish and draw three or four lines that fan out from one corner.
- Join those lines with small, curved strokes that dip like tiny smiles.
- Add a small dot for a spider body if you like, then seal with top coat.
Cost & time: DIY costs about $5 to $12. A salon visit runs about $40 to $70. Plan on 45 to 60 minutes. Polish lasts about a week, and gel lasts 2 to 3 weeks.
Care tips: Use a gentle remover when the holiday is over. Add top coat every few days so the thin lines do not chip. Rest your nails with a bare look for a few days afterward.
6. Dreamy Aura Nails With a Soft, Glowing Center
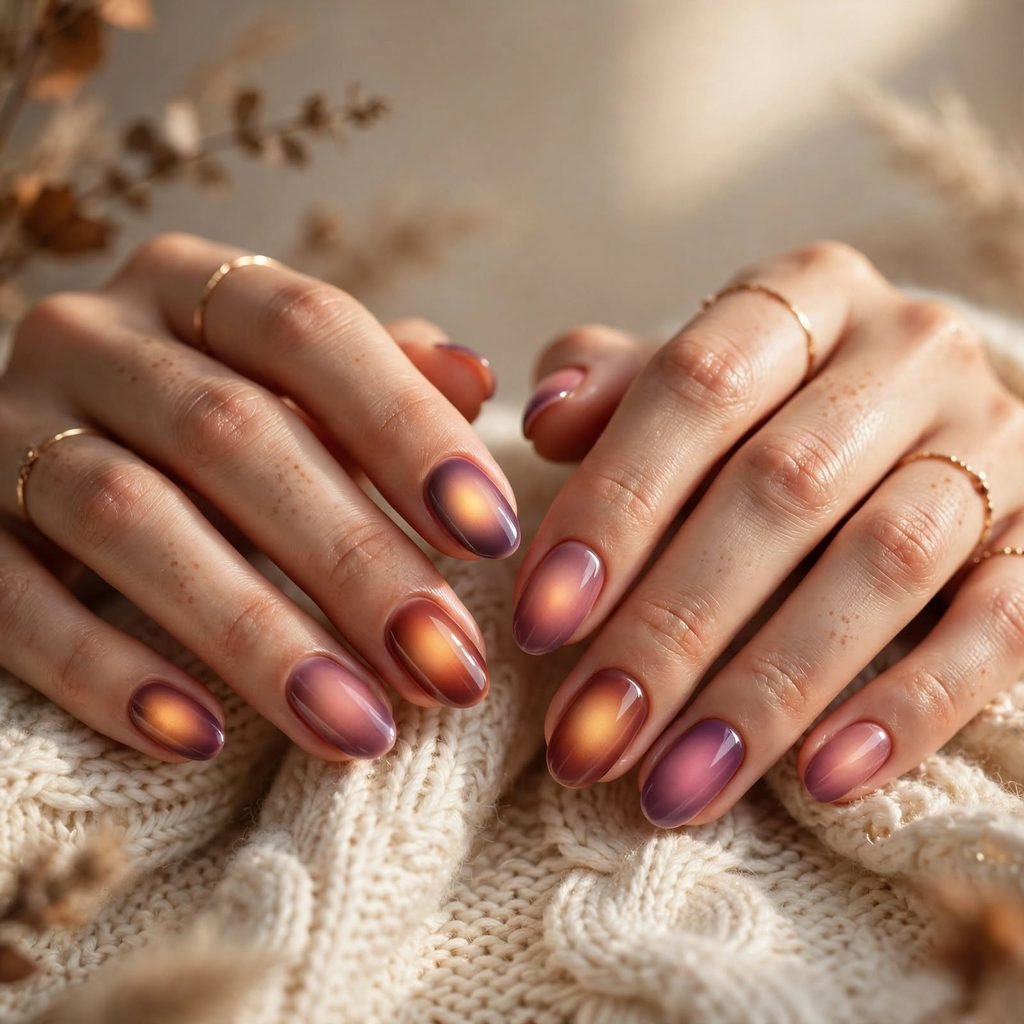
Aura nails have a soft, glowing center that fades out toward the edges, a bit like a blurry sunset. Two or three shades blend into each other with a gentle, cloudy look. It is a dreamy style that works with pastels and deep fall colors alike. Think plum fading into pink, or rust fading into gold. It looks like you spent hours, but it is easier than it seems.
Who it suits best: Almond, oval, and longer nails, creative types, and anyone who loves a soft glow.
Styling tip: Choose shades that sit close together on the color wheel so the blend looks smooth.
How to do this at home:
- Paint a light base color and let it dry completely.
- Dab a small circle of a bolder shade on the center of the nail with a makeup sponge or a soft brush.
- Tap lightly around the edges of the circle to blur it, and add a second shade if you want more depth.
- Seal with a glossy top coat to smooth out the layers.
Cost & time: DIY costs about $8 to $20. A salon visit runs about $50 to $90, since many salons use an airbrush tool. Plan on 45 to 75 minutes. Polish lasts 1 to 2 weeks, and gel lasts 2 to 3 weeks.
Care tips: Use cuticle oil each night to keep the area around your nails soft. Wear gloves for cleaning. Avoid scraping the surface with your fingertips, since the soft blend can wear thin.
7. Tiny Hand-Drawn Doodles: Hearts, Stars, and Squiggles
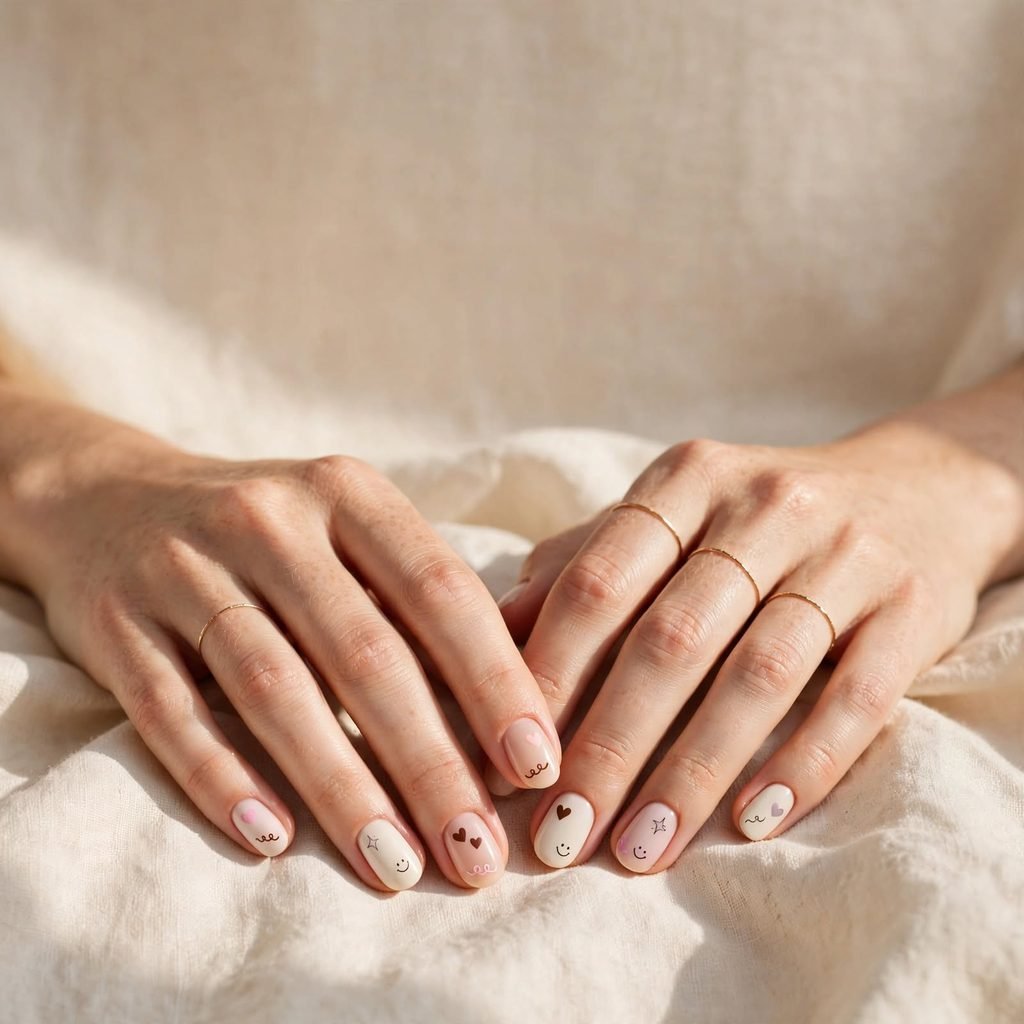
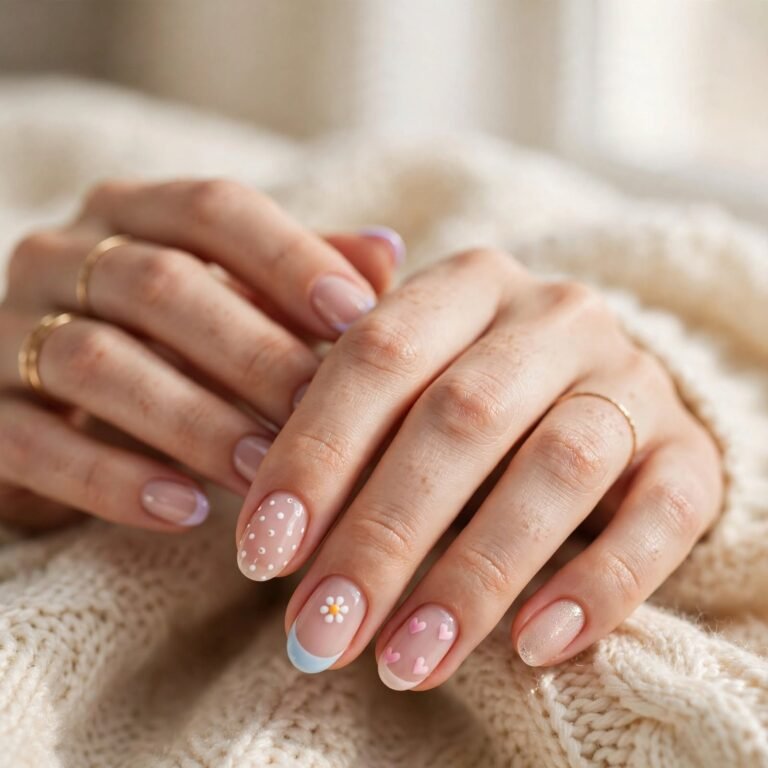
Tiny doodles make nail art feel playful and personal. Think small hearts, stars, smiley faces, or wavy lines scattered across a solid color. They do not need to be perfect, which is part of the charm. A dotting tool or even a toothpick is enough to make them. Many people find this style to be the most relaxing one to do.
Who it suits best: Short nails, playful personalities, and casual days with friends.
Styling tip: Stick with two or three doodle shapes so the design does not look messy.
How to do this at home:
- Paint a light base like cream, baby blue, or blush, and let it dry.
- Dip a dotting tool in a darker polish and place two dots side by side, then drag each one down to a soft point to make a heart.
- For stars, draw a small plus sign and add a thin X over it.
- Scatter the doodles across a few nails, let them dry, and seal with top coat.
Cost & time: DIY costs about $5 to $12. A salon visit runs about $40 to $75. Plan on 30 to 50 minutes. Polish lasts about a week, and gel lasts 2 to 3 weeks.
Care tips: Do not rush the drying time, because doodles smudge easily. Add top coat every two or three days. Keep a small bottle of remover and a cotton swab nearby for quick fixes.
8. Elegant Marble Nails With Soft, Swirly Veins

Marble nails copy the soft veins you see in stone. You draw thin, wandering lines of white, gray, or black over a pale base and blur them gently. The result looks elegant and one of a kind, since no two nails turn out the same. Cool colors look like classic stone, while rust and gold shades look warm and rich. It is a smart choice when you want a fancy style without too many bright colors.
Who it suits best: Medium to long nails, formal events, and people who love calm, neutral palettes.
Styling tip: Leave one nail plain as a quiet break between the swirls.
How to do this at home:
- Paint a pale base color, such as white, cream, or light gray, and let it dry.
- Use a thin brush to draw a few wobbly, diagonal lines in gray or black.
- Tap the lines softly with a clean makeup sponge so the edges blur.
- Add a few extra fine lines on top, then finish with a glossy top coat.
Cost & time: DIY costs about $5 to $15. A salon visit runs about $45 to $80. Plan on 40 to 60 minutes. Polish lasts about a week, and gel lasts 2 to 3 weeks.
Care tips: Keep your hands away from harsh cleaners, which can dull the gloss. Add fresh top coat every few days. Use a soft buffer to smooth any rough spots before you reapply the shine.
9. Sparkly Glitter Fade for Holiday Parties

A glitter fade starts with a smooth color near the cuticle and builds into sparkle at the tips. It looks like soft snowfall or a starry night sky. The holidays are close, so this style fits parties, gift swaps, and cozy nights out. Silver, gold, and champagne are classic picks, while red glitter feels extra festive. You get a big shine without covering the whole nail in sparkle.
Who it suits best: Any nail length, holiday events, and people who love a little sparkle.
Styling tip: Pick glitter with small, fine pieces for a smoother, more polished finish.
How to do this at home:
- Paint a base color and let it dry.
- Dab glitter polish onto a makeup sponge and press it onto the tips of your nails.
- Press the sponge a little lower on the nail, using less pressure, to build the fade.
- Add one or two layers of top coat so the surface feels smooth.
Cost & time: DIY costs about $6 to $15. A salon visit runs about $45 to $85. Plan on 40 to 60 minutes. Polish lasts about a week, and gel lasts 2 to 3 weeks.
Care tips: Do not pick at the glitter, since it can pull off layers of your nail. When it is time to remove it, soak a cotton pad in remover and wrap each nail in foil for a few minutes. Rub on cuticle oil afterward to bring back moisture.
10. Velvet Cat-Eye Nails With a Gemstone Glow
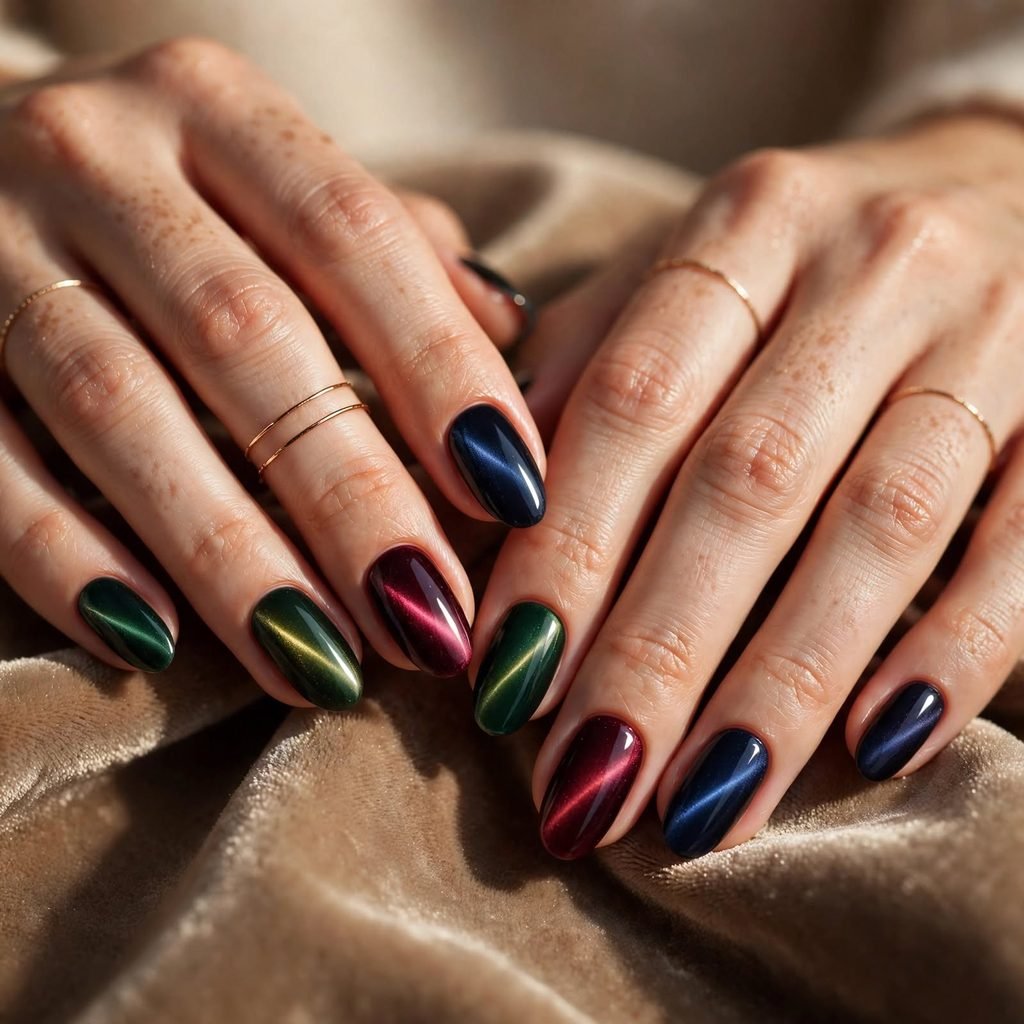
Cat-eye nails use magnetic polish to make a soft glowing line that seems to float under the surface. As you move your hand, the line shifts like light moving through a gemstone. Deep green, burgundy, and navy look especially rich in the fall. The effect looks high-end, yet it needs only one color. It is a great pick when you want drama without much work.
Who it suits best: Medium to long nails, evening outfits, and anyone who loves a jewel-toned look.
Styling tip: Wear a simple outfit and let your nails be the star.
How to do this at home:
- Prep your nails and apply a clear base coat.
- Paint one nail at a time with a thin layer of magnetic polish.
- Hold a small magnet close to the wet polish for a few seconds, without touching it, until the line forms.
- Let it dry, or cure it under a lamp if you use gel, then seal with top coat.
Cost & time: DIY costs about $12 to $25 for the polish and a magnet. A salon visit runs about $50 to $90. Plan on 45 to 60 minutes. Polish lasts about a week, and gel lasts 2 to 3 weeks.
Care tips: Add top coat every few days to keep the shine. Wear gloves when you use cleaning products. Store your magnet away from your cards and devices to be safe.
11. Retro Checkerboard Nails With Playful Squares

Checkerboard nails use a grid of small squares in two colors, and they feel bright and fun. Black and white is the classic combo, but cream and chocolate brown suit fall very well. The design looks tricky, yet it comes from simple steps and a steady hand. You can fill every nail or just one or two. It looks stylish and a little bit retro.
Who it suits best: Medium to long nails, retro fans, and anyone who likes bold patterns.
Styling tip: Leave a plain nail next to the checkerboard so the pattern does not feel too busy.
How to do this at home:
- Paint a light base color and let it dry fully.
- Use a thin brush to paint small squares in a second color, leaving a gap between each one.
- Start the next row so the squares sit in the gaps of the row above, which makes the checker look.
- Clean the edges with a tiny brush and remover, then seal with top coat.
Cost & time: DIY costs about $5 to $12. A salon visit runs about $45 to $80. Plan on 50 to 70 minutes. Polish lasts about a week, and gel lasts 2 to 3 weeks.
Care tips: Let each layer dry before you paint the next one. Add top coat every two or three days. Use a nail file to smooth chips as soon as you see them.
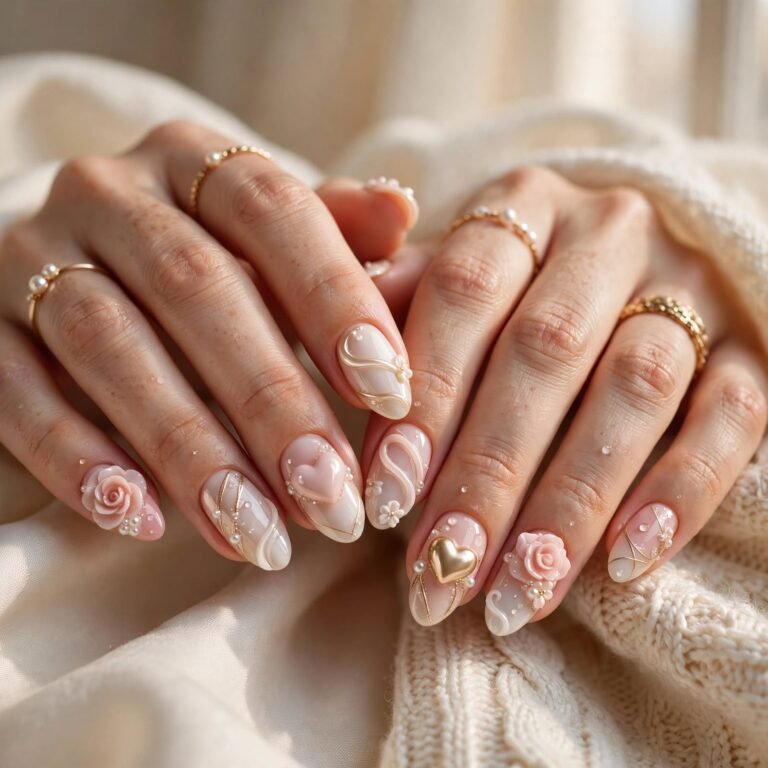
12. Soft Floral Accents for a Fresh, Sweet Touch
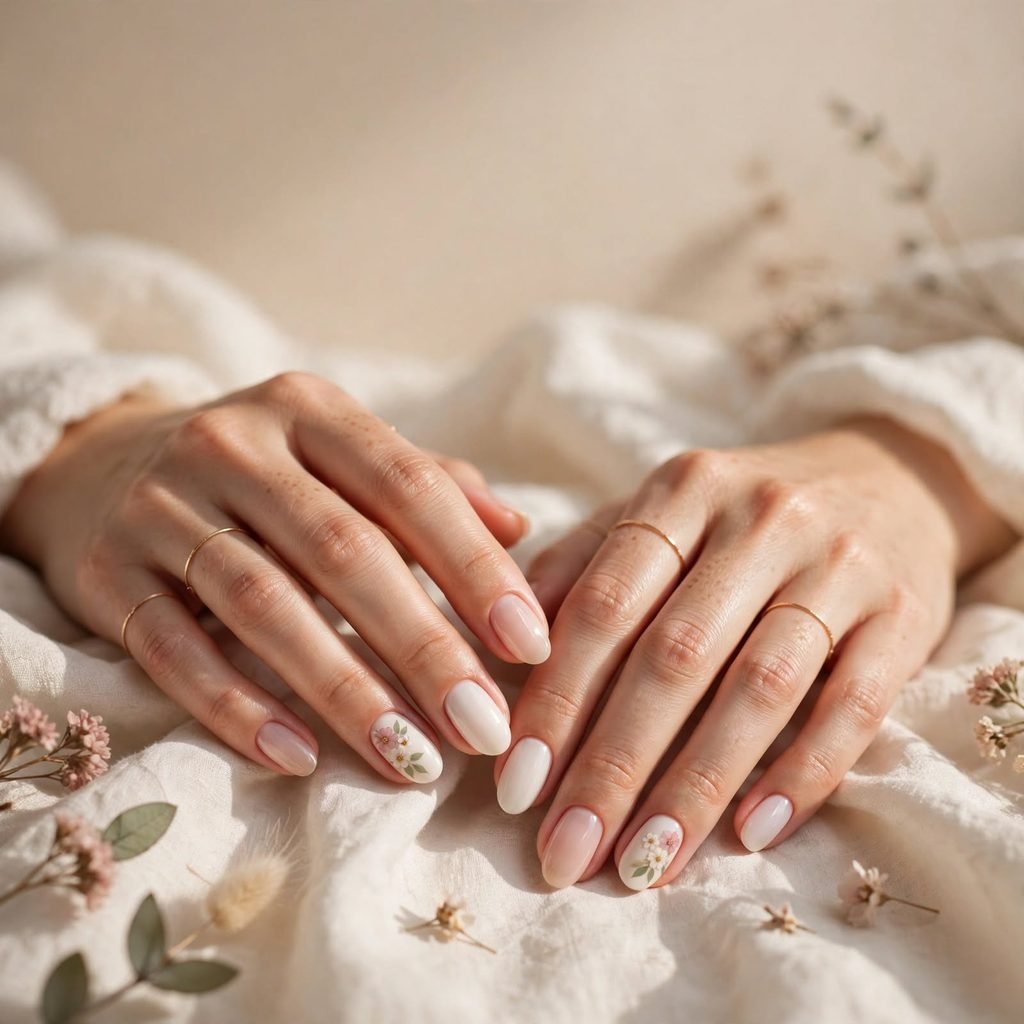
Soft floral accents bring a garden feeling to your hands, even in cold weather. Think tiny flowers in white, cream, or dusty pink on a sheer base. Small blooms keep the look light and sweet. The pretty details work best when the rest of the nail stays simple. It is a gentle style that feels fresh in any season.
Who it suits best: Short to medium nails, romantic styles, brunch dates, and weddings.
Styling tip: Add a tiny gold or yellow dot in the middle of each flower for extra charm.
How to do this at home:
- Paint a sheer pink or nude base and let it dry.
- Use a dotting tool and white polish to make five small dots in a circle, so they just touch.
- Place one dot of a contrasting shade in the middle of each flower.
- Add a few tiny green dots or short leaf strokes nearby, then seal with top coat.
Cost & time: DIY costs about $5 to $12. A salon visit runs about $40 to $75. Plan on 40 to 60 minutes. Polish lasts about a week, and gel lasts 2 to 3 weeks.
Care tips: Keep your hands away from hot water for the first hour so the flowers can set. Add top coat every few days. Use a soft touch when you open cans or pull at small objects.
13. Mix-and-Match Color Pop for the Playful at Heart
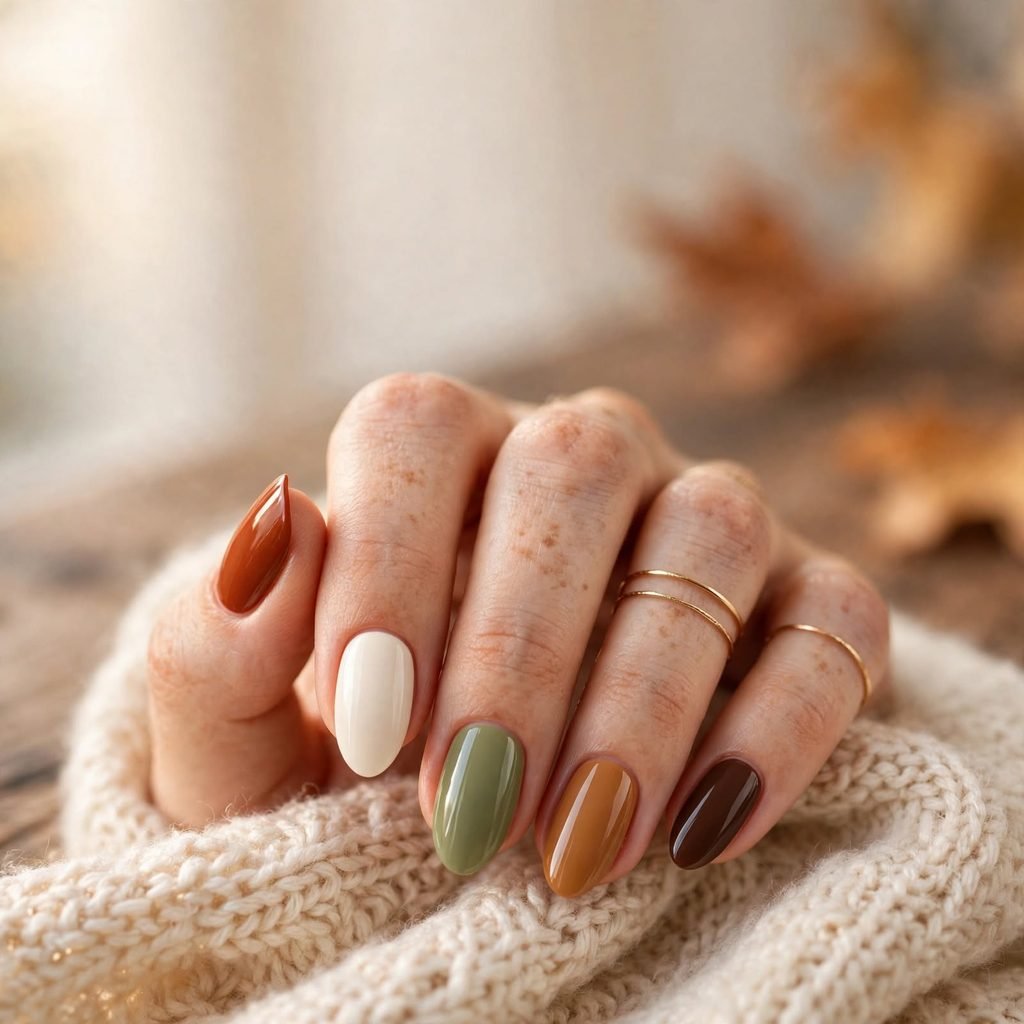
Mismatched nails give each finger its own color, and they still look planned. Pick three to five shades that sit well together, like rust, cream, olive, and brown. You can repeat the same pattern on both hands to keep it tidy. It is a playful style, and it is a great way to use up small bottles of polish. No one will ever say you made a mistake.
Who it suits best: Any nail length, creative people, and anyone who cannot choose just one color.
Styling tip: Stay inside one color family, like all warm shades or all cool shades, so the set feels calm.
How to do this at home:
- Choose three to five shades and line them up in the order you want.
- Paint each finger with two thin coats of its own color.
- Repeat the same order on your other hand so the look feels balanced.
- Finish every nail with the same top coat to tie the whole look together.
Cost & time: DIY costs about $0 to $10 if you use polishes you already own. A salon visit runs about $30 to $55. Plan on 30 to 45 minutes. Polish lasts about a week, and gel lasts 2 to 3 weeks.
Care tips: Keep the polishes sealed tight so they do not dry out. Add a fresh top coat every few days. Moisturize your hands each night to keep the colors looking bright.
Frequently Asked Questions
How long does nail art last?
The answer depends on the kind of polish you use and how you treat your hands. Regular polish usually lasts about five to ten days. Gel polish often lasts two to three weeks if it is applied well. Hand-painted details can wear off sooner than a solid color, so a good top coat really helps. Wearing gloves for chores adds extra days to any nail art.
Can I do nail art on short nails?
Yes, you can. Short nails are a great canvas for small details like dots, thin lines, tiny hearts, and negative space. Simple looks tend to feel neat and clean on a short nail bed. Busy designs with many parts can feel crowded, so keep things small and light. Many people say short nails are easier to keep strong, too.
Do I need special tools to try nail art at home?
Not at all. A thin brush, a toothpick, and a bobby pin can make a lot of designs. A dotting tool is cheap and helps with hearts, flowers, and polka dots. A clear top coat and a base coat are the two most useful basics. You can add more tools later if you fall in love with the hobby.
How do I stop my nail art from chipping?
Start with clean, dry nails that are free of oil and lotion. Use a base coat so the color has something to hold on to. Paint thin layers and let each one dry before you add the next. Seal the tips of your nails with top coat, and add a fresh layer every few days. Also, try not to use your nails as tools for opening cans or scraping stickers.
Is nail art safe for my natural nails?
In most cases, yes, as long as you take good care of your nails. Problems usually come from peeling off polish, rough filing, or leaving harsh products on for too long. Give your nails a short break between designs if they feel thin or dry. Use cuticle oil and hand cream to keep the area around your nails healthy. If you see pain, swelling, or strange color changes, check in with a doctor or a trusted nail professional.
How do I take off nail art without hurting my nails?
Soak a cotton pad in remover and press it on your nail for about 10 seconds. Wrap the finger in a small piece of foil if the polish is thick, glittery, or gel. Wait a few minutes, then wipe gently from the cuticle toward the tip. Never scrape or peel the color off, because that can pull away thin layers of your nail. Finish with oil and a rich hand cream.
Final Thoughts: Find Your Nail Art Vibe
If You Love Simple and Soft
Choose the colorful French tips (1), cozy autumn leaves (3), negative space (4), or soft florals (12). These styles are calm, neat, and easy to wear every day. They are also the best place to start if nail art is new to you. You will not need many tools, and small mistakes are easy to fix. Pick one and give it a try this week.
If You Love Glam and Shine
Go for chrome mirror nails (2), elegant marble (8), the glitter fade (9), or velvet cat-eye (10). These looks catch the light and feel special. They are lovely for parties, dinners, and holiday photos. Most of them need a little more time or a few extra tools. The shiny result is worth it when you want to feel dressed up.
If You Love Bold and Playful
Try the spooky spiderwebs (5), dreamy aura nails (6), tiny doodles (7), retro checkerboard (11), or mix-and-match color pop (13). These designs are all about fun and personality. They turn heads, and they make great conversation starters. You can mix two or three of them to build a set that is truly yours. Nobody else will have quite the same look.
Nail art should feel like play, not a test. Start small, take your time, and laugh at the wobbly lines, because they make your style yours. With a few simple tools and a bit of patience, you can try every idea on this list. Thanks so much for reading, and happy painting friends