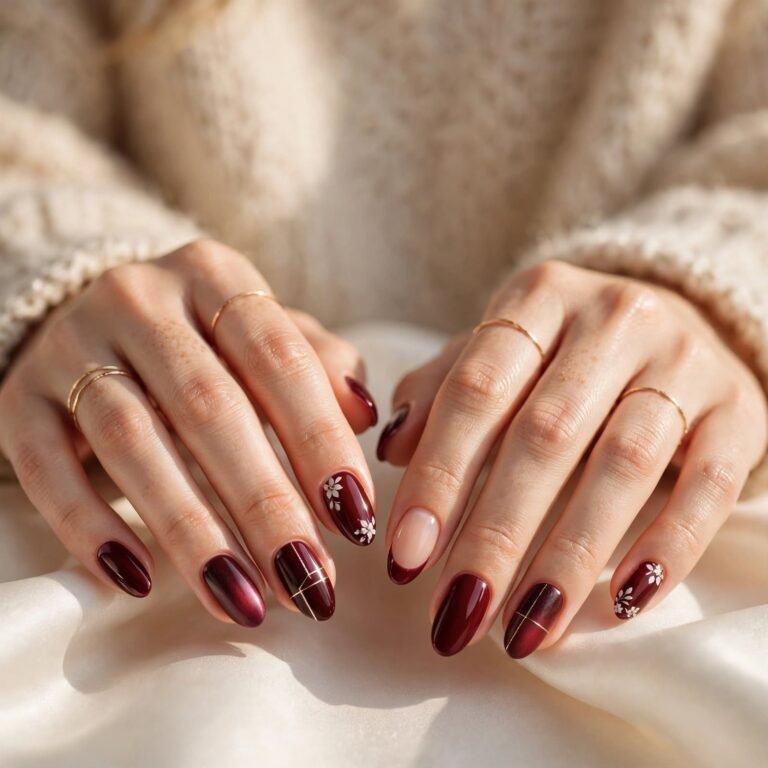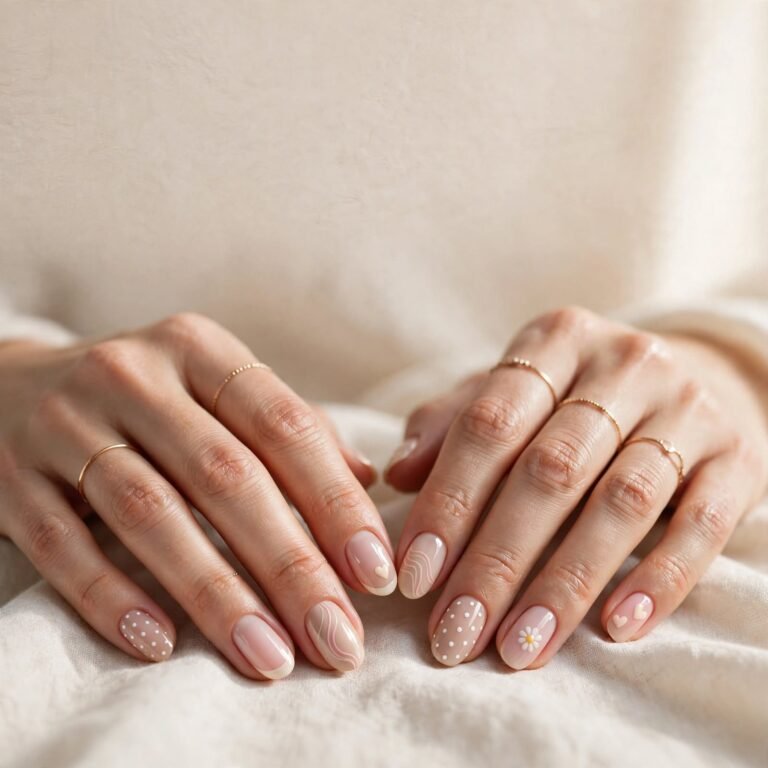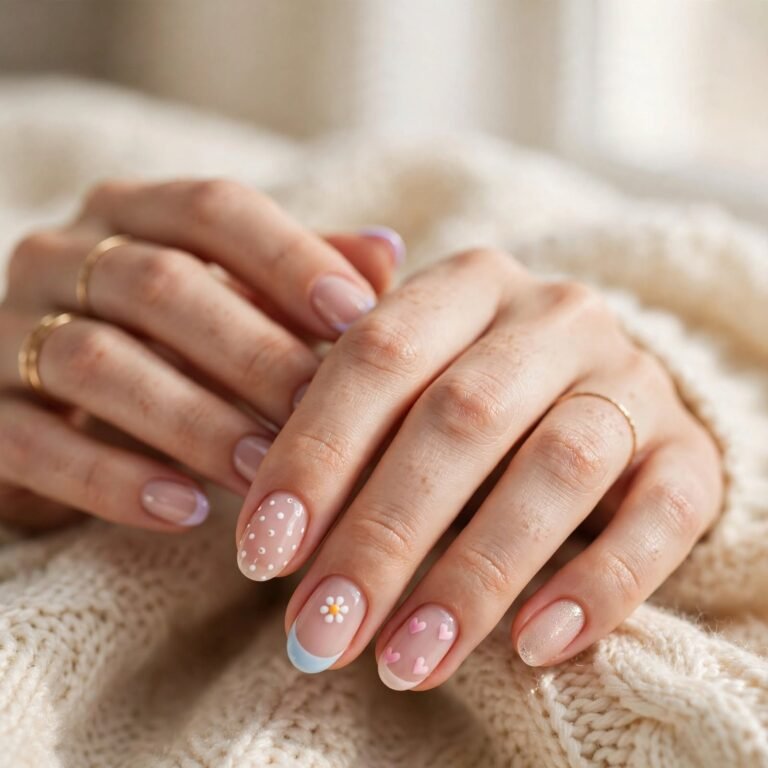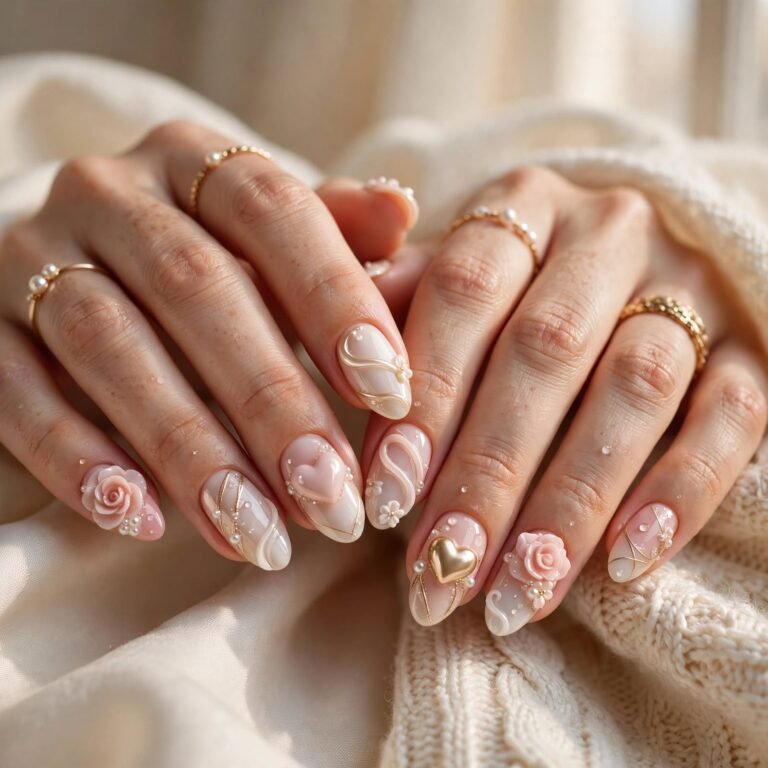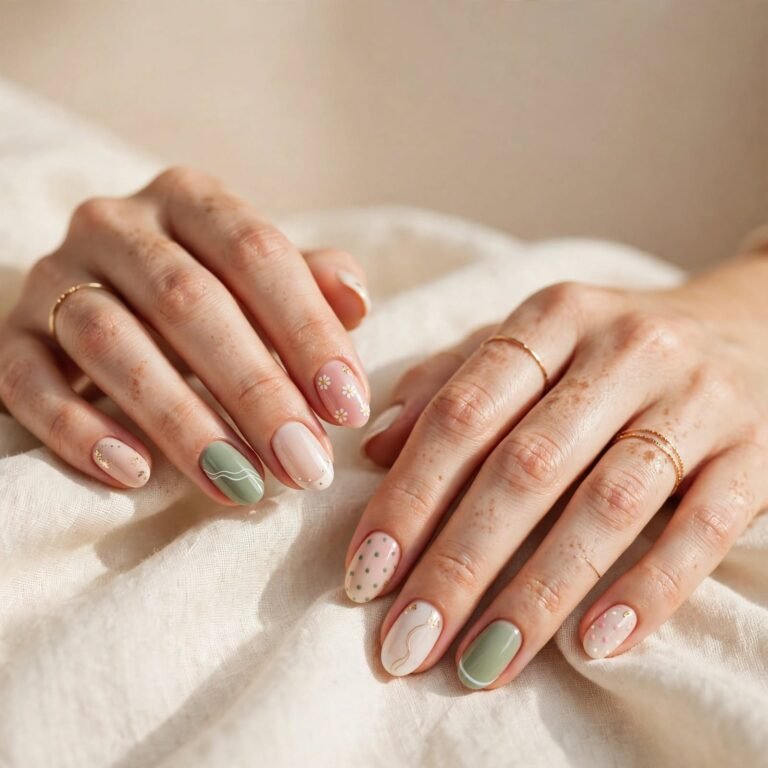
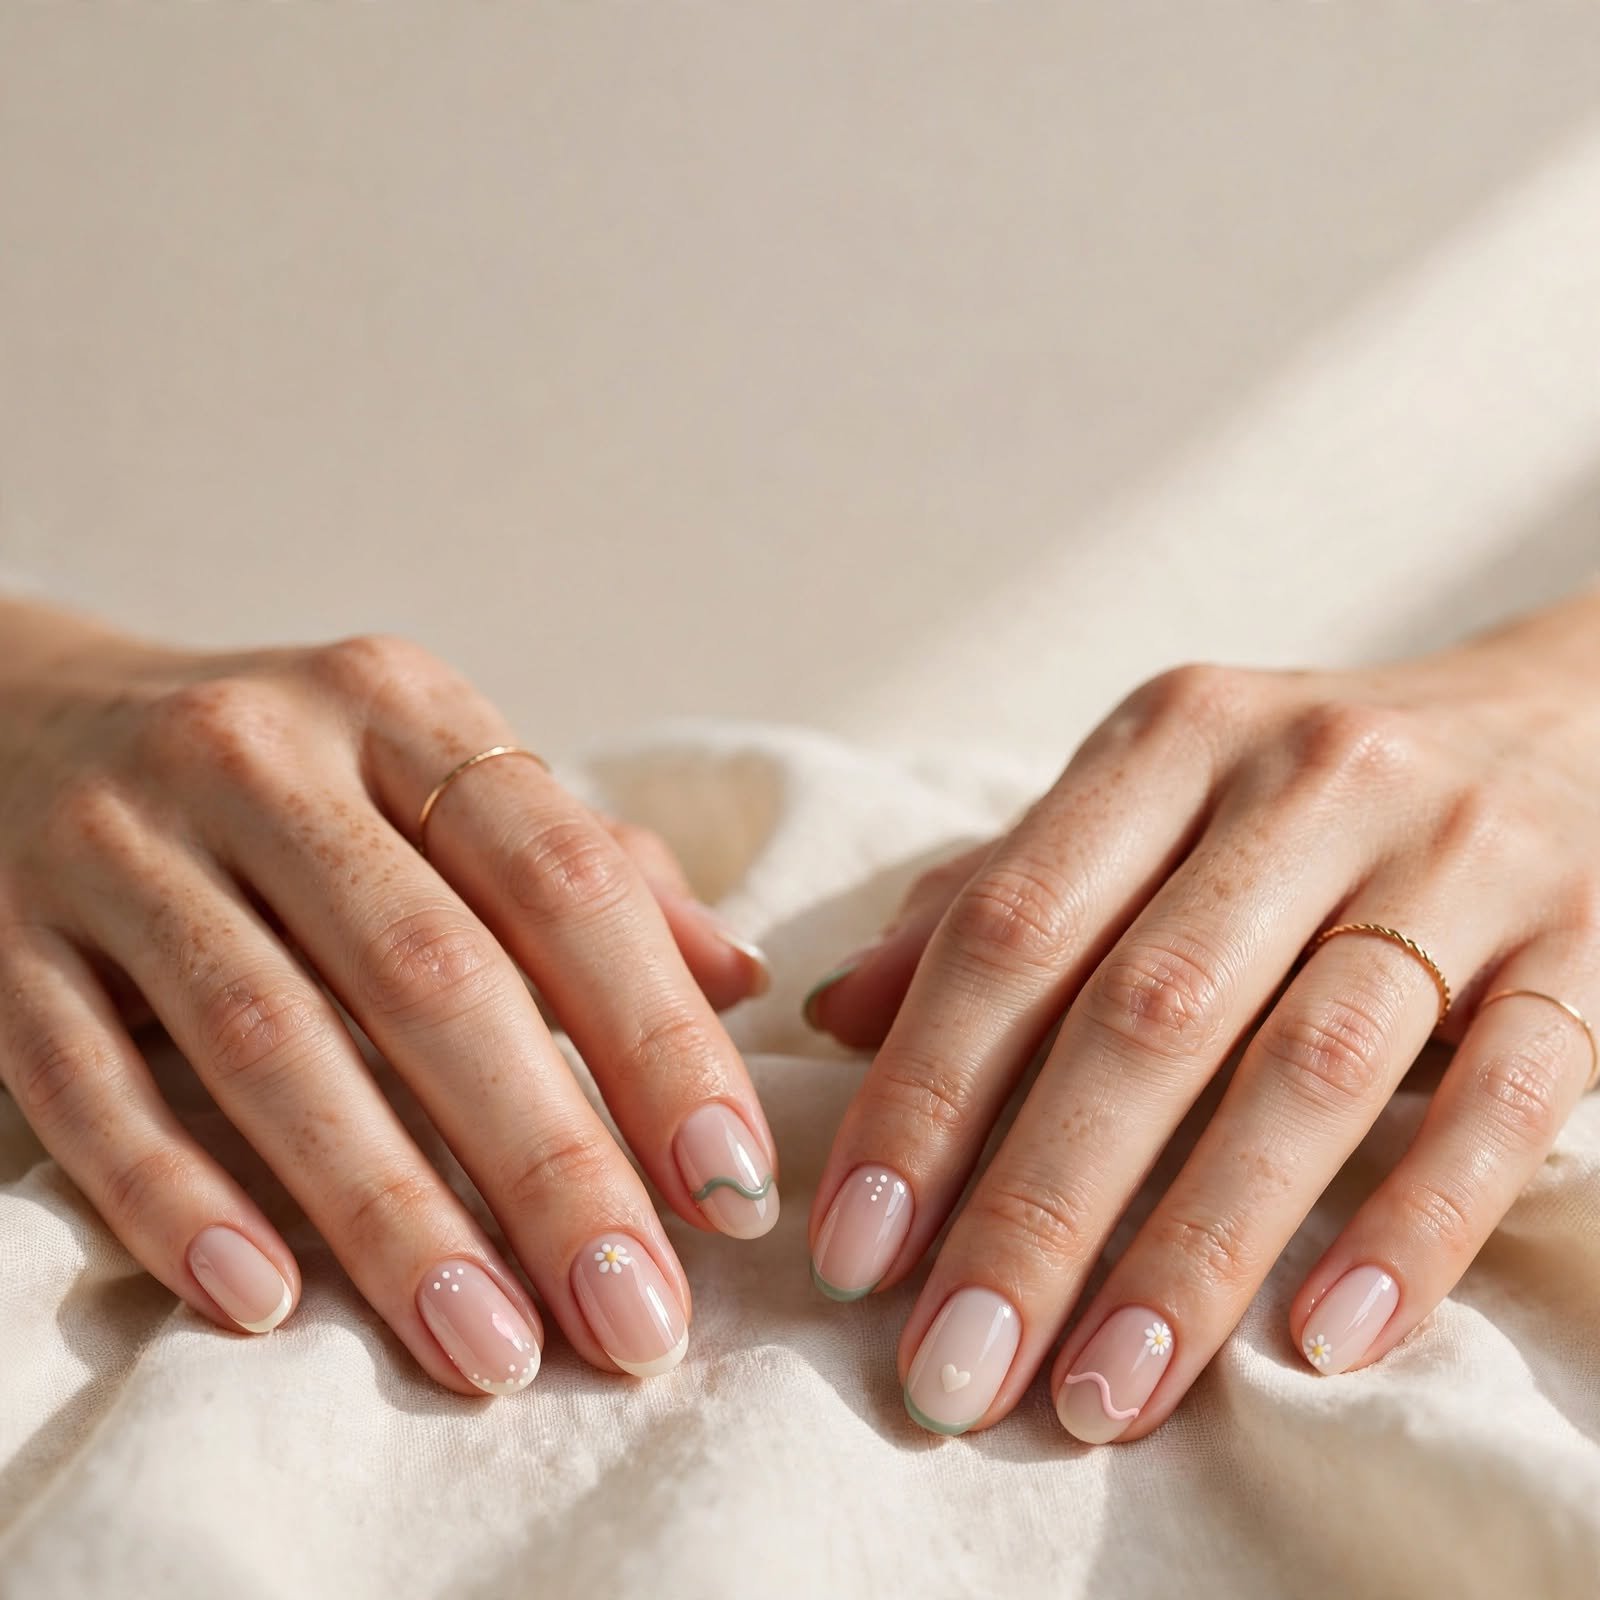
14 Simple Nail Art Ideas That Look Gorgeous and Are So Easy to Do at Home
Do you love pretty nails but feel nervous about fancy designs? You’re in the right place, because simple nail art is easier than it looks. This guide has 14 easy ideas that use basic tools and very little time. Each one looks neat, even if you’re a total beginner. Grab your polish and let’s find your next favorite look.
Why Simple Nail Art Is Everywhere Right Now
Nail trends have moved toward soft, clean, and wearable styles. People want nails that look pretty but still fit work, school, and daily life. Short nails, sheer colors, and tiny details are all very popular. Many people also like that simple designs hide chips better and grow out gracefully.
The season matters too. It’s late October, so deep reds, warm browns, and moody plums are everywhere. Halloween is almost here, and small spooky touches feel fun without being too much. Next up is Thanksgiving, when soft neutrals and gold accents show up on a lot of hands. Simple nail art works across all of these moods because you can change one color and get a whole new feel.
How to Pick the Right Simple Nail Art for You
Start with your nail shape and length. Short nails look great with tiny dots, thin lines, and sheer colors. Long nails have more room for stripes, checks, and half-moon shapes. If your nails are wide, vertical lines can make them look slimmer. If they’re narrow, wider designs can balance them out.
Next, think about your skin tone and your day. Warm skin tones often glow with cream, gold, brown, and coral. Cool skin tones often love soft pink, lavender, silver, and navy. If you type all day or work with your hands, pick a small design that won’t bother you if it chips. For parties or photos, you can go a little bolder with glitter or contrast.
Table of Contents
- Clean Negative Space Dots
- One Sparkly Accent Nail
- Soft Milky French Tips
- Tiny Hearts on Bare Nails
- Thin Vertical Stripes
- Soft Sponge Ombré Fade
- Mini Dot Flowers
- Micro French Line
- Half-Moon Cuticle Arch
- Easy Checkerboard Accent
- Tiny Stars on Dark Polish
- Quick Watercolor Smudge
- Mix-and-Match Color Nails
- Little Ghost Accent for Halloween
- How to Do Simple Nail Art at Home
- Cost and Time
- Care Tips
- FAQ
- Closing
1. Clean Negative Space Dots
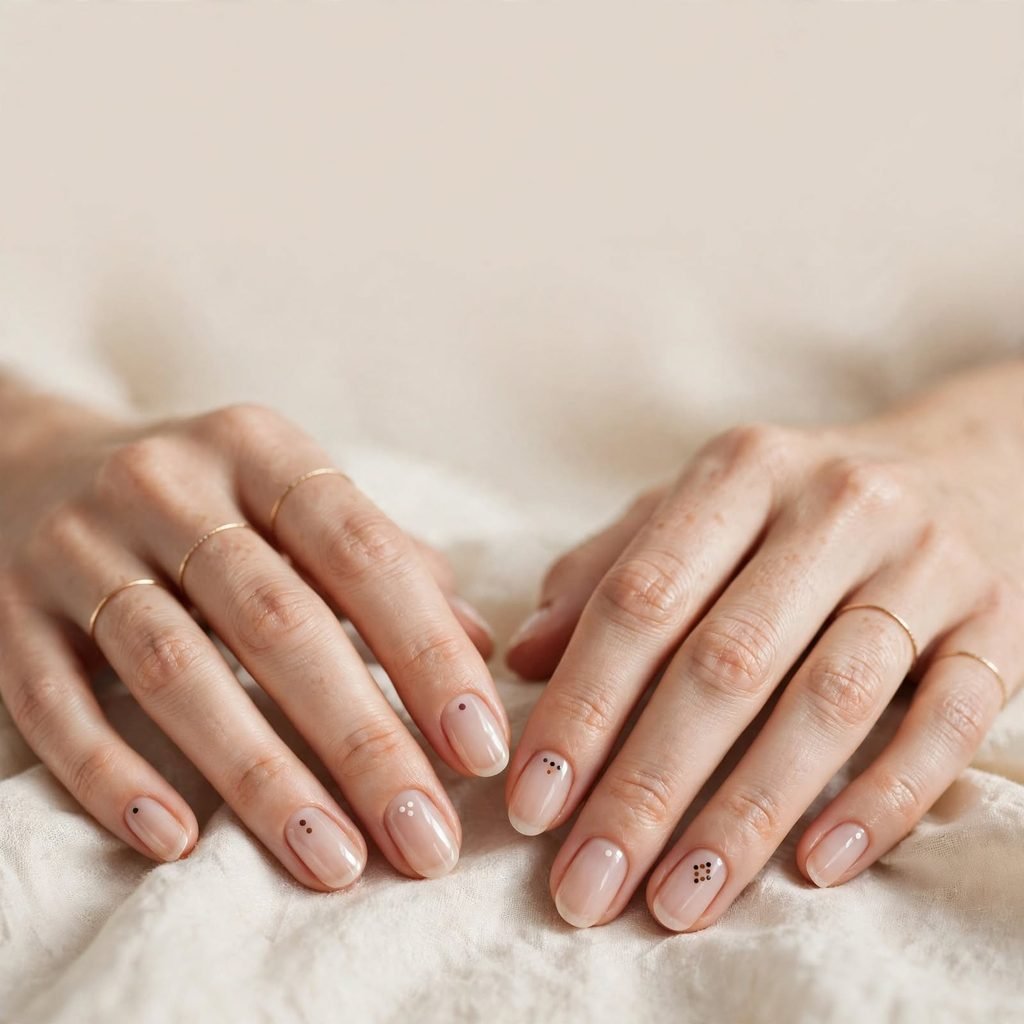
This look uses small dots placed on bare, shiny nails. The empty space around each dot is what makes it feel modern. You only need one polish color and a dotting tool, or even a bobby pin tip. It takes just a few minutes and looks very neat. Because the nail is mostly bare, it also grows out without any obvious gap.
Who it suits best: Short to medium nails, office days, and anyone who likes a minimal style.
Styling tip: Place three dots in a diagonal line near the tip for a light, airy feel.
2. One Sparkly Accent Nail

Paint all your nails one solid color, then add glitter to just one nail. The ring finger is the classic choice. This gives you a little party sparkle without a full glam look. It’s one of the easiest ways to dress up plain nails. You also get to practice with glitter on only one nail instead of ten.
Who it suits best: Date nights, holidays, and people who want a small pop of shine.
Styling tip: Pick a glitter in the same color family as your base so it blends in smoothly.
3. Soft Milky French Tips
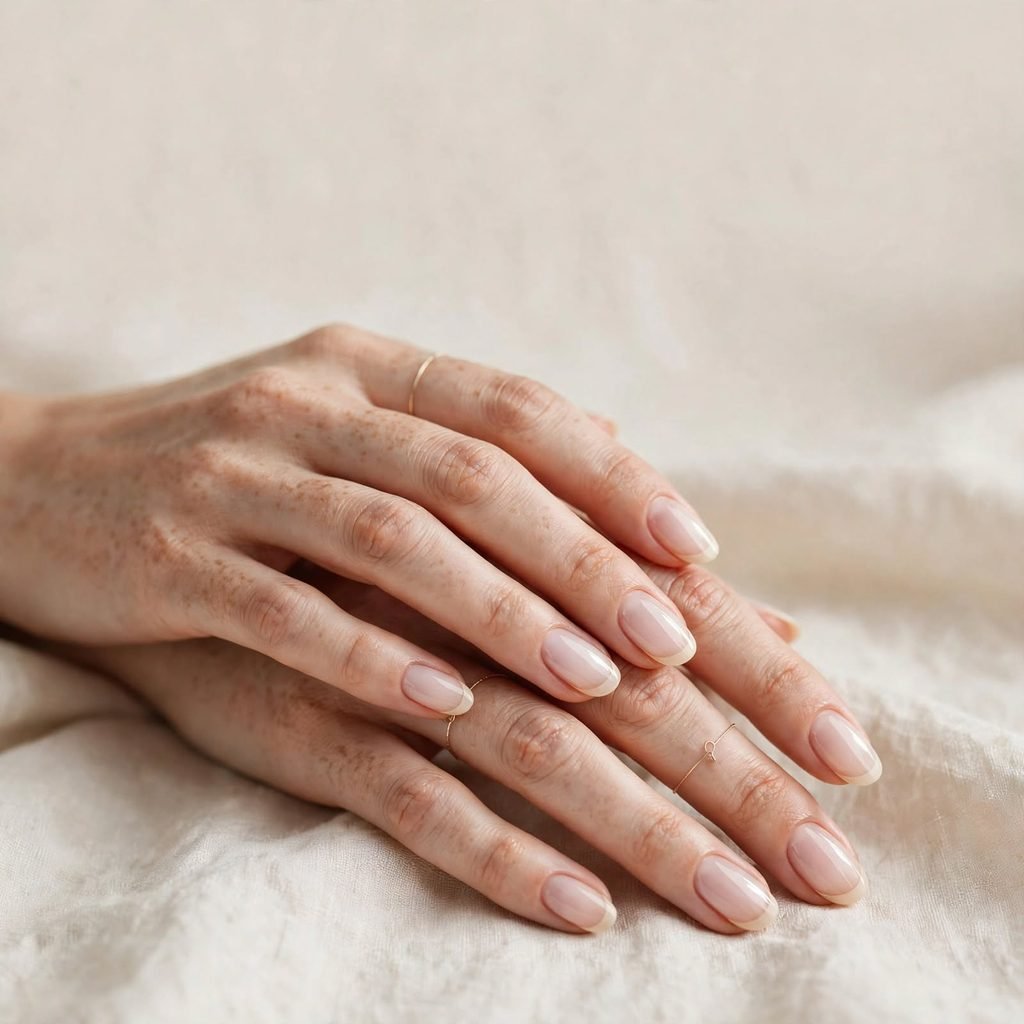
A French tip is a thin line of color along the top edge of the nail. In this version, the base is a soft, milky white or sheer pink, and the tip is a gentle shade like cream or pale beige. It feels fresh and clean, and it matches almost any outfit. The softer colors are kinder to your eyes than harsh bright white. Even if your line isn’t perfect, the soft tone hides small mistakes.
Who it suits best: Weddings, work, school, and anyone who wants a classy everyday look.
Styling tip: Make the tip line slightly curved to follow your natural nail shape.
4. Tiny Hearts on Bare Nails

Small hearts are sweet, easy, and loved by nearly everyone. Paint two little dots side by side, then pull the bottoms down to a point with a thin brush or toothpick. Place one heart on each of two or three nails, and leave the rest plain. Red, pink, and deep wine all look lovely on fall hands. It’s a cute way to say “I tried” without spending an hour.
Who it suits best: Short nails, Valentine’s season, and anyone who likes a playful touch.
Styling tip: Keep hearts very small and spaced out so the look stays light.
5. Thin Vertical Stripes

Straight lines running from cuticle to tip make nails look longer. You can paint one thin stripe in the center, or two lines on either side. A steady hand helps, but a thin brush makes it much easier. This style looks sleek in black, white, gold, or any color that stands out from your base. It feels clean and a bit artistic at the same time.
Who it suits best: Wide or short nails that you’d like to look longer and slimmer.
Styling tip: Rest your hand on a table and pull the brush in one smooth stroke.
6. Soft Sponge Ombré Fade
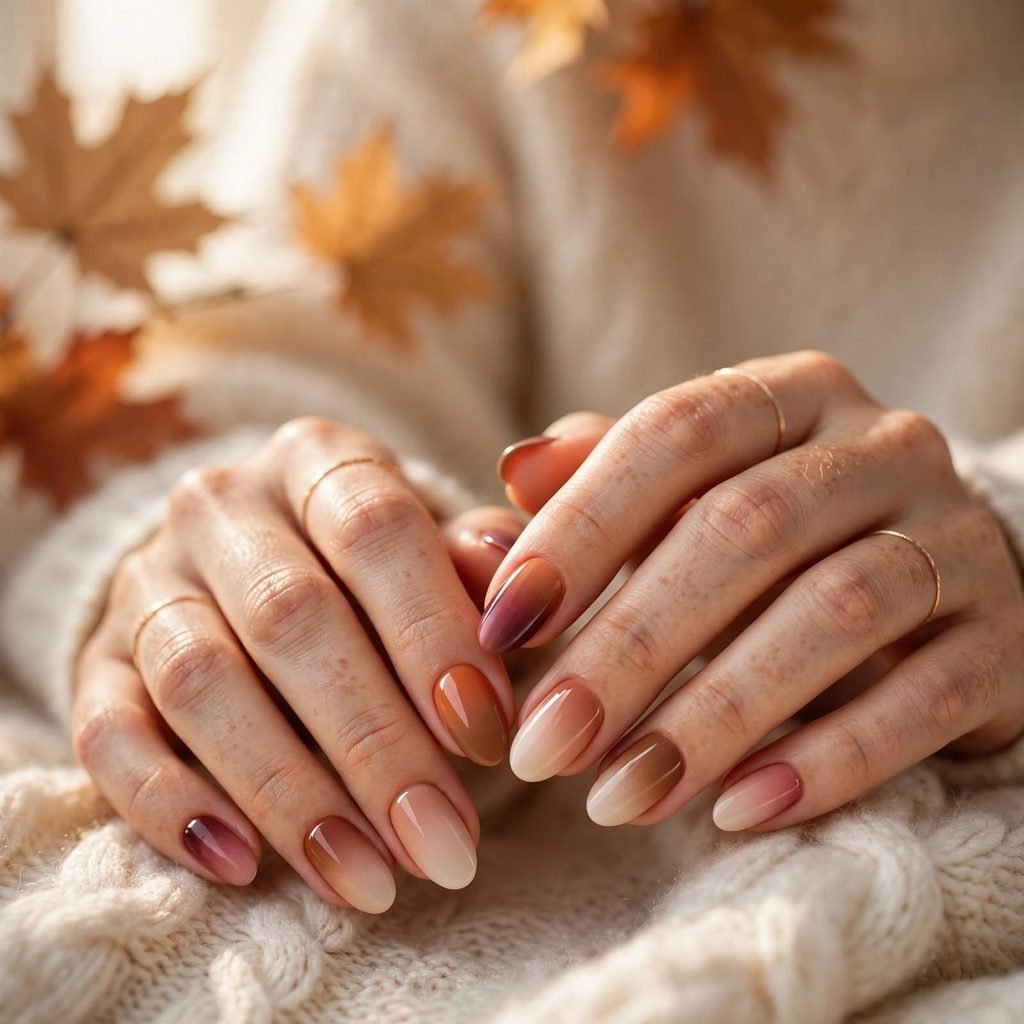
Ombré means one color slowly fades into another. You can do it with a small makeup sponge and two polish shades. Dab the colors side by side on the sponge, then press it onto the nail. The result is a dreamy, blurry blend that looks like a sunset. In fall, try warm orange fading into soft brown or deep red.
Who it suits best: Medium to long nails and anyone who loves a soft, dreamy style.
Styling tip: Apply a clear coat first, because it makes cleanup around the skin much easier.
7. Mini Dot Flowers
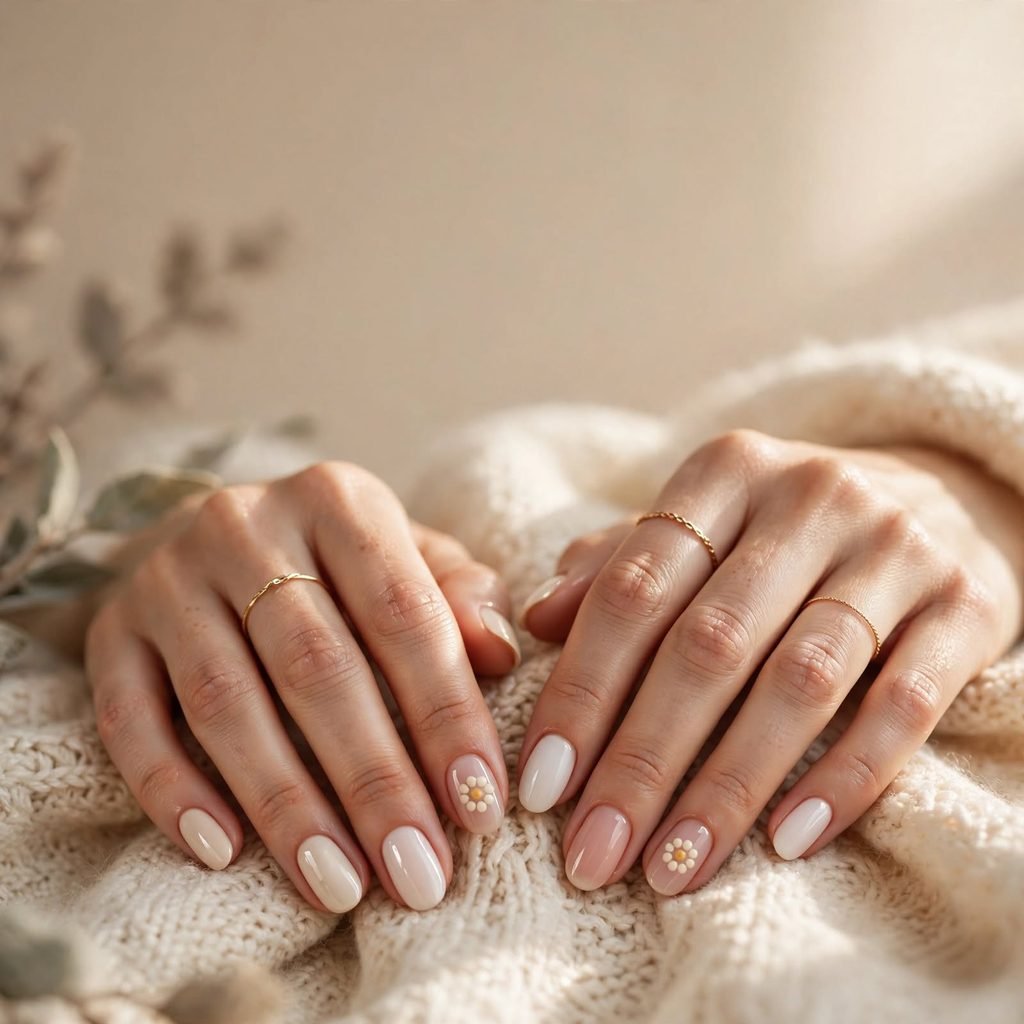
Flowers sound hard, but this version uses only dots. Make five small dots in a circle and place one dot in the middle in a new color. That’s a full flower, and it takes seconds. Repeat it on one or two nails to keep the look simple. Cream petals with a golden center look warm and cozy for autumn.
Who it suits best: Anyone who loves cute, soft designs and has a little patience for small details.
Styling tip: Let the petal dots dry a bit before adding the center so the colors don’t mix.
8. Micro French Line
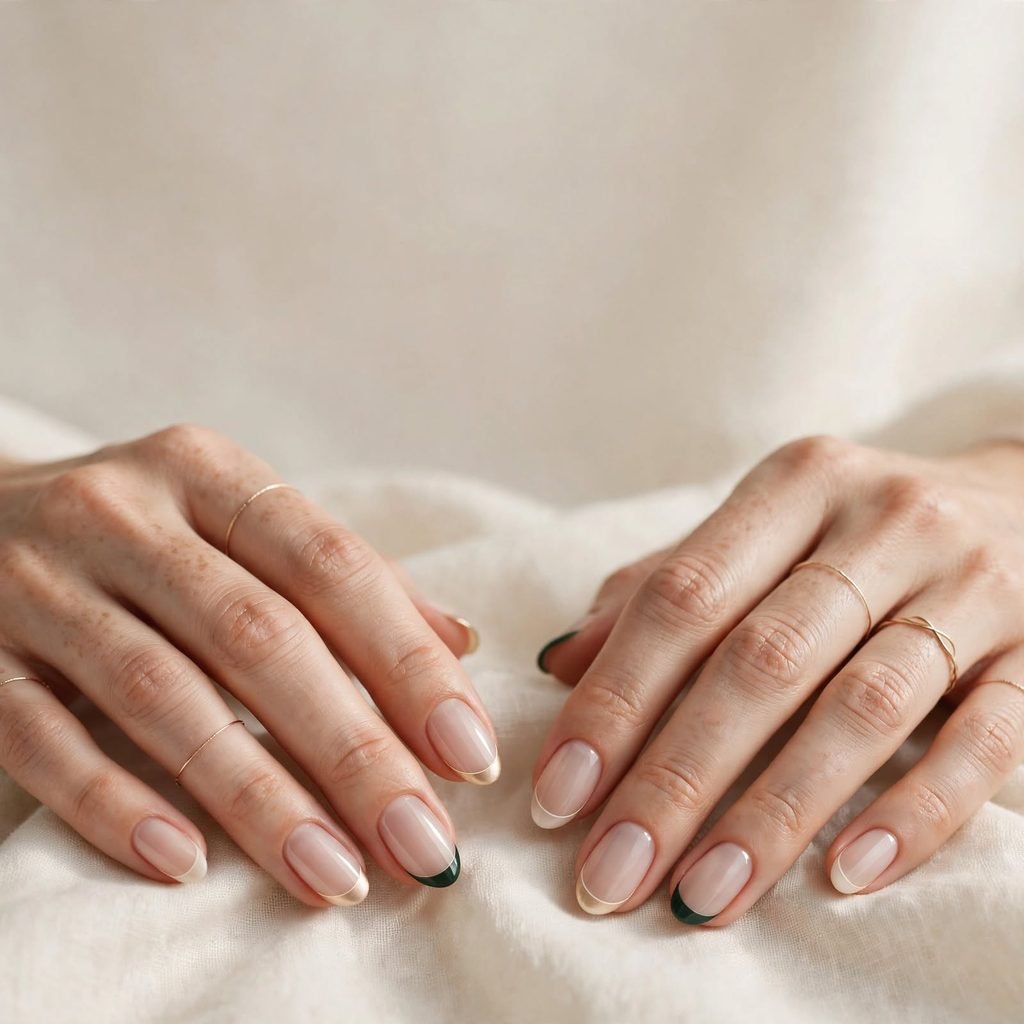
This is a much thinner twist on the French tip. Instead of a thick band, you paint a very fine line right at the edge of the nail. It’s subtle and neat, so it works almost anywhere. You can choose a color that stands out slightly, like deep green or soft gold. The tiny line gives your nails shape without making them look busy.
Who it suits best: Short nails, work settings, and people who want to keep things quiet and polished.
Styling tip: Use a thin brush and rest your pinky on the table to keep the line steady.
9. Half-Moon Cuticle Arch
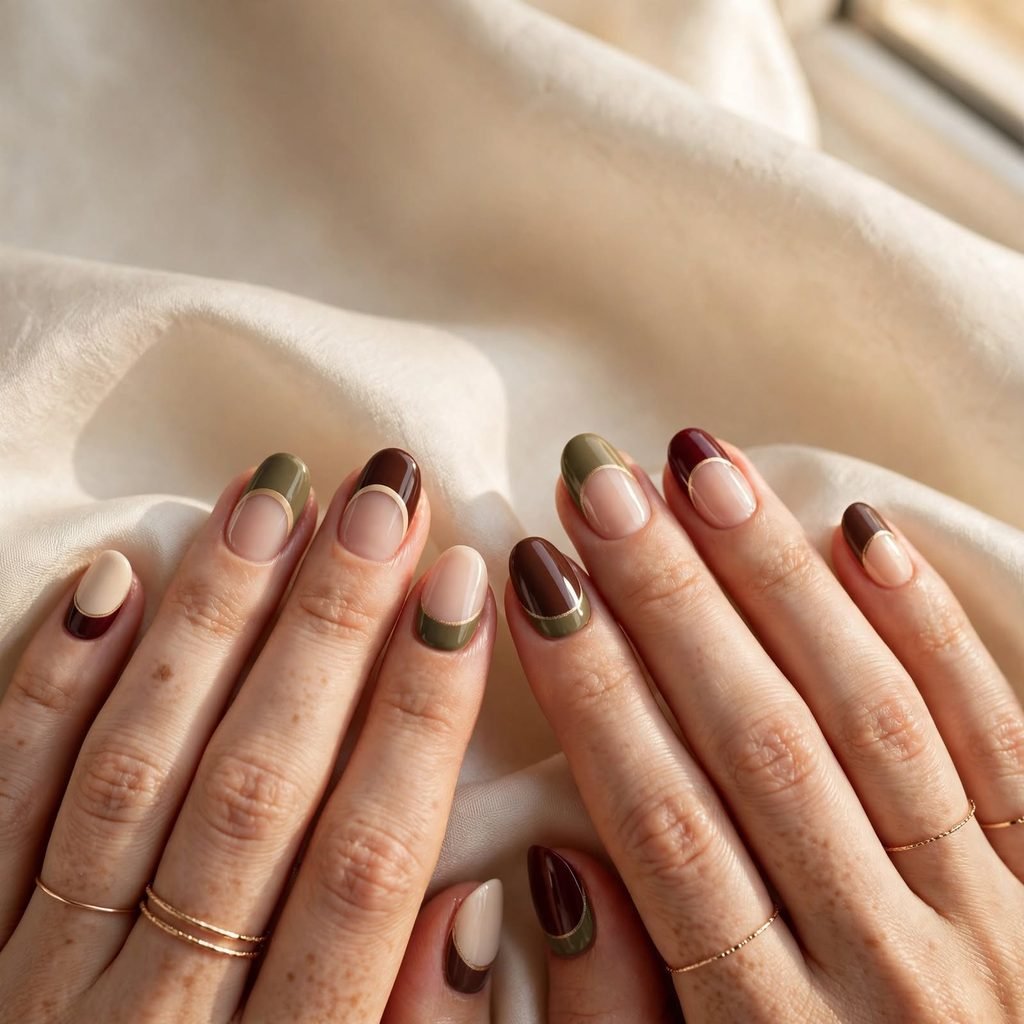
The half-moon look places a small curve of color at the base of your nail. It’s a retro style that has come back in a big way. You can leave the moon bare, or fill it with a bright color against a darker nail. The contrast makes your nails look like little pieces of art. It’s easy to do with a round sticker or a steady hand.
Who it suits best: Medium nails and anyone who likes a vintage feel.
Styling tip: Pick two colors that sit near each other on the color wheel for a smooth, calm look.
10. Easy Checkerboard Accent
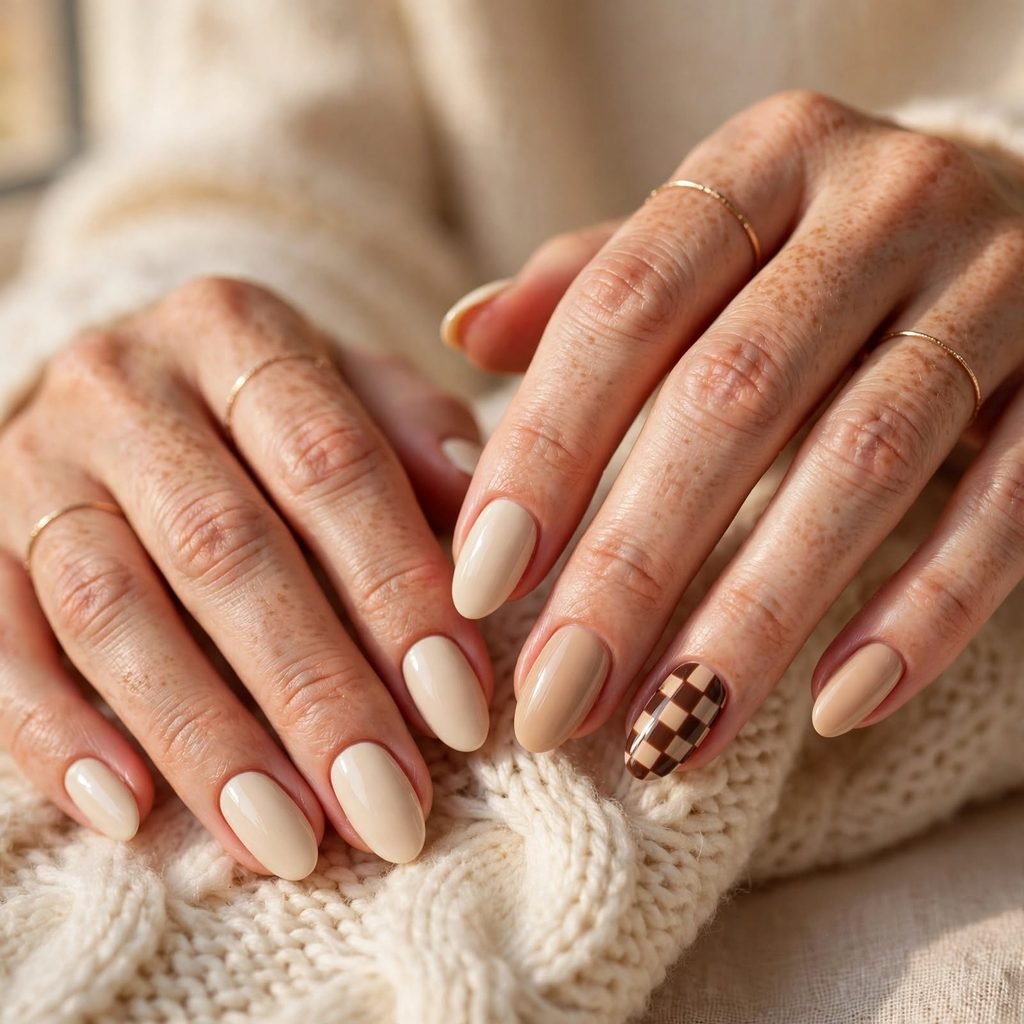
Checks look bold, but you only need a few small squares. Paint your nail one color, then add little squares in a second color in an alternating pattern. Black and cream is a classic pair, and brown and tan feels very autumn. You don’t have to fill the whole nail. Even four or six squares near the tip can look sharp and fun.
Who it suits best: Medium to long nails and people who enjoy a bit of attitude.
Styling tip: Do the checks on only one or two nails and keep the others solid.
11. Tiny Stars on Dark Polish
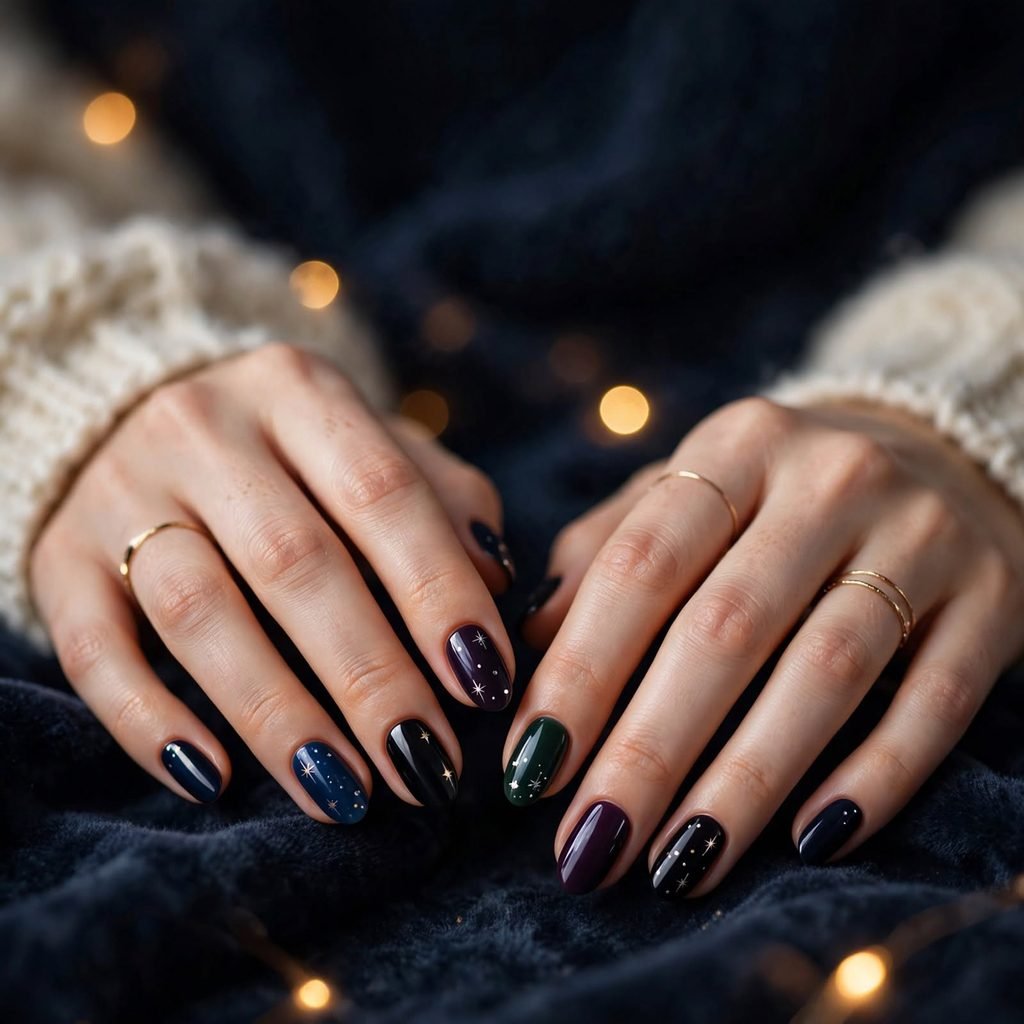
Dark colors like navy, black, plum, or deep green make a perfect night sky. Add a few tiny stars or dots in gold or silver, and you’re done. Stars can be simple plus signs or small dots, so you don’t need to be a great artist. This look feels moody and magical, which fits the fall and winter season well. It also looks great under cozy sweaters and warm lights.
Who it suits best: Evenings, parties, and anyone who loves dark, dramatic colors.
Styling tip: Scatter the stars unevenly so the design looks like a real sky.
12. Quick Watercolor Smudge
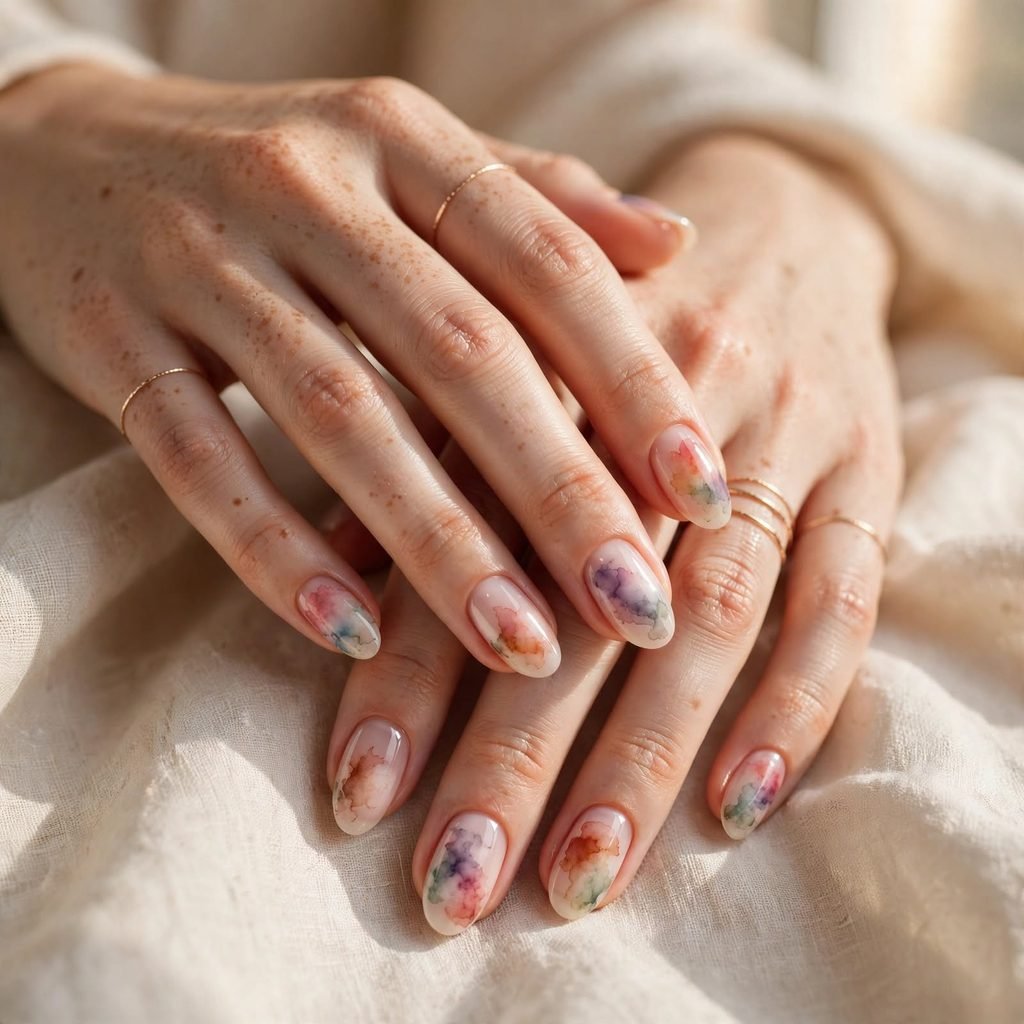
This idea looks soft and painted, but it’s really just a few dabs. Put a sheer base on your nails, then dab two or three polish shades on top with a small brush. Blend the edges gently with a clean brush or a bit of clear polish. The look is blurry and pretty, like a little cloud of color. It’s very forgiving, because there’s no “wrong” shape.
Who it suits best: Creative people and anyone who dislikes strict lines.
Styling tip: Stick to colors that blend well, like peach, rose, and soft cream.
13. Mix-and-Match Color Nails
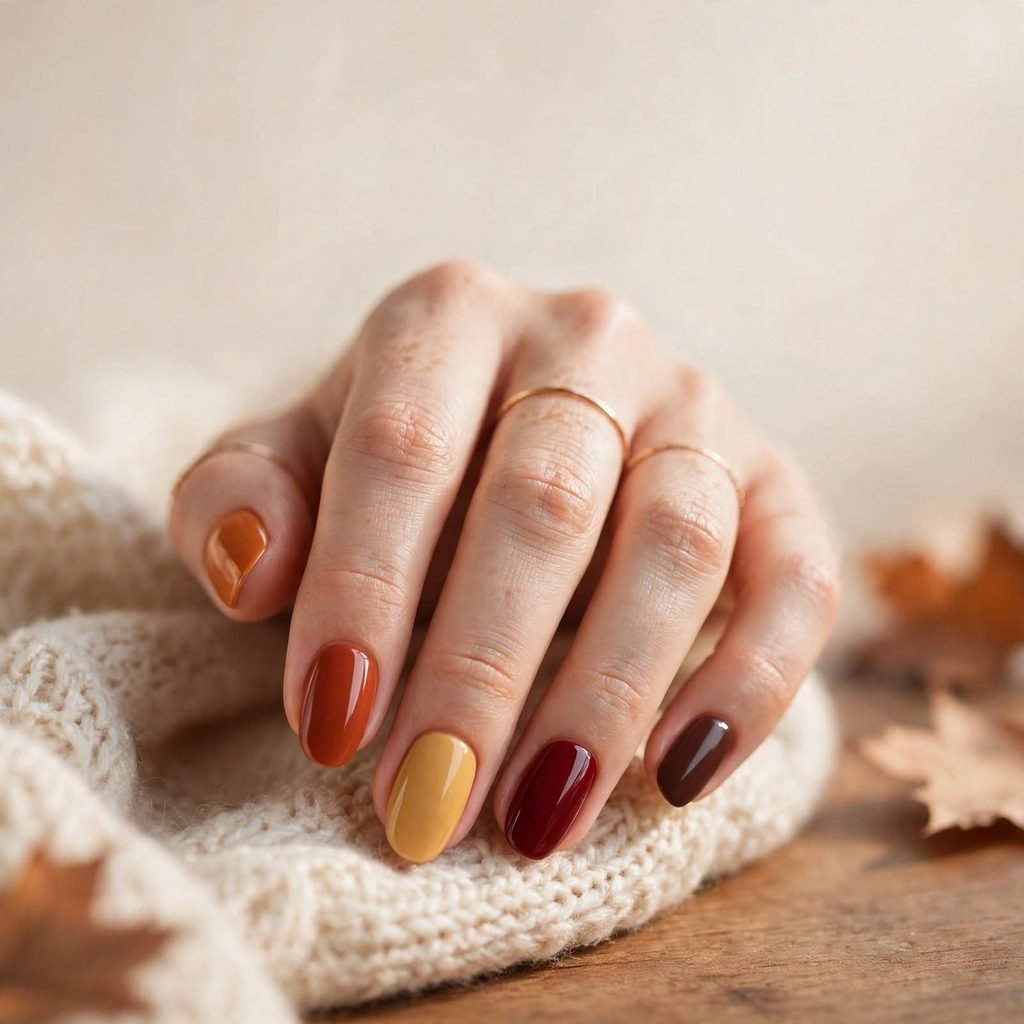
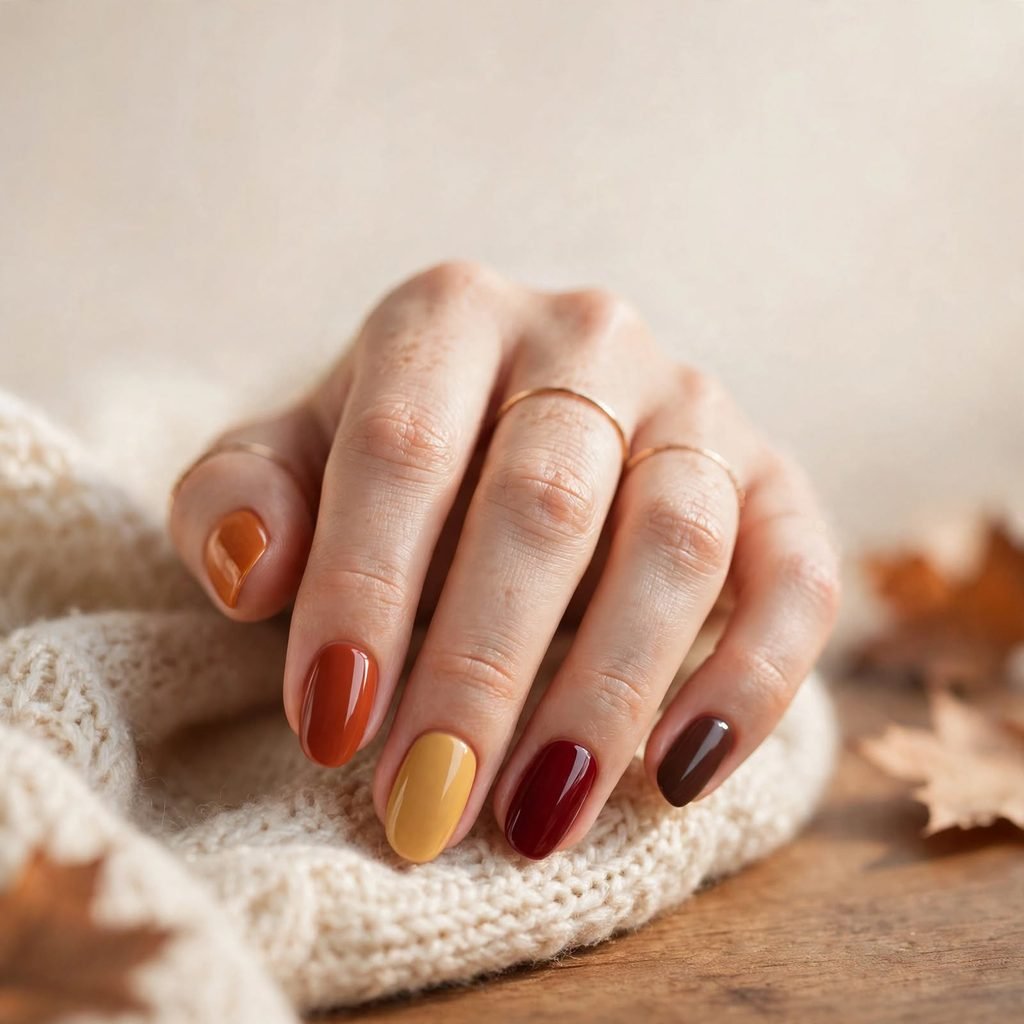
Instead of one color on every nail, paint each nail a different shade from the same family. For fall, try rust, burnt orange, mustard, deep red, and brown. It looks planned and playful, and it takes no special skill. If you have a few polishes at home, you can make this look right now. It’s also a nice way to use up half-full bottles.
Who it suits best: Beginners, kids’ parties, and people who love color.
Styling tip: Keep all the shades the same tone, either all warm or all cool, so it looks pulled together.
14. Little Ghost Accent for Halloween
With Halloween so close, a tiny ghost is a perfect small touch. Paint one nail black or deep purple, then add a small white ghost shape with a dot for each eye. You can even do just a few ghosts or leave them floating near the tip. The rest of your nails can stay plain, so the look isn’t too much. It’s spooky, cute, and very easy to remove after the holiday.
Who it suits best: Anyone celebrating Halloween who still wants a clean, wearable manicure.
Styling tip: Use a toothpick to dab the eyes so they stay tiny and neat.
How to Do Simple Nail Art at Home
You don’t need a big kit to get started. A few basic tools can do almost everything in this list. A dotting tool, a thin brush, a toothpick, a makeup sponge, and clear top coat will cover most designs. Always work in a bright room, and keep a cotton swab and nail polish remover nearby for quick fixes.
- Wash and dry your hands, then remove any old polish.
- Push back your cuticles gently and shape your nails with a file.
- Apply a thin clear base coat and let it dry.
- Paint your base color in two thin coats, waiting a minute between each.
- Let the polish dry until it feels slightly tacky, not wet.
- Add your design with a dotting tool, brush, toothpick, or sponge.
- Clean up the edges with a small brush dipped in remover.
- Seal everything with a thin clear top coat, and cap the free edge of each nail.
Cost and Time
Doing simple nail art at home is very budget friendly. If you already own a few polishes, you may only need a dotting tool or thin brush, which usually costs a few dollars. A full DIY set with a base coat, top coat, and a couple of colors might run roughly $15 to $40. A salon visit for simple nail art often costs about $30 to $70, depending on where you live and how detailed the design is. Tips and extras can raise that number a bit.
For time, most DIY designs take around 30 to 60 minutes, including drying. Simple dots or one accent nail can be done faster, while ombré or checks may take a little longer. At a salon, you’ll usually spend 45 to 90 minutes. With regular polish, your look lasts about 5 to 7 days, and with good care it may last up to 10 days. Gel-style manicures at a salon can last two to three weeks.
Care Tips
A good top coat is your best friend. Add a fresh thin layer every two or three days to keep shine and stop chips. Wear gloves when you wash dishes or clean, since water and soap wear polish down quickly. Rub a little cuticle oil or hand cream into your nails each night to keep them soft and strong.
Try not to use your nails as tools. Opening cans or scratching labels can chip your polish and even break your nails. When it’s time to remove your design, use a gentle remover and soak a cotton pad on each nail for a few seconds. Never peel polish off, because it can pull away layers of your natural nail. Give your nails a little break between manicures if they ever feel thin or weak.
Frequently Asked Questions
1. What is the easiest simple nail art for a total beginner?
Dots and one accent nail are the easiest places to start. You only need a dotting tool or a toothpick and one or two polishes. There are no long lines to keep straight. If a dot looks off, you can wipe it away quickly and try again. After a few tries, you’ll feel ready for stripes and hearts.
2. Do I need special tools to do nail art at home?
No, you can start with things you already have. A toothpick, a bobby pin, or the end of a pencil can make dots. A small makeup sponge works for ombré fades, and a thin brush helps with lines. If you want to buy something, a dotting tool and a thin brush are the most useful. These cost very little and last a long time.
3. How can I make my nail art last longer?
Start with clean, dry nails and a thin base coat. Apply your polish in thin layers instead of thick ones, because thick layers chip faster. Finish with a clear top coat, and run it over the tip of each nail to seal the edge. Add a fresh top coat every few days. Also wear gloves when you clean or wash dishes.
4. Can I do simple nail art on short nails?
Yes, and short nails often look great with it. Tiny dots, small hearts, thin lines, and sheer colors all fit short nails well. Smaller designs keep the look neat and avoid crowding the nail. Vertical lines can even make short nails look longer. Just keep the pattern light and leave some space around each detail.
5. What colors look best for fall nail art?
Warm, deep colors are a big hit in fall. Think rust, burnt orange, mustard, deep red, brown, plum, and forest green. Cream and soft beige also look lovely as a base or tip color. Gold details add a warm glow. If you like darker looks, navy and black with tiny gold accents feel great.
6. How do I fix a mistake without starting over?
Dip a small brush or cotton swab in nail polish remover and wipe away the mistake. Do this while the polish is still fresh for the cleanest result. If the polish has dried, wait a moment, then redo the spot with a tiny bit of base color. Seal it with top coat afterward so it blends in. Most small slips are easy to hide this way.
7. How often should I change my nail design?
Most people change their nail art every week or so. That’s about how long regular polish stays in good shape. If you wear it longer, it may start to chip or look dull. Giving your nails short breaks now and then also keeps them healthy. Use those breaks to let them rest and moisturize.
Closing
Simple nail art is all about small touches that make a big difference. Pick a design that matches your mood, your nails, and your day. There’s no right or wrong choice here, just what makes you smile when you look down at your hands.
If you like simple and calm, try the micro French line, milky tips, or negative space dots. For glam without much effort, go with the sparkly accent nail, tiny stars, or the half-moon arch. If you feel bold and playful, the checkerboard, mix-and-match colors, or the little ghost will bring the fun. Whatever you pick, remember that you can always wipe it off and try again.
Thanks so much for reading, and happy painting! I hope these simple nail art ideas make your next manicure feel easy and fun.
I wrote this in the chat so you can read it right away. If you’d like, I can turn it into an editable doc you can copy into your blog.