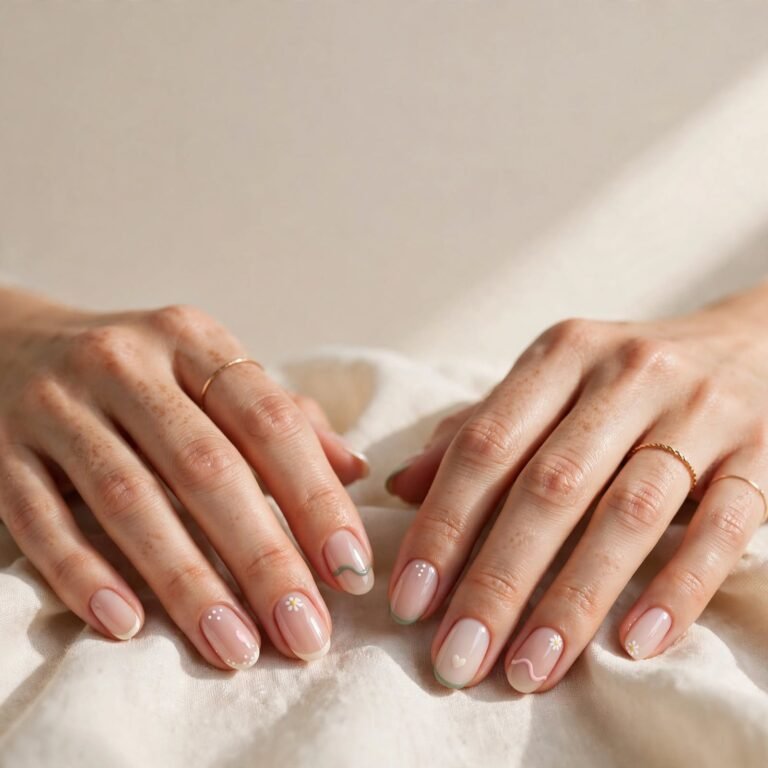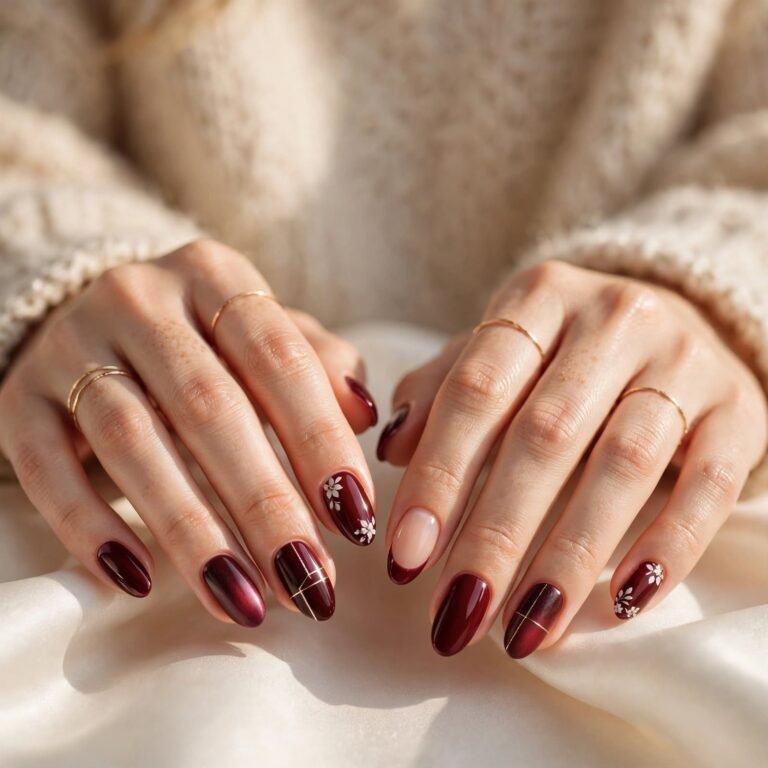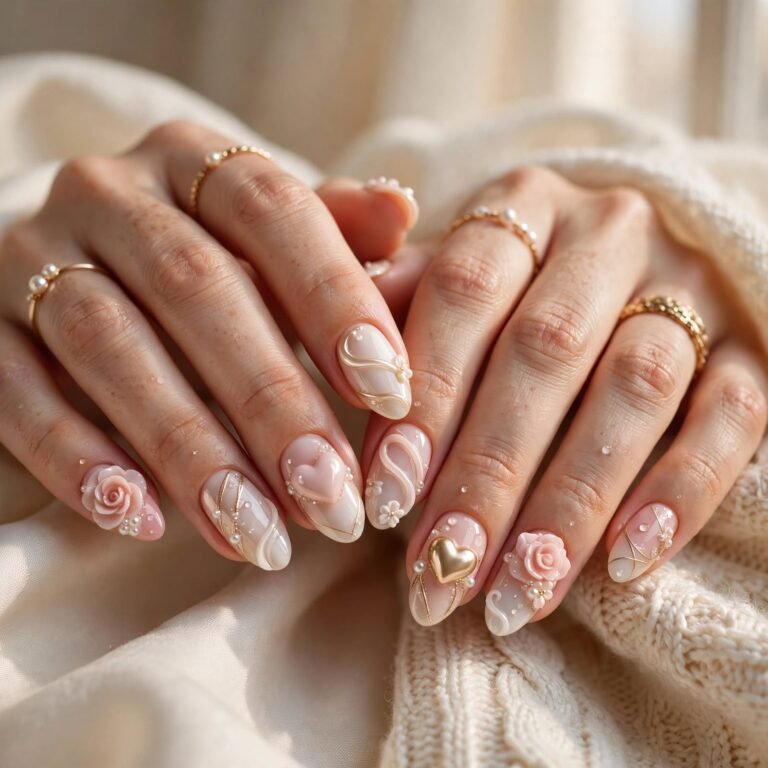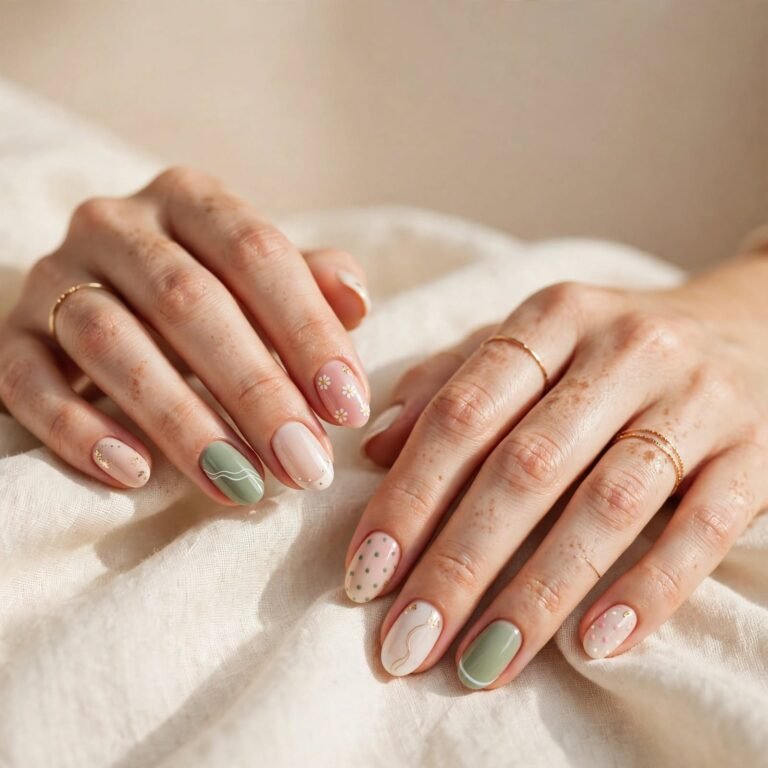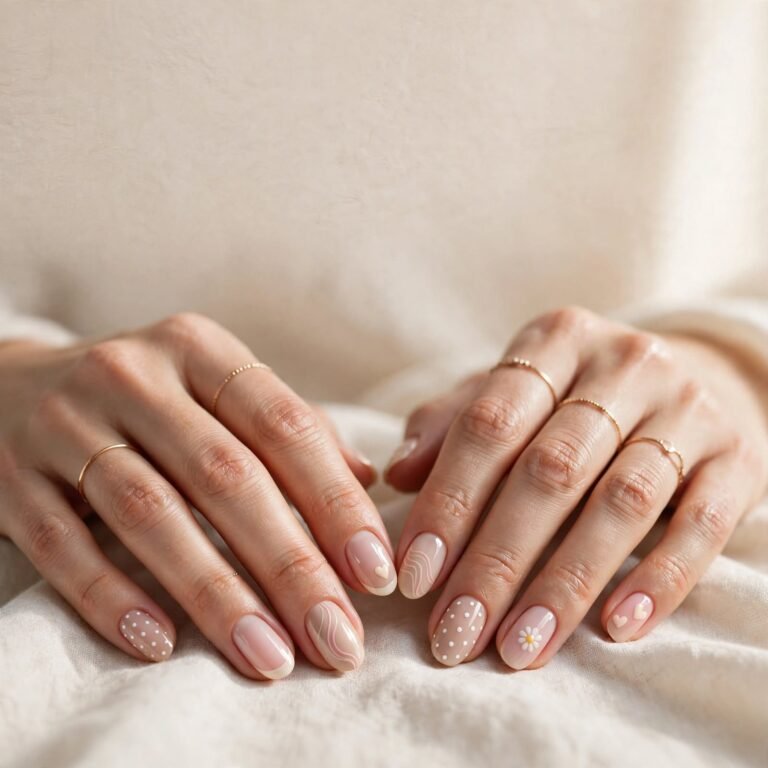

13 Easy Nail Art Ideas for Beginners That Look Cute and Stylish
Want pretty nails without the salon bill? You are in the right place. Easy nail art is all about simple tools and a little patience. In this guide, you will find 13 easy nail art ideas that even beginners can try tonight. We also cover trends, how to choose a style, step-by-step tips, costs, care, and common questions.
Why Easy Nail Art Is Trending Right Now
Easy nail art has never been more popular. Short, neat nails are in style right now, and they are perfect for simple designs. Many people love soft pastels, clean looks, and tiny details instead of big, heavy art. Social media has also made quick nail tutorials easy to find. A design that takes ten minutes can look just as cute as a full salon set.
Seasons change the mood of nail art, too. In spring, flowers and pastels take over. In fall, warm browns and deep reds show up everywhere. People have painted their nails for thousands of years, so this fun habit has a long history. Today, easy nail art lets you play with that old tradition at home.
How to Pick the Right Easy Nail Art for You
Start with your nail shape and length. Short nails look great with dots, stripes, and small accents. Long nails have more room for gradients, tips, and bigger designs. If your nails are very short, keep the art small so it does not look crowded.
Table of Contents
- 1. Polka Dots
- 2. Colorful French Tips
- 3. Tape Stripes
- 4. Sponge Ombré
- 5. One Sparkly Accent Nail
- 6. Tiny Hearts
- 7. Toothpick Marble Swirls
- 8. Half-Moon Nails
- 9. Negative Space Nails
- 10. Five-Dot Daisies
- 11. Easy Animal Spots
- 12. Glitter Fade Tips
- 13. Pastel Mix-and-Match
- How to Do Easy Nail Art at Home
- Cost and Time
- Care Tips
- FAQ
13 Easy Nail Art Ideas to Try
Next, think about your skin tone and your day. Warm skin tones often glow with peach, gold, and coral. Cool skin tones tend to shine in blue, lilac, and silver. For work or school, pick soft and simple looks. Save the sparkle and bold colors for parties and special nights.
1. Polka Dots: The Easiest Easy Nail Art for Beginners
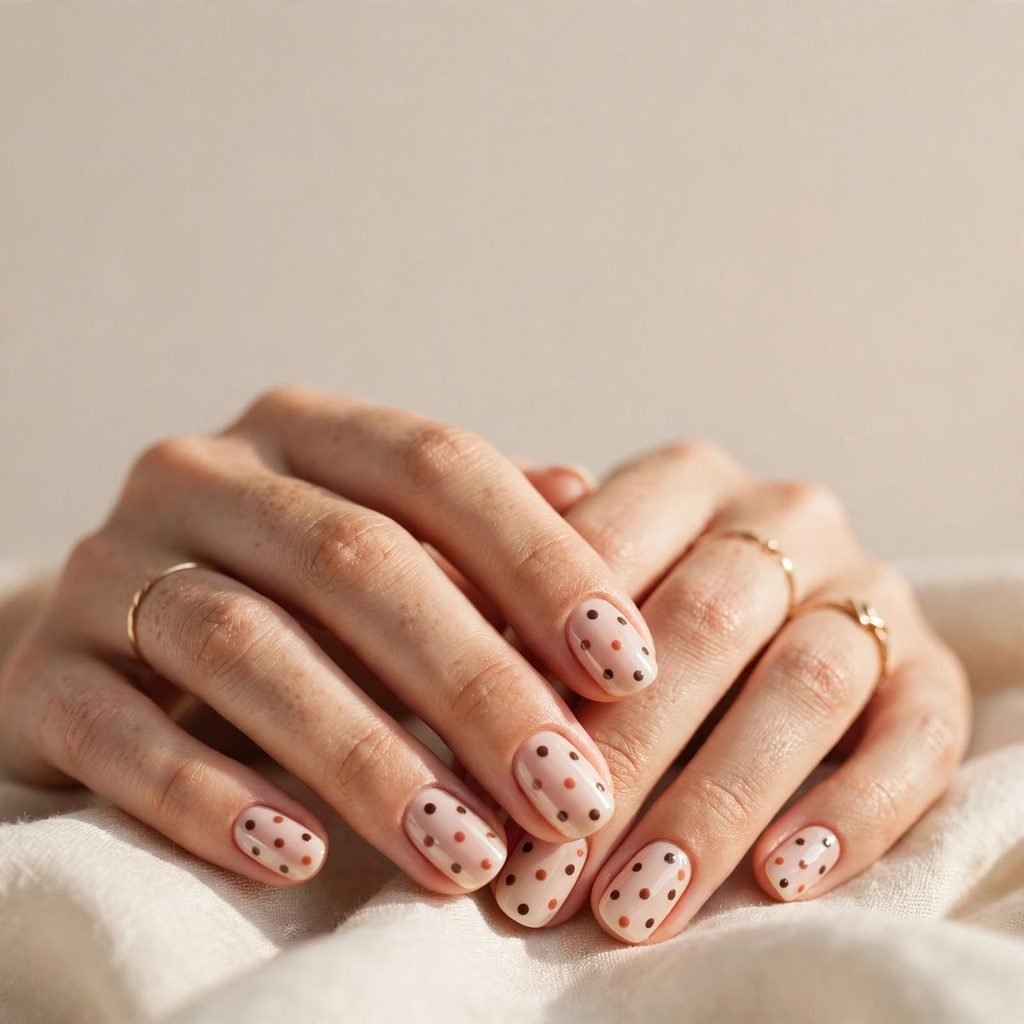
Polka dots are the easiest nail art you can try. You only need a base color and a dotting tool. A bobby pin tip or the end of a pencil works too. The dots look cute, playful, and neat when spaced evenly. Even if your hand shakes a little, the design still looks charming.
Who it suits best: This look suits short and long nails alike. It works well for school, casual days, and picnics. Round and square shapes show off dots nicely. It is also great for anyone new to nail art.
Styling tip: Use two sizes of dots for a fun, layered look. Dip your tool in polish before every dot or two. Keep the dots away from the edges for a cleaner finish. Add a clear top coat once the polish is dry.
2. Colorful French Tips: A Fresh Twist on a Classic
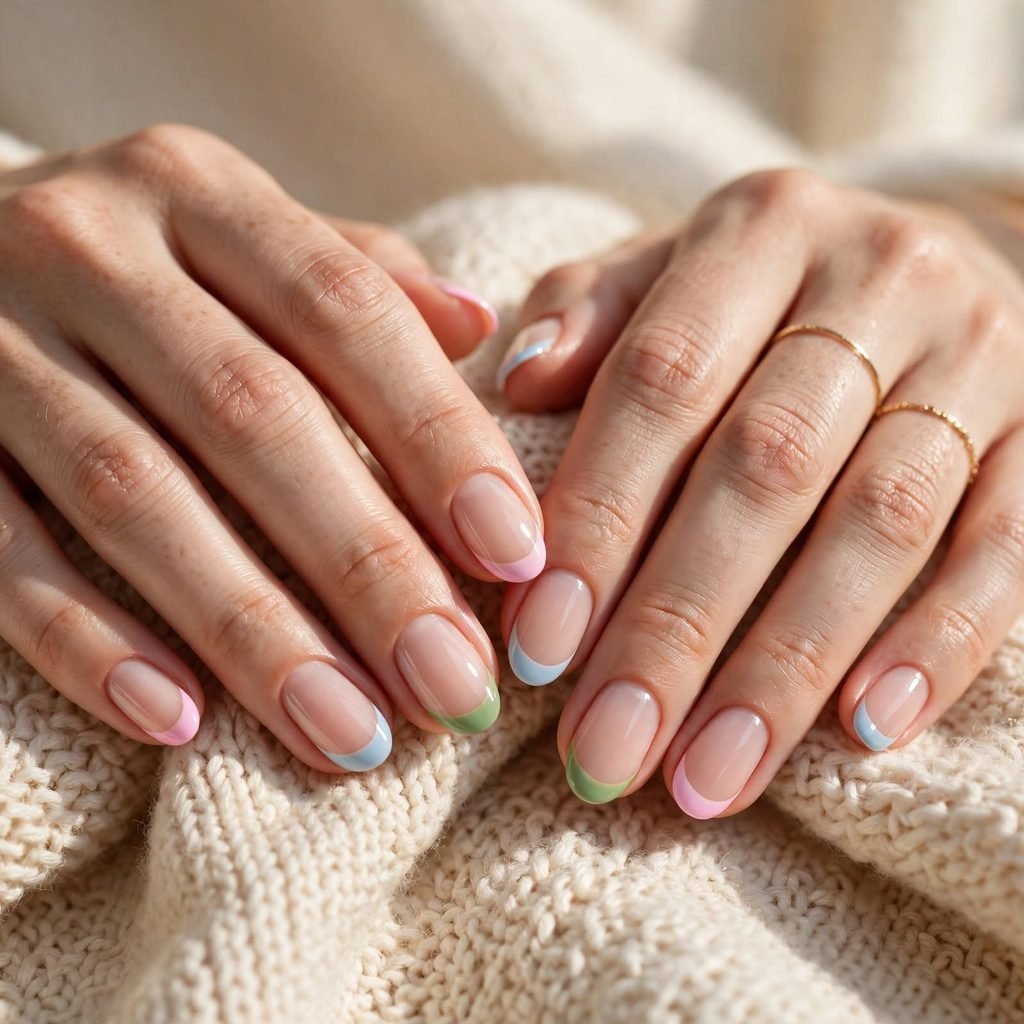
A French tip twist swaps the classic white for a bright color. It feels fresh, yet it is still simple and neat. You paint only the tip of each nail, so it is quick. Pink, blue, or green tips look great on a nude base. The tip can be straight, curved, or even slanted.
Who it suits best: This idea suits almost every nail length. It is perfect for work, dates, and weddings. Oval and almond nails look especially pretty with curved tips. If you like neat and polished nails, you will love this.
Styling tip: Use a small piece of tape as a guide for straight tips. Press the tape down gently so the polish does not leak under it. Peel it off while the polish is still a little wet. Finish with a shiny top coat.
3. Tape Stripes for Sharp, Modern Lines
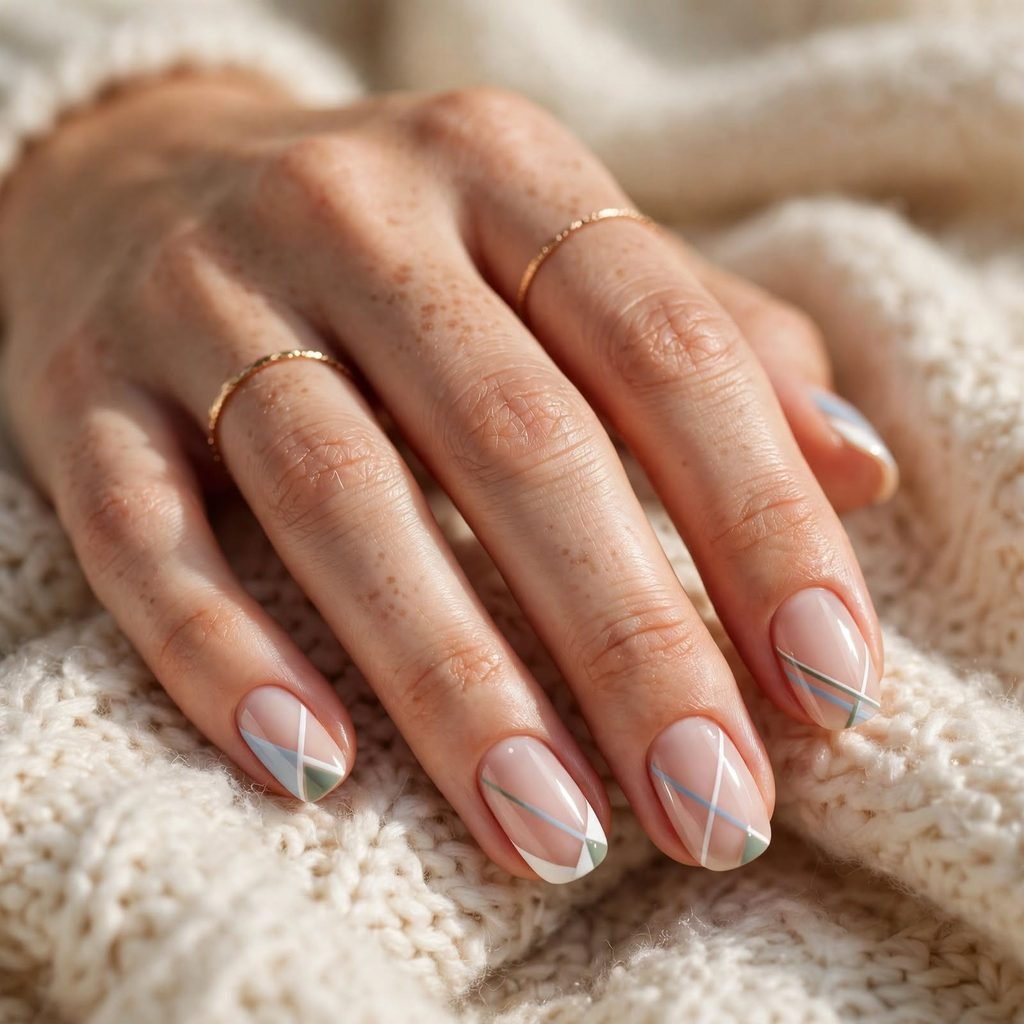
Tape stripes give you sharp, modern lines with almost no skill. Stick thin tape on a dry base color. Then paint over it with a second shade. When you peel the tape, the clean lines appear like magic. You can make straight lines, crosses, or simple triangles.
Who it suits best: This look suits anyone who likes a clean and bold style. It works well on short square nails. It also fits office days and city outings. Fans of simple shapes will enjoy it most.
Styling tip: Wait until the base color is fully dry before using tape. Wet polish can peel off with the tape. Use two colors that contrast well, like white and navy. Seal the design with a top coat to smooth the edges.
4. Sponge Ombré for a Soft, Dreamy Fade
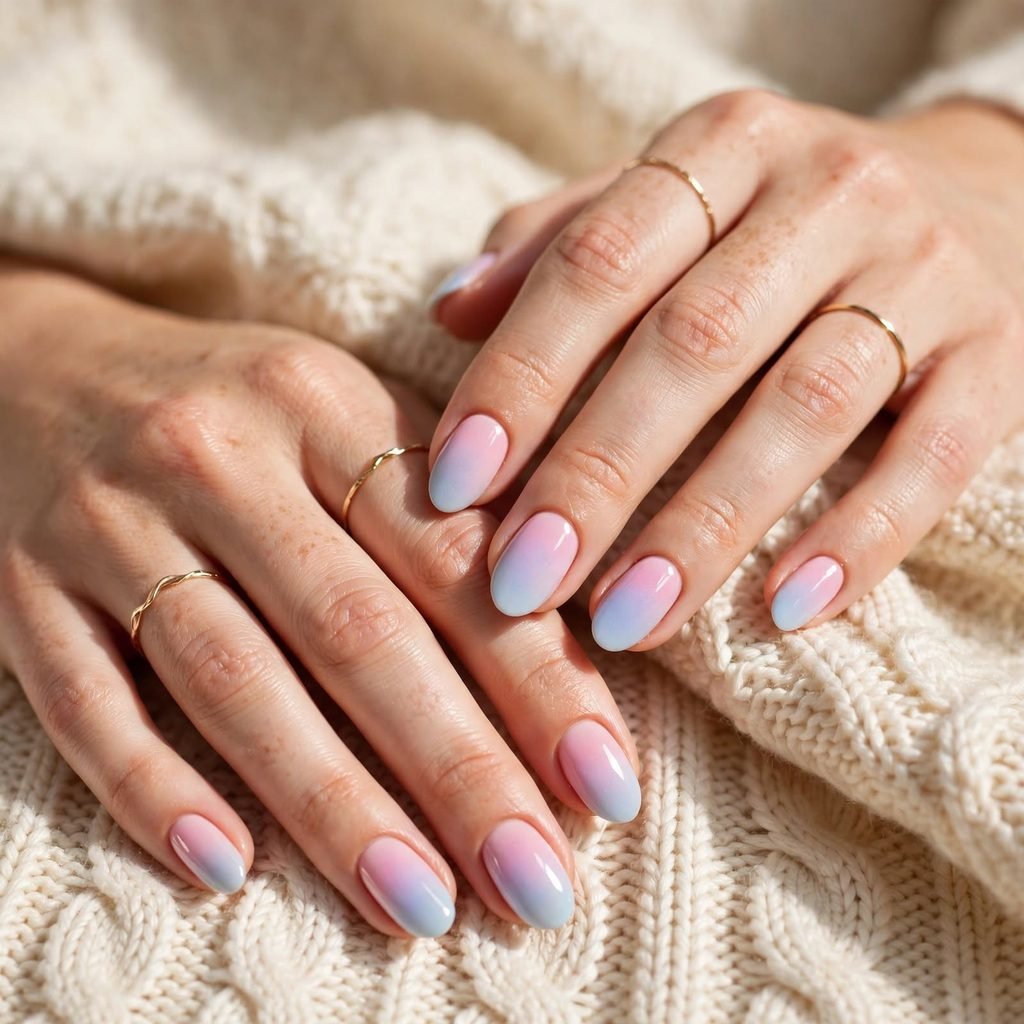
A sponge ombré blends two colors into a soft gradient. It looks dreamy, and it takes only a few minutes. You dab polish on a makeup sponge and press it onto your nail. The colors melt together where they meet. This look feels soft and pretty without any hard lines.
Who it suits best: This idea suits long nails the most because the fade shows well. It also works on short nails if you pick close colors. It is lovely for summer trips and sunset-themed parties. Anyone who likes soft color will enjoy it.
Styling tip: Paint a clear base coat around your nail skin first. It makes cleanup much easier. Dab the sponge a few times for a deeper color. Add a thick top coat to smooth out any bumps.
5. One Sparkly Accent Nail for a Quick Finish
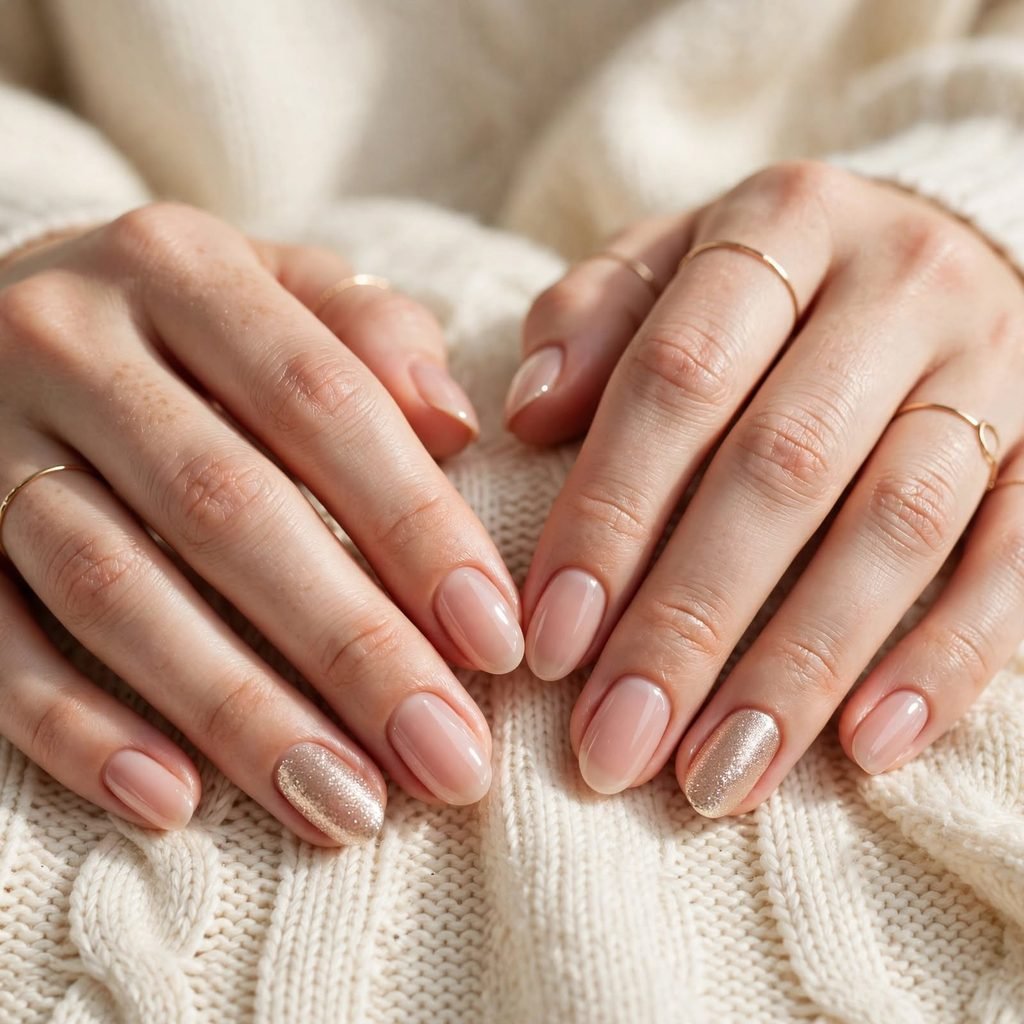
An accent nail means you decorate just one nail. The other nails stay in one plain color. Usually the ring finger gets the glitter or fun design. This keeps the look balanced and quick to finish. It is a smart choice when you have little time.
Who it suits best: This look suits busy people, students, and anyone who wants a subtle style. It works well for office and everyday wear. Short and long nails both look good. It also helps if you are afraid of going too bold.
Styling tip: Pick a glitter or foil that matches the plain color. Dab glitter on with a small brush for better control. Keep the other nails simple so the accent stands out. Brush extra glitter off your skin with a soft, dry brush.
6. Tiny Hearts with a Toothpick

Tiny hearts are sweet and easy when you use a toothpick. Place two small dots side by side. Then drag the tip of the toothpick down to pull them into a heart point. With practice, you can make a row of hearts in minutes. They look lovely in red, pink, or white.
Who it suits best: This look suits romantic days, dates, and cozy weekends. It fits short and medium nails well. Oval nails look especially cute with little hearts. Anyone who loves cute, girly art will enjoy it.
Styling tip: Work while the dots are still wet so they blend into a heart. Wipe the toothpick between each heart. Keep the hearts small so they stay neat. Seal them with a top coat when dry.
7. Toothpick Marble Swirls That Look Fancy
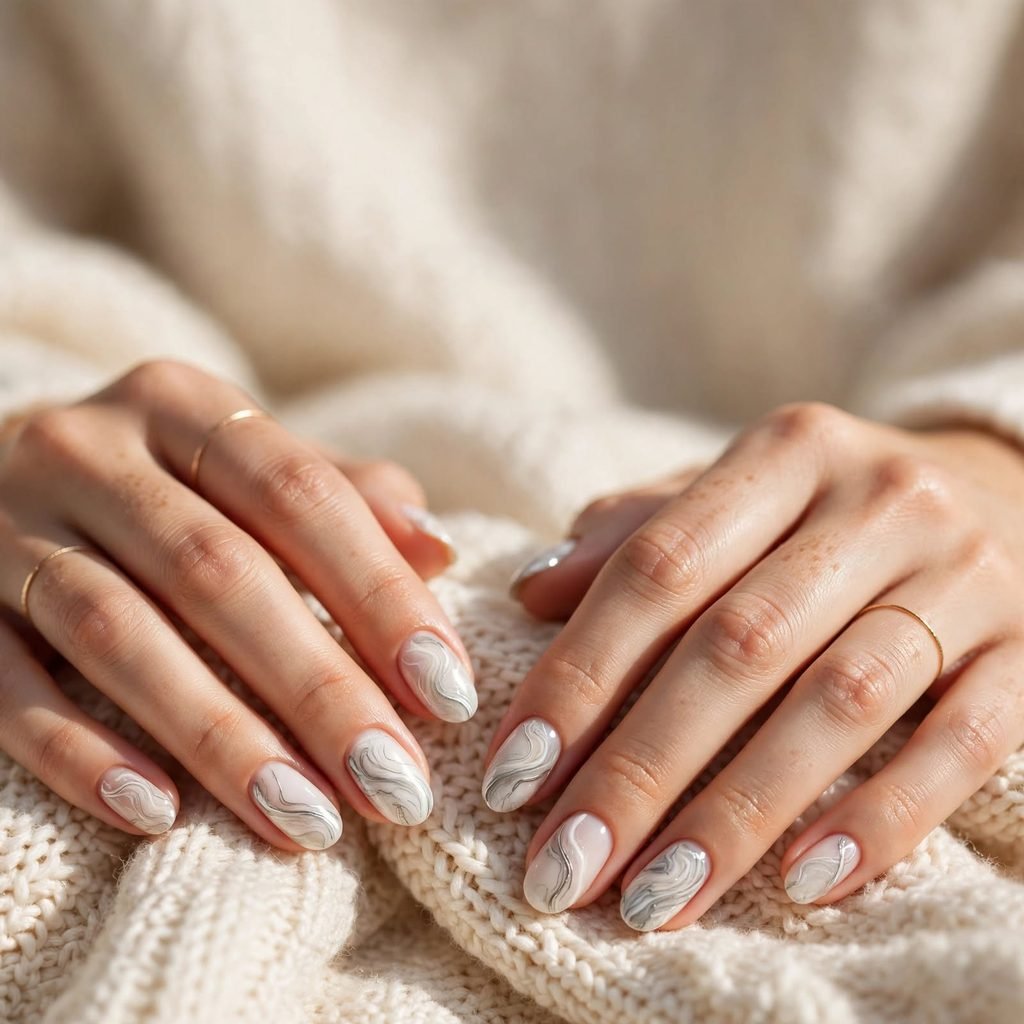
Marble swirls look fancy, but they are simple to do. Add a few drops of white and gray polish over a wet base. Then swirl them lightly with a toothpick. The mix makes a pretty stone-like pattern. No two nails look the same, which makes the set feel unique.
Who it suits best: This look suits anyone who likes a classy, artsy style. It works well on medium and long nails. It is also great for events and photos. Fans of neutral colors will enjoy it.
Styling tip: Swirl gently, and do not over-mix the colors. Too much swirling turns the polish muddy. Work on one nail at a time, because the polish dries fast. Finish with a glossy top coat.
8. Half-Moon Nails for a Clean, Retro Look
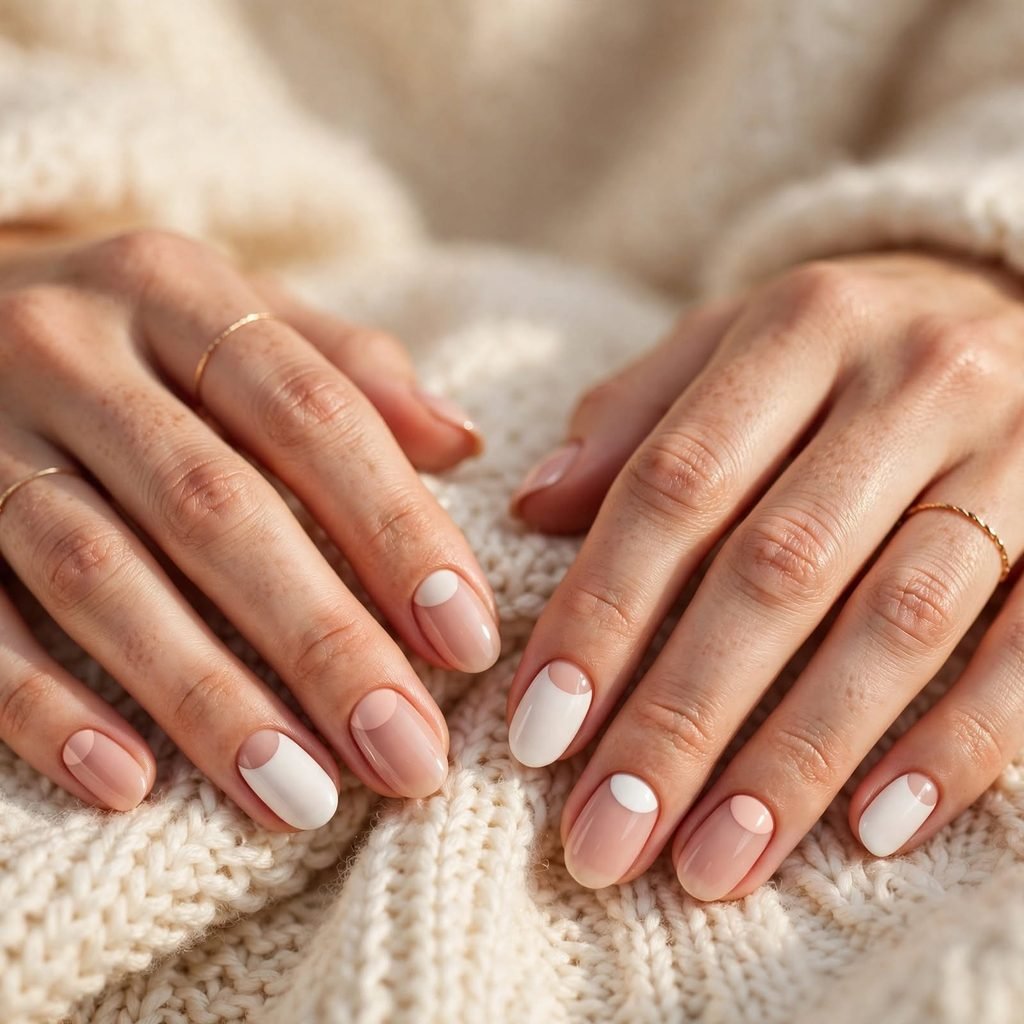
Half-moon nails leave a small curve near the cuticle bare or in a different color. The look is clean and a little retro. You can use a hole reinforcement sticker as a guide. Then paint the rest of the nail in your favorite shade. The result feels elegant and simple.
Who it suits best: This look suits short and medium nails. It fits work, school, and formal events. It is a good pick for people who like minimal style. It also looks great on square and round nails.
Styling tip: Choose a metallic or pastel color for the moon. Press the sticker down well to avoid leaks. Remove it gently once the polish is just dry. Add a top coat to smooth the line.
9. Negative Space Nails for an Airy Look
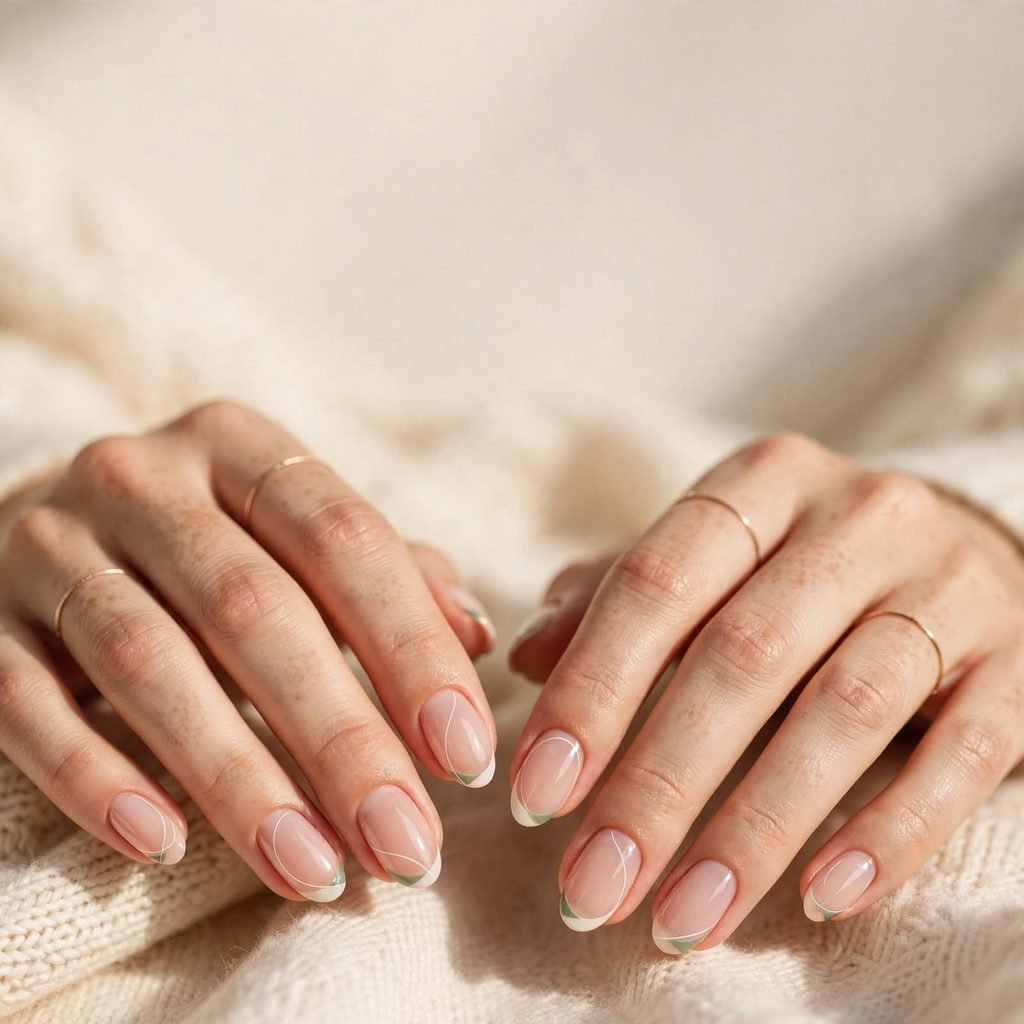
Negative space nails leave part of the nail bare. You might paint a shape, a line, or a corner only. The clear space makes the design feel light and modern. It also hides small mistakes well. This look feels airy and stylish.
Who it suits best: It suits people who like a minimal, fresh style. It works on short nails, too. It is great for summer and beach days. Anyone with healthy, clean nails will enjoy it.
Styling tip: Start with a clear base coat so the bare part looks glossy. Use tape to make simple shapes. Keep the design to one or two lines. Add a top coat to seal it all in.
10. Five-Dot Daisies for a Happy Flower Look
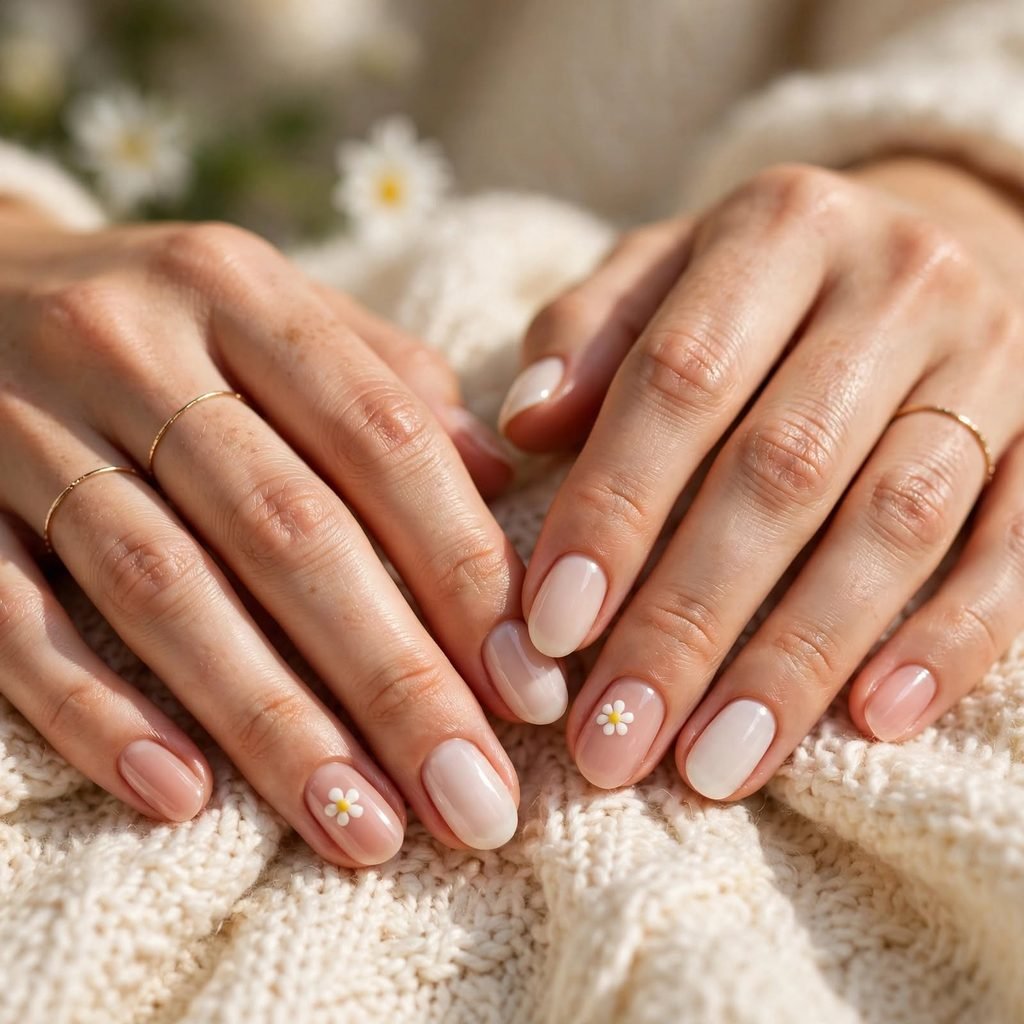
Daisy nails use five white dots around a yellow center. It looks like a tiny flower. You only need a dotting tool and two colors. Place five petals in a circle, then add the center. Daisies feel happy and fresh, and they are hard to mess up.
Who it suits best: This look suits spring and summer days. It works well for short and medium nails. Soft pink or light blue bases look lovely. It is perfect for anyone who loves a cheerful style.
Styling tip: Let the petals dry a little before adding the center. Use a smaller tool for the center dot. Spread the daisies across only a few nails. Seal them with a top coat.
11. Easy Animal Spots for a Bold Twist

Animal spots add a bold twist with simple dabs. Paint small brown blobs on a tan base. Then outline each blob with tiny black curves. Do not worry about being perfect, since real spots are uneven. It looks edgy and fun.
Who it suits best: This look suits people who love a bolder style. It works on medium and long nails. It is great for nights out and fall outfits. Fans of fierce fashion will enjoy it.
Styling tip: Use a thin brush or toothpick for the black curves. Vary the size of the spots. Keep the outlines broken instead of closed. Try a matte top coat for a cool finish.
12. Glitter Fade Tips for Party-Ready Sparkle

A glitter fade starts bare at the cuticle and gets sparklier toward the tip. It looks glamorous and is easy with a sponge. Dab the glitter polish near the tip and fade it down. The sparkle catches the light everywhere you go. It is a perfect party nail.
Who it suits best: This look suits parties, holidays, and date nights. It works best on medium and long nails. Clear or pink bases look lovely. Anyone who loves sparkle will enjoy it.
Styling tip: Build the glitter in thin layers. Press the sponge down instead of dragging it. Use a clear top coat to smooth the rough texture. When you want it off, hold a remover-soaked cotton pad on each nail for a short while.
13. Pastel Mix-and-Match for a Playful Set
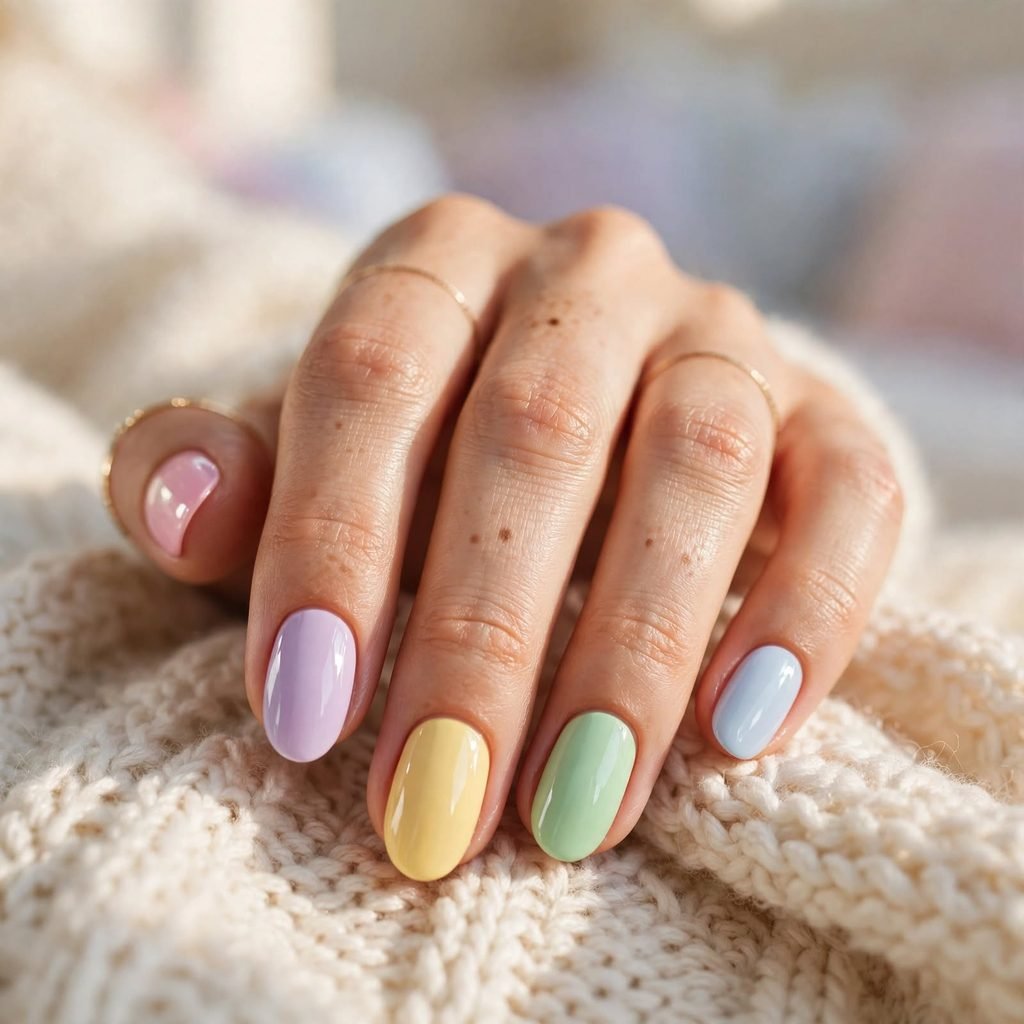
Mix-and-match nails use a different pastel shade on each finger. It looks playful and takes no art skill. You just choose five colors that go well together. The mix feels like a box of tiny cookies. It is a happy way to wear many colors at once.
Who it suits best: This look suits spring, summer, and anyone who loves color. It works on every nail length. It looks great on square and round nails. It is fun for festivals and weekends.
Styling tip: Choose colors from the same family, like all soft shades. Keep each color at a similar level of brightness. Arrange them in rainbow order for a neat flow. Add a shiny top coat to tie them together.
How to Do Easy Nail Art at Home
You do not need fancy gear to start. A few simple tools and a calm hour are enough. Here are the basic steps that work for most designs in this list.
- Wash your hands and remove old polish with a cotton pad and remover.
- Shape your nails with a file, then gently push back your cuticles.
- Apply a thin clear base coat to protect your nails.
- Paint two thin coats of your base color, and let each one dry a little.
- Add your design with a toothpick, dotting tool, thin brush, sponge, or tape.
- Work on one nail at a time so the polish does not dry too fast.
- Fix small mistakes with a cotton swab dipped in remover.
- Seal everything with a clear top coat, and wait at least ten minutes before using your hands.
Cost and Time
Doing easy nail art at home is very kind to your wallet. A small set of basic tools, like a dotting tool, tape, and a sponge, can cost about $5 to $20. Regular polish colors often cost $3 to $10 each. A salon usually charges about $25 to $60 for simple nail art, and more if you add long nails or detailed designs. Once you own the basic tools, each at-home set costs only a few dollars.
Most easy designs take 20 to 45 minutes for both hands, including drying time. Simple looks like dots or an accent nail can be done in under 30 minutes. A regular polish set usually lasts about five to seven days. With a good base coat and top coat, many people get up to ten days before small chips appear.
Care Tips to Keep Your Nail Art Looking Fresh
A little care helps your nail art last longer. Add a fresh layer of top coat every two or three days to keep the shine and stop chips. Wear gloves when you wash dishes or clean, since hot water and soap can wear polish down fast. Keep your cuticles soft with a little oil or hand cream each day. Moist cuticles look neat and help your nails stay strong.
Avoid using your nails as tools to open cans or scrape stickers. This is the top cause of chips and breaks. When it is time to remove the polish, use a gentle remover and do not peel it off. Peeling pulls off thin layers of your natural nail and leaves them weak. Give your nails a short break between sets now and then so they can rest and breathe.
Frequently Asked Questions
Can beginners really do easy nail art at home?
Yes, they can. Easy nail art uses simple moves like dotting, taping, and sponging. You do not need steady hands or years of practice. Start with polka dots or an accent nail, because they are very forgiving. After a few tries, you will feel more confident and can try fancier ideas.
What tools do I need to start easy nail art?
You need very few tools to begin. A toothpick, a bobby pin, or a dotting tool can make dots and hearts. Thin tape or hole stickers help you make clean lines and shapes. A makeup sponge is great for soft gradients and glitter fades. Do not forget a base coat, a top coat, and some nail polish remover for quick fixes.
How do I stop my nail art from smudging?
Patience is the secret here. Let each coat dry for a few minutes before you add the next layer. Thin coats dry faster and smudge less than thick ones. Do not start your design until the base color feels dry to the touch. Seal the finished art with a top coat, and avoid using your hands for about ten minutes.
How long does easy nail art last?
Regular polish with nail art usually lasts five to seven days. A good base coat and top coat can stretch that to ten days. Your daily habits matter a lot, too. Washing dishes, typing a lot, and using your nails as tools can cause chips sooner. A fresh top coat every few days keeps the design looking glossy.
What is the easiest nail art design to start with?
Polka dots are the easiest for most people. An accent nail is another great starter because you only decorate one nail. Both ideas need very little skill and look cute right away. Tape stripes are also simple because the tape does the hard work for you. Pick the one that matches your style and give it a try.
Can I do easy nail art on short nails?
Yes, short nails are great for easy nail art. Small designs like tiny hearts, daisies, and half-moons look neat and balanced. Negative space designs also make short nails look clean and modern. Just keep the art small and simple so the nail does not look crowded. Soft, light colors can even make short nails look a bit longer.
Final Thoughts: Pick Your Easy Nail Art Vibe
If you want a simple look, try polka dots, half-moons, or one sparkly accent nail. These designs are quick, neat, and easy to wear every day. If you want something glam, go for a glitter fade, marble swirls, or a colorful French tip. They add a little shine and feel special for parties and dates. If you feel bold, try tape stripes or easy animal spots to show off your wild side.
The best part of easy nail art is that you can play without any pressure. If you do not love a design, you can just wipe it off and start again. Every try teaches you something new and makes your hands steadier. So grab your polish, pick your favorite idea, and have fun with it. Happy painting, and enjoy your pretty new nails!