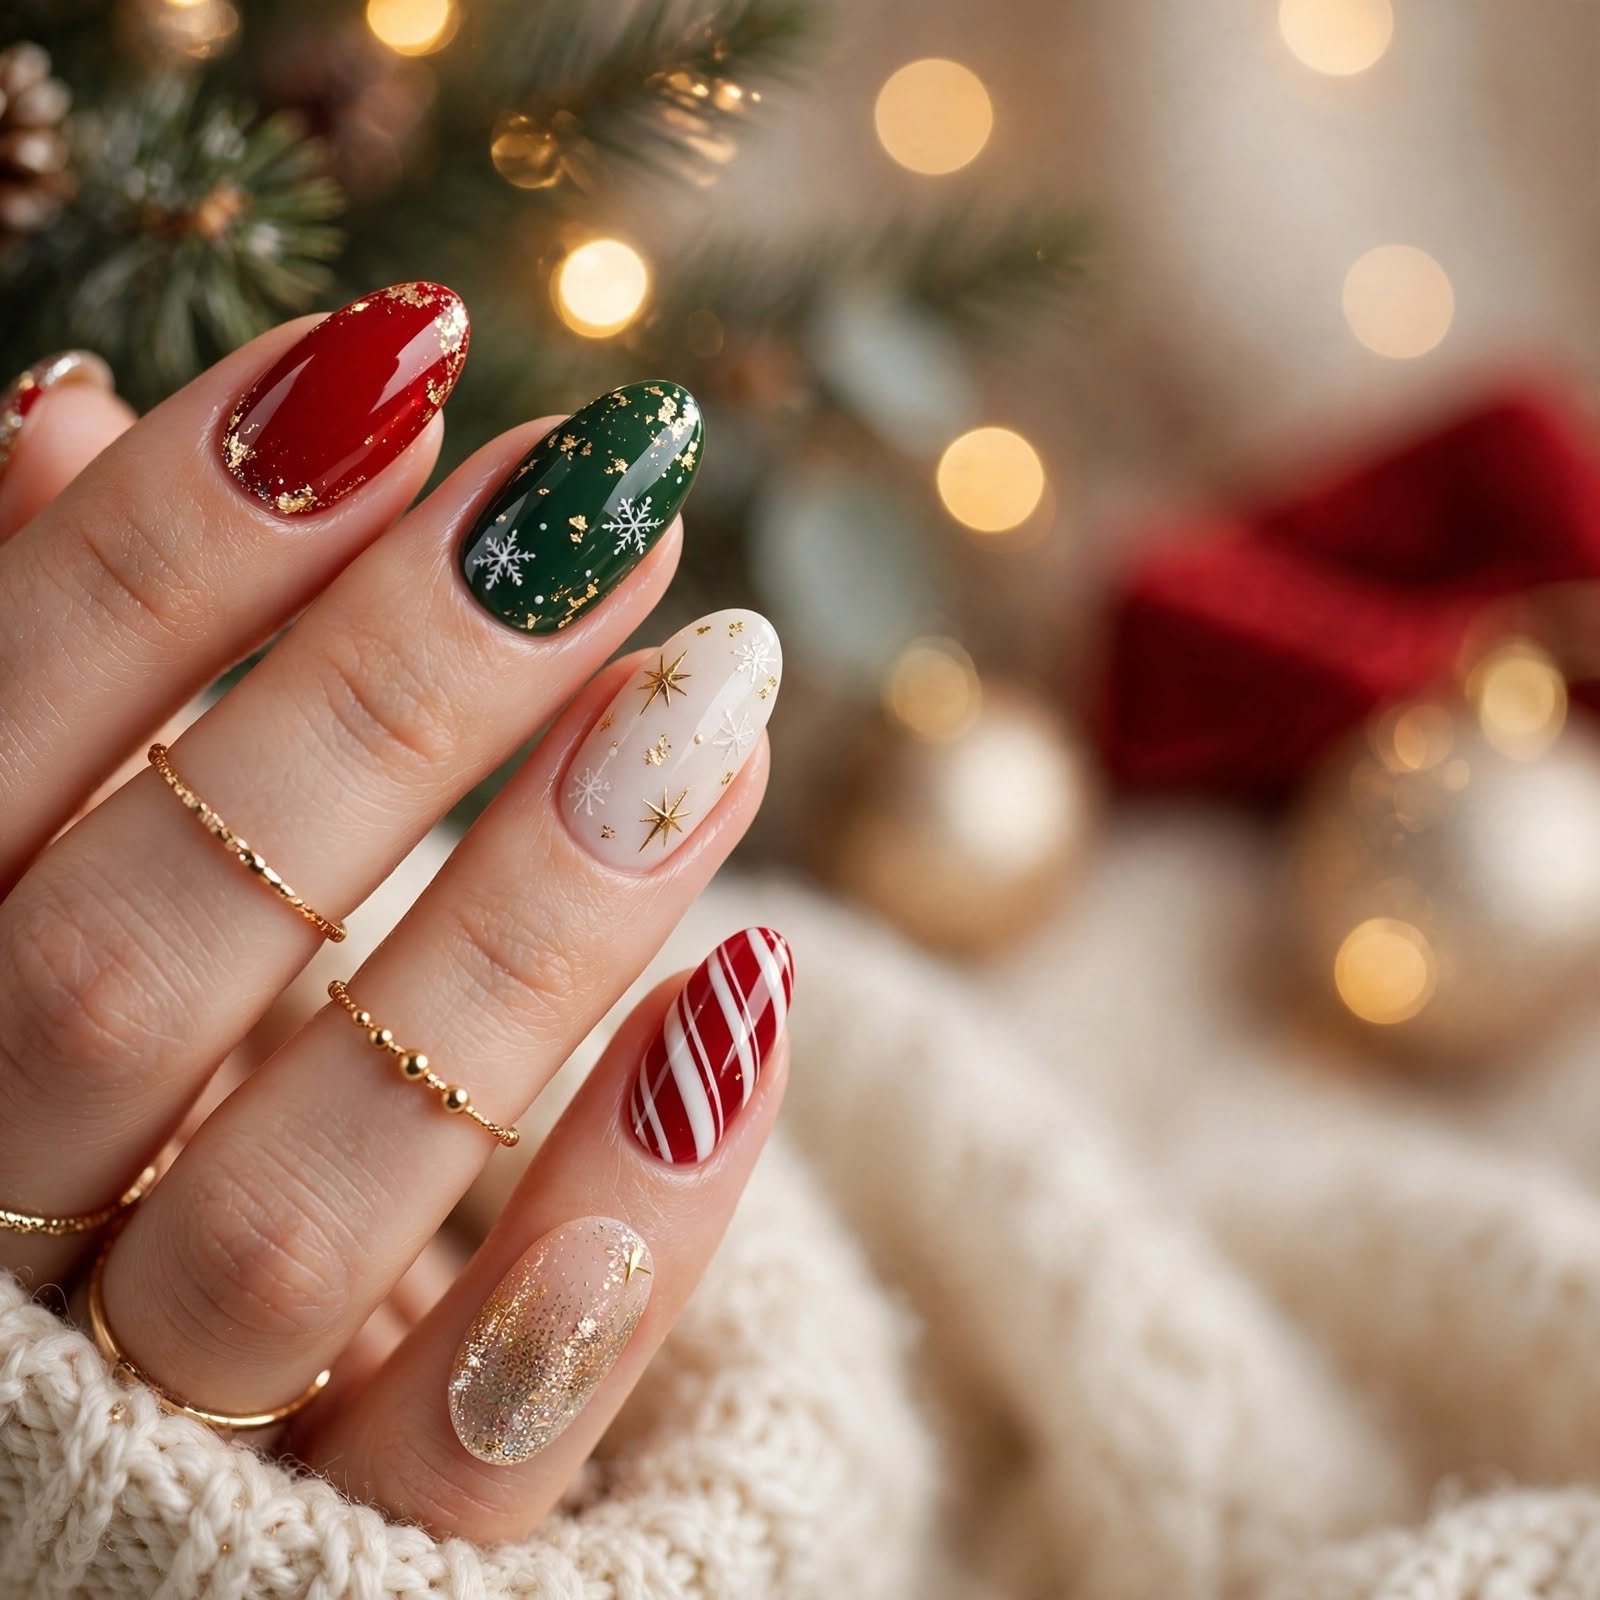
13 Stunning Christmas Nails Ideas to Make Your Holiday Magical
Christmas nails are the easiest way to wear holiday cheer on your hands. They show up in every photo, every gift swap, and every cozy cup of cocoa you hold. This guide shares 15 Christmas nails ideas, from soft and simple to sparkly and bold. You will find ideas for short nails, long nails, and everything in between. Pick the one that feels like you, and enjoy the holiday season.
Why Christmas Nails Are Trending Right Now
It is October, and nail trends for the holidays are already taking shape. People love to book early, plan their looks, and try new ideas before December gets busy. Christmas nails have moved far beyond plain red and green. Today’s looks mix soft colors, shiny finishes, and tiny hand-painted details. Many people now treat their nails like a small piece of seasonal art.
Right now, a few styles are everywhere. Milky whites and sheer pinks give a clean, calm base for holiday art. Deep burgundy and cherry red feel rich and a little vintage. Chrome and glassy finishes add shine without too much sparkle. Tiny bows, stars, and snowflakes are popular because they feel sweet instead of loud.
Nails have also been part of holiday traditions for a long time. People have painted their nails red for celebrations for decades, and holiday colors have always carried a festive feeling. Social media has turned that habit into a full trend, with new designs shared every season. That means you have endless ideas to borrow and change to fit your taste. You can keep it classic or try something brand new.
The best part is how flexible these looks are. You can wear one bold accent nail to the office and save the full glam set for the party. You can do your own nails at home or ask a nail tech for help. Either way, the holidays are a fun time to play with color. Let’s help you find your perfect match.
How to Pick the Right Christmas Nails for You
Start with your nail shape and length. Short nails look great with simple colors, thin lines, and small accents. Long nails have more room for art, like swirls, plaid, and scenes. Almond and oval shapes make fingers look longer and softer. Square and squoval shapes feel strong, neat, and easy to keep up.
Next, think about your skin tone. Warm skin tones often glow with gold, brick red, olive green, and creamy white. Cool skin tones tend to shine with silver, blue-based red, emerald, and icy shades. Neutral skin tones can wear almost anything, so you get to choose by mood. If you are not sure, hold a color up against your hand in daylight and see how it makes your skin look.
Your lifestyle matters too. If you type all day, cook a lot, or work with your hands, choose shorter nails and a strong top coat. Tiny designs are also less likely to look messy if one nail chips. If your life is more dress-up and less dishes, you can go for longer shapes and heavy glitter. Think about what your week really looks like before you choose.
Finally, match your nails to the occasion. A work party calls for soft, polished, and classy looks. A family dinner works well with cozy art like sweaters and plaid. A big night out can handle chrome, jewels, and shine. Choose the look that makes you smile when you look down at your hands.
The 15 Best Christmas Nails Ideas
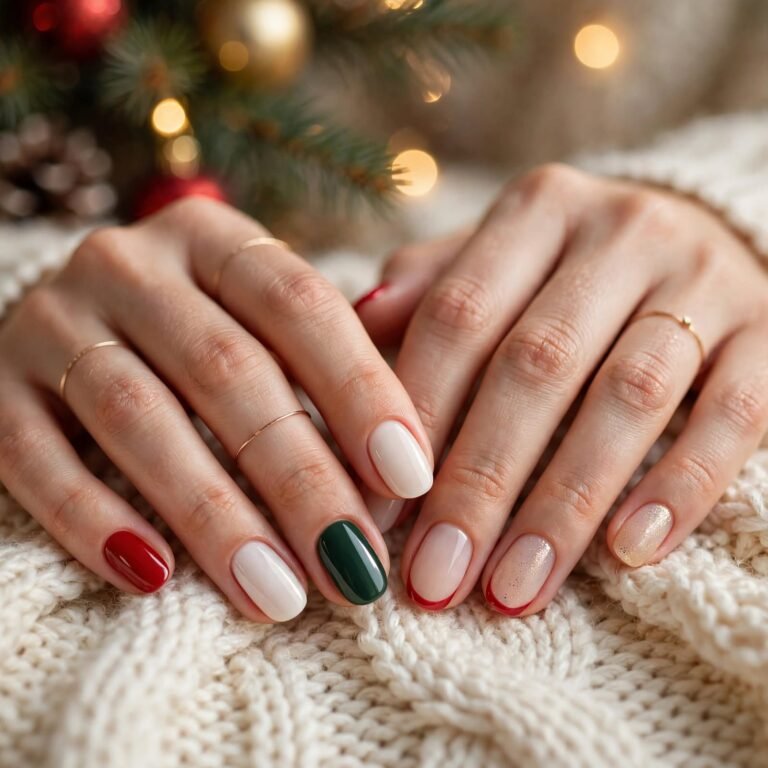
1. Classic Red Gloss on Short Squoval Nails
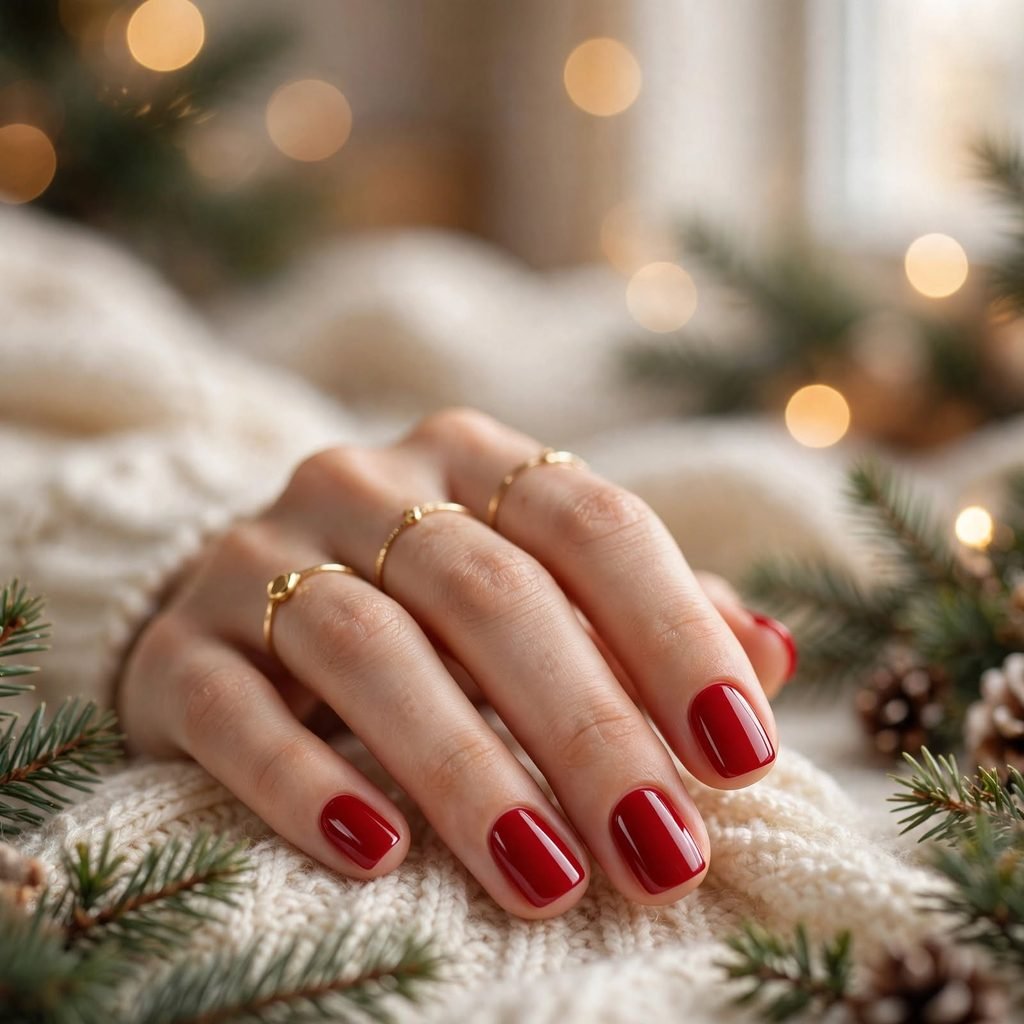
Red is the color most people think of first for Christmas nails, and it never goes out of style. A glossy red on short squoval nails looks neat, bright, and polished. The shape is square with soft, rounded corners, so it feels strong but not sharp. This look needs no art, so it is perfect if you want something quick and clean. It also works with almost every holiday outfit you can imagine.
Who it suits best: Anyone who likes a clean, timeless look, especially people with short nails or busy hands.
Styling tip: Pick a red with a hint of blue for cool skin tones, or a red with an orange glow for warm skin tones.
2. Burgundy Velvet Cat-Eye for Rich Holiday Glow
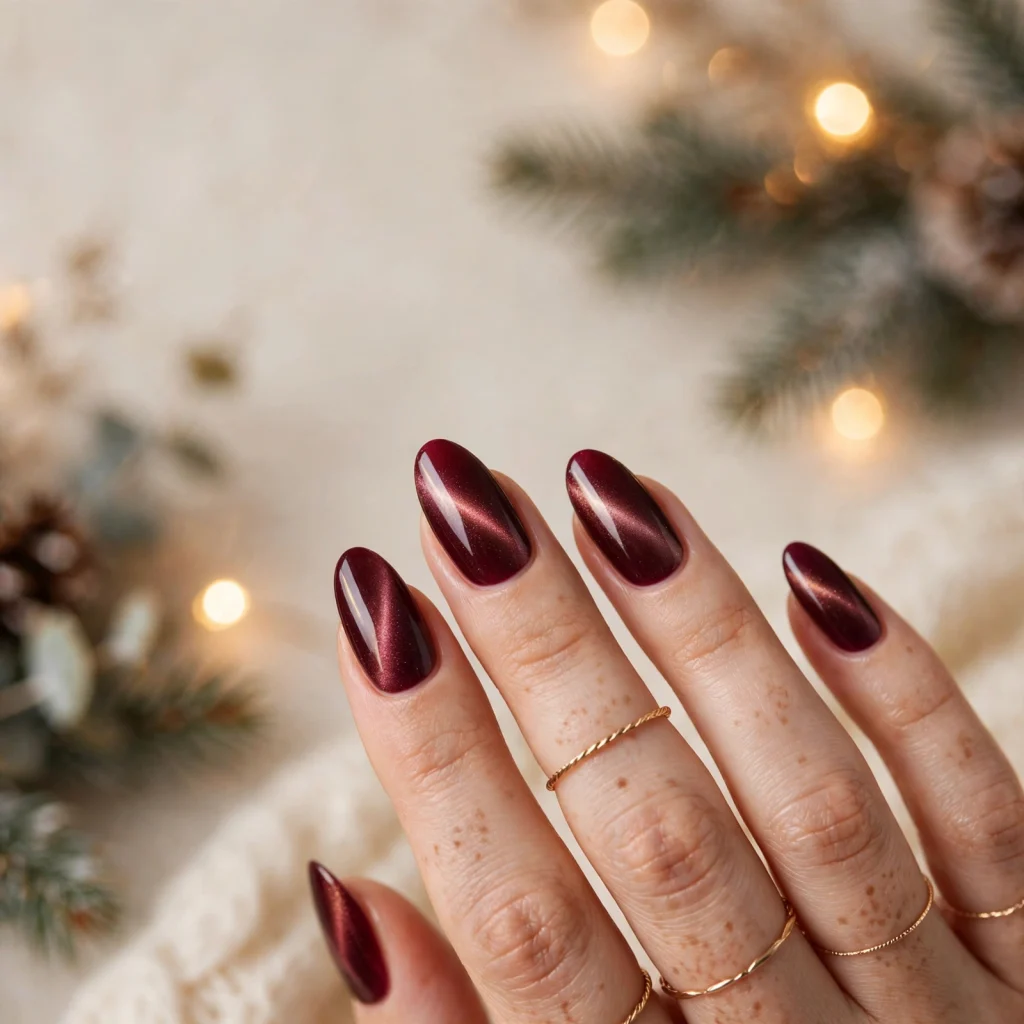
Burgundy is a deep red-purple shade that feels cozy and fancy at the same time. A cat-eye finish adds a thin line of shimmer that moves as your hand moves. The shimmer looks like velvet catching the light of a Christmas tree. It gives your nails depth without any glitter mess. This style looks especially lovely on medium to long almond nails.
Who it suits best: People who love a rich, grown-up look and want something special for parties or dinners.
Styling tip: Hold the magnet close to the nail and move it slowly, so the shimmer line sits near the center or tip.
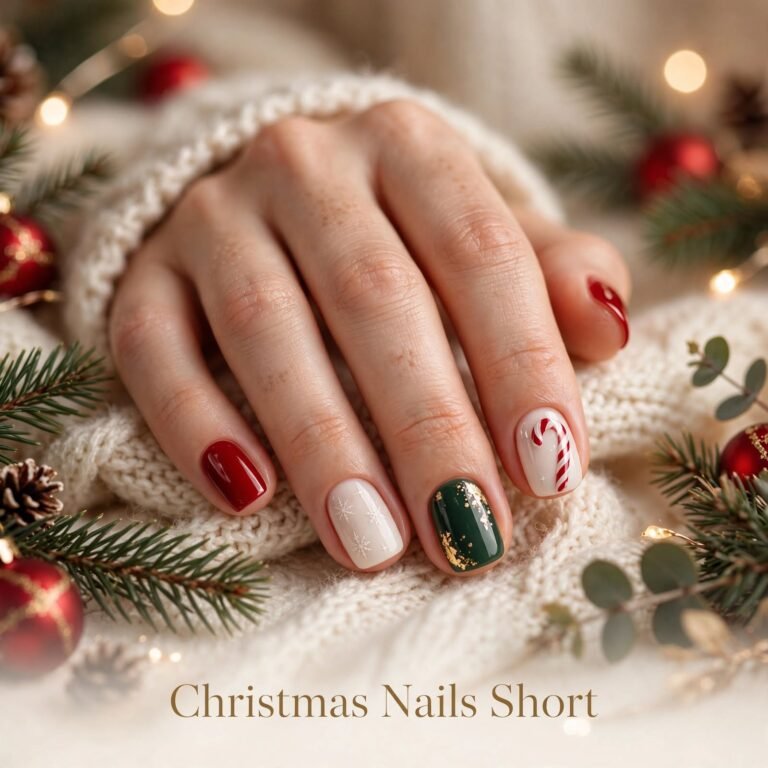
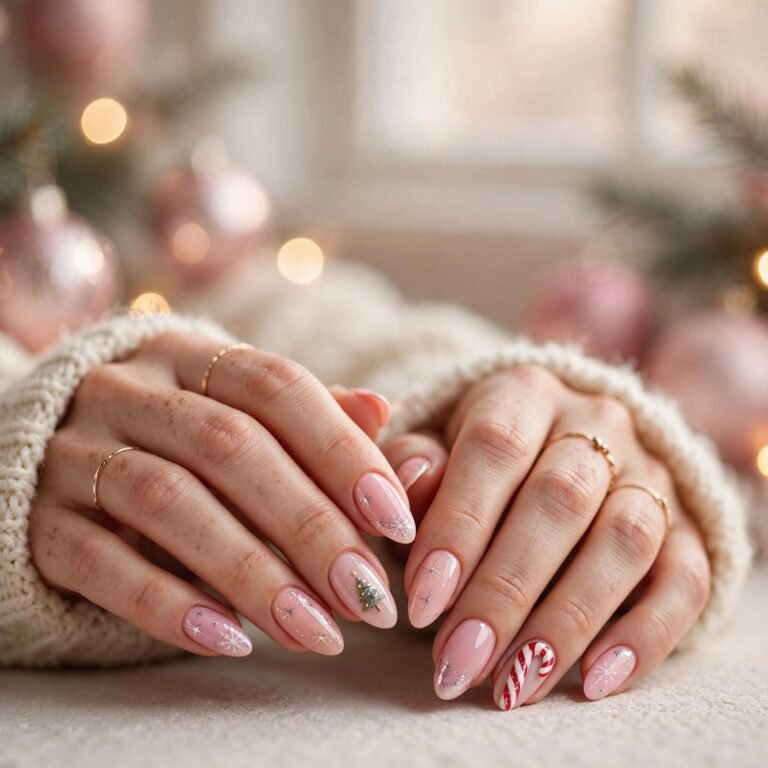
3. Sheer White Base with Delicate Snowflakes
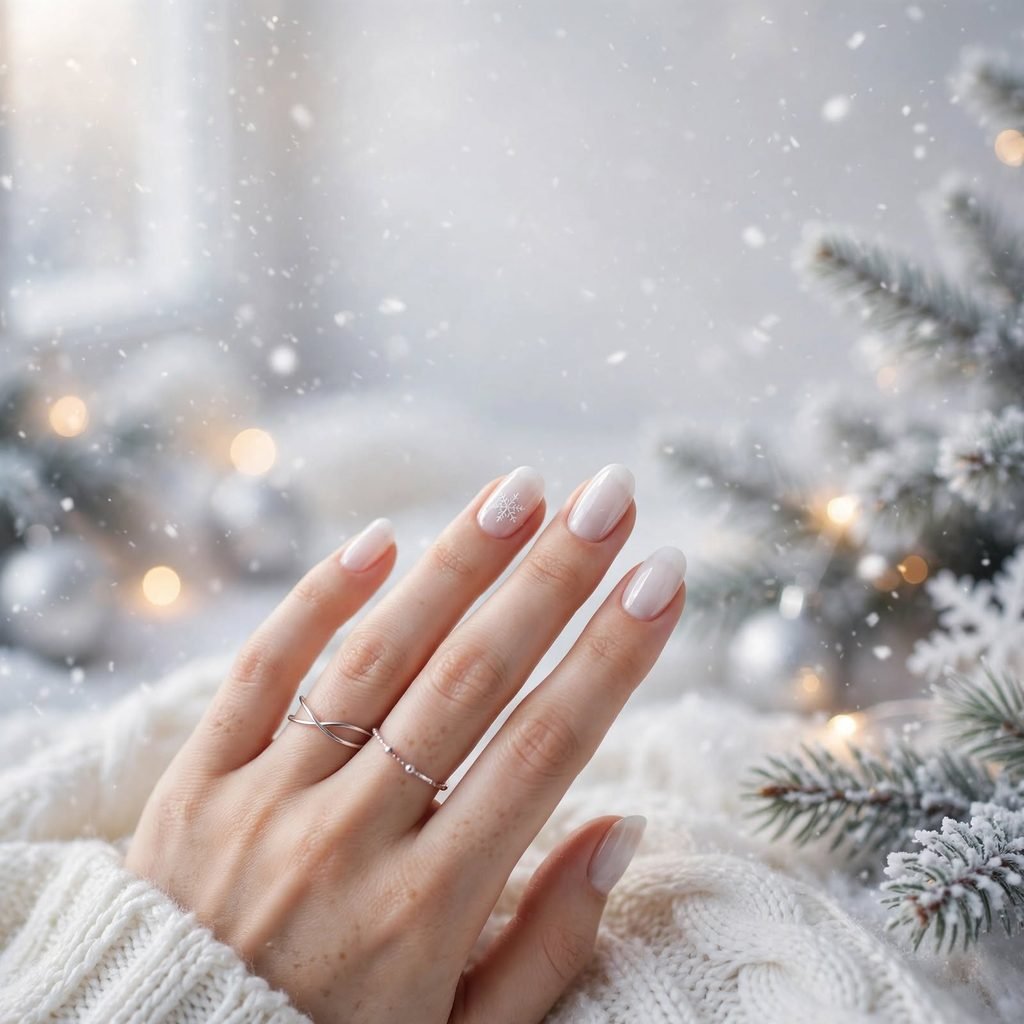
Think of the first snowfall, soft and quiet. A sheer white base gives nails a fresh, clean glow, like frosted glass. Tiny snowflakes in white or silver float across a few nails, so the look stays light and airy. You can add one snowflake per nail or keep them to just the ring fingers. The result feels calm, pretty, and perfect for winter.
Who it suits best: People who like soft, minimal designs and want a look that works well past Christmas Day.
Styling tip: Use a thin brush or a dotting tool, and start each snowflake with a small plus sign before adding the tiny arms.
4. Candy Cane Swirl French Tips
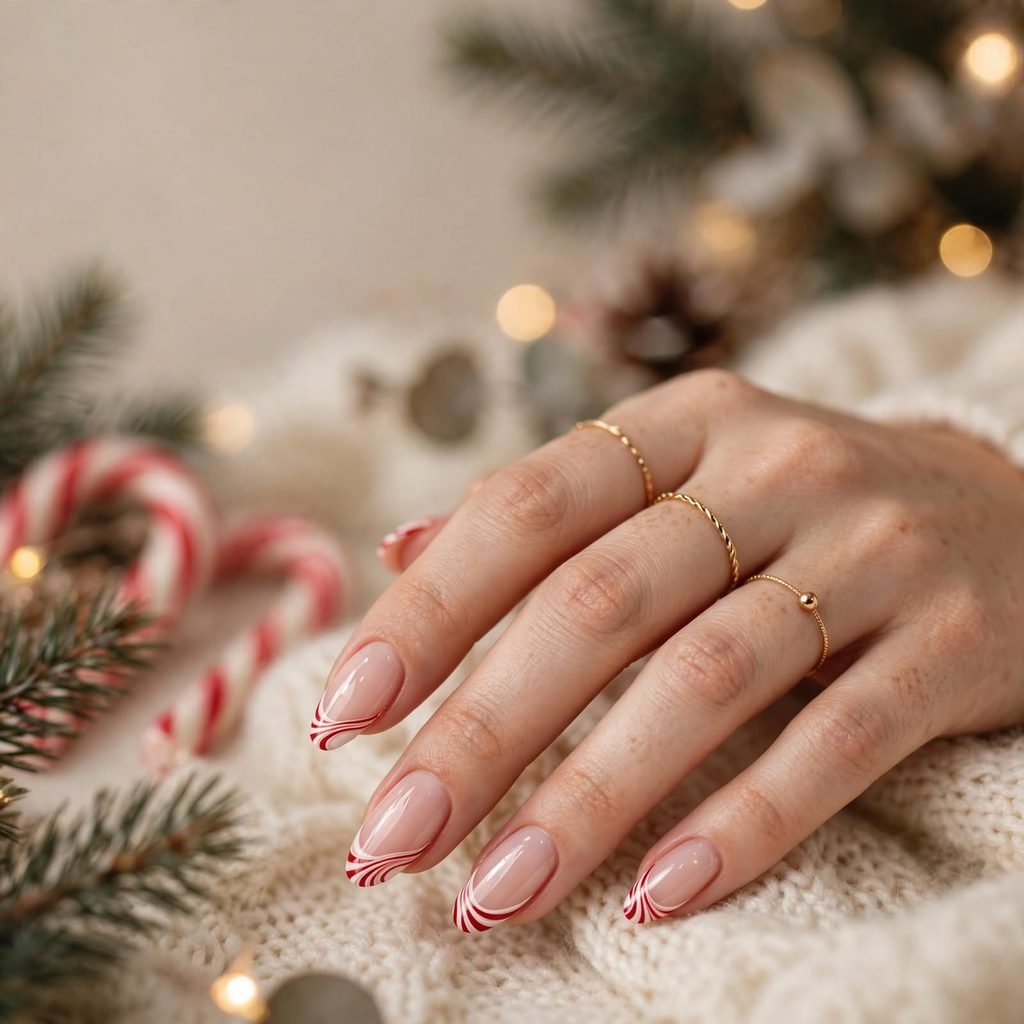
French tips get a sweet holiday twist with red and white swirls. Instead of a plain white line, the tip curves in a candy cane pattern. It reminds you of peppermint treats and cold mornings. The base stays soft and natural, so the tips become the star. It is playful without being too busy.
Who it suits best: Fun-loving people who want a cheerful look for school events, family gatherings, or cookie baking days.
Styling tip: Paint a white tip first, then add thin red curved lines on top, and seal it with a clear top coat.
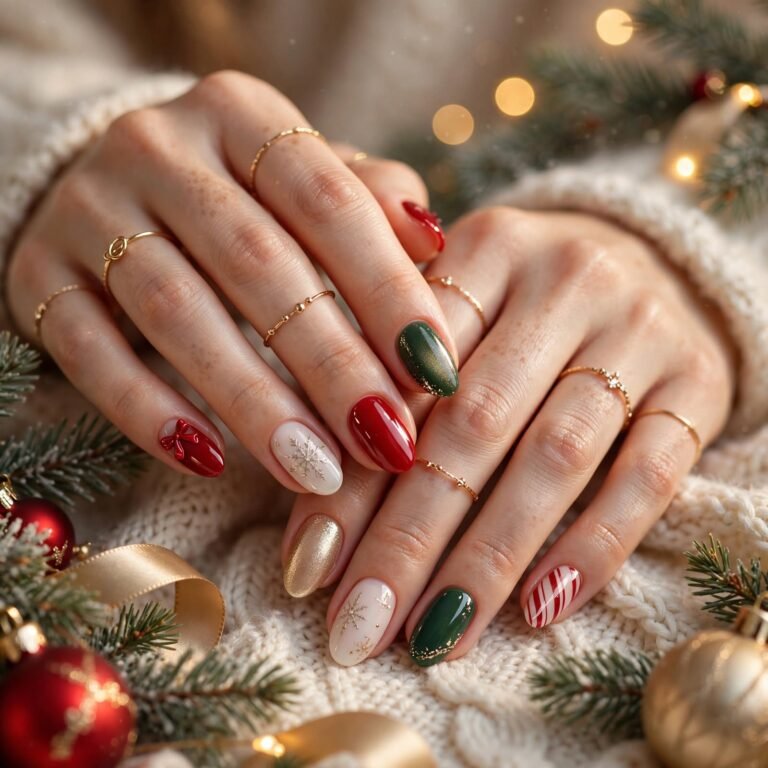
5. Forest Green with Gold Foil Accents
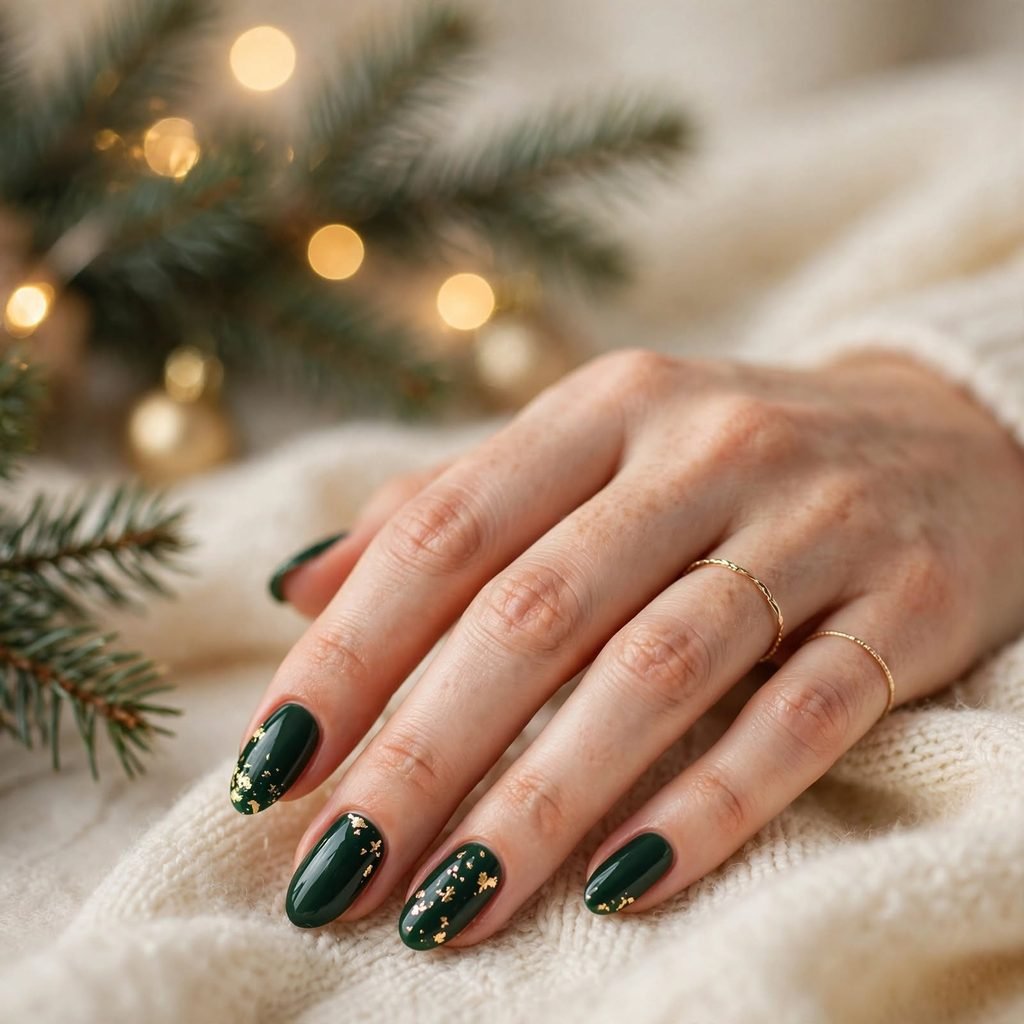
Deep green is the color of Christmas trees, wreaths, and pine branches. When you add flakes of gold foil, the color looks like a tree dressed up with ornaments. The mix feels rich, warm, and a little bit fancy. You can cover every nail in foil or place it on just one or two. It looks great on both short and long nails.
Who it suits best: People who love earthy, natural colors and want something that stands out without being loud.
Styling tip: Press the foil on while the polish is still slightly tacky, then seal it with two thin layers of top coat to smooth the bumps.
6. Milky White with Tiny Red Bows
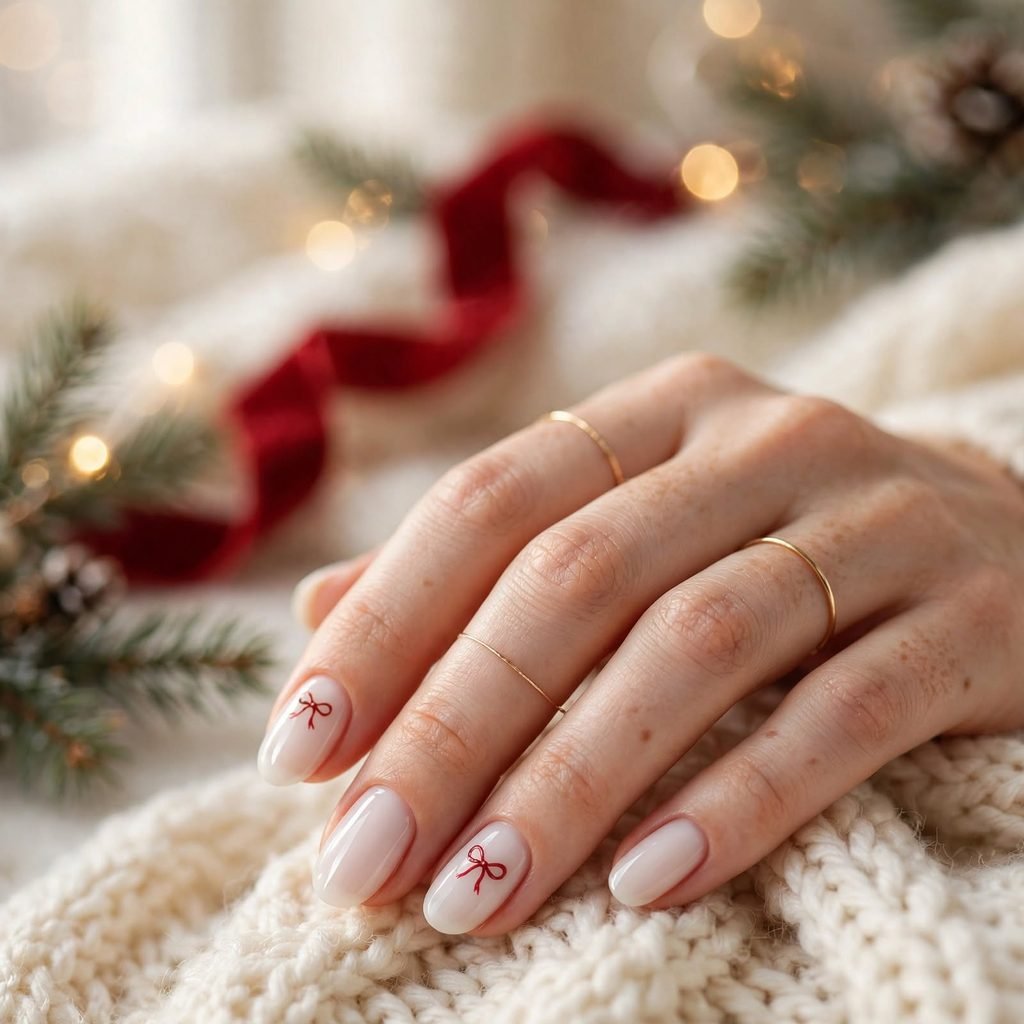
Bows are one of the sweetest details you can add to holiday nails. A milky white base gives a soft, clean backdrop. Tiny red bows on one or two nails look like little wrapped gifts. The look is gentle and a bit vintage, perfect for the season. Because the bows are small, they feel cute instead of crowded.
Who it suits best: People who like sweet, girly designs and want something that photographs beautifully.
Styling tip: Paint each bow as two small triangles with a tiny dot in the middle, and keep the rest of the nails plain.
7. Silver Chrome Snow Glaze
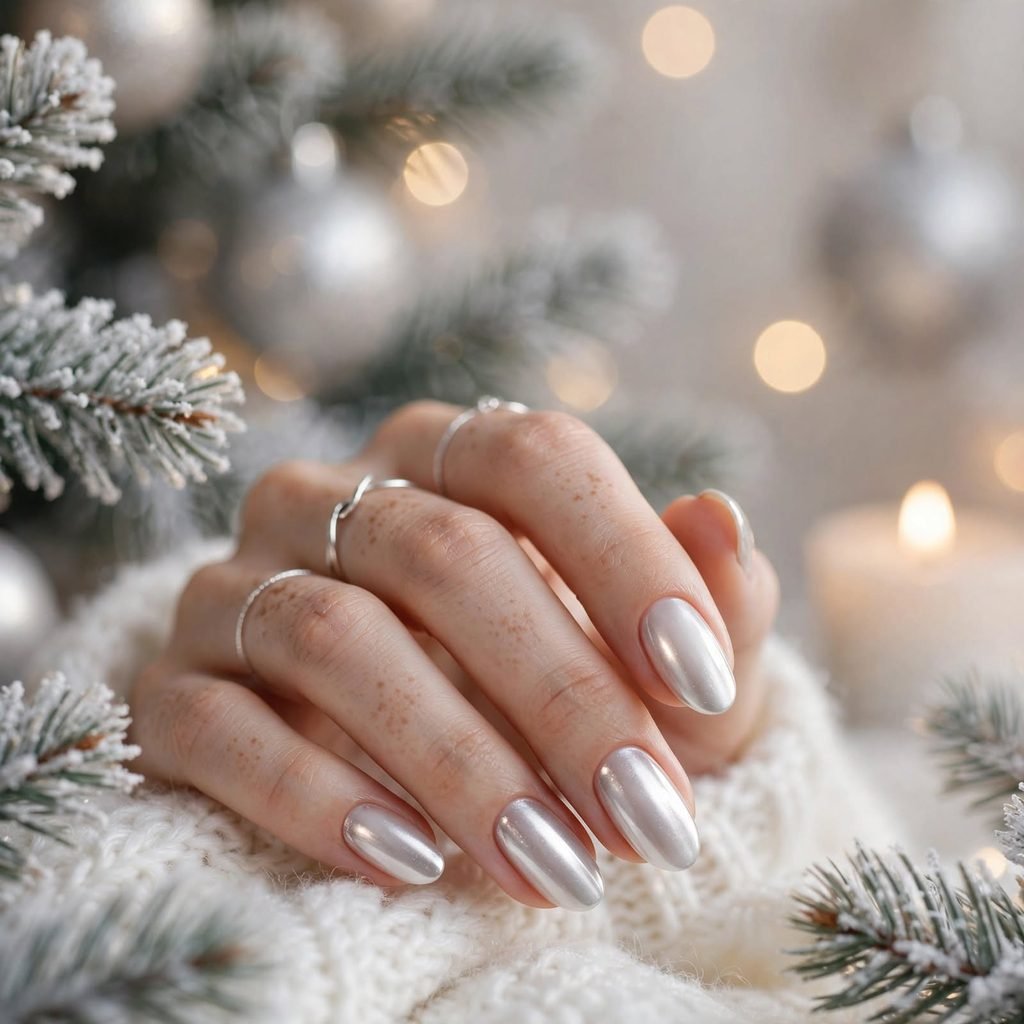
Chrome powder gives nails a mirror-like shine that looks like fresh ice. A silver or pearly white chrome over a light base creates a soft, snowy glow. It catches every light in the room, from string lights to candles. The look is modern, sleek, and still full of holiday magic. It also works well with simple outfits, because the nails do all the talking.
Who it suits best: People who love a modern, glassy finish and want shine without bulky glitter.
Styling tip: Apply the chrome powder only after your gel polish is cured and has no sticky layer left.
8. Cozy Tartan Plaid Nails
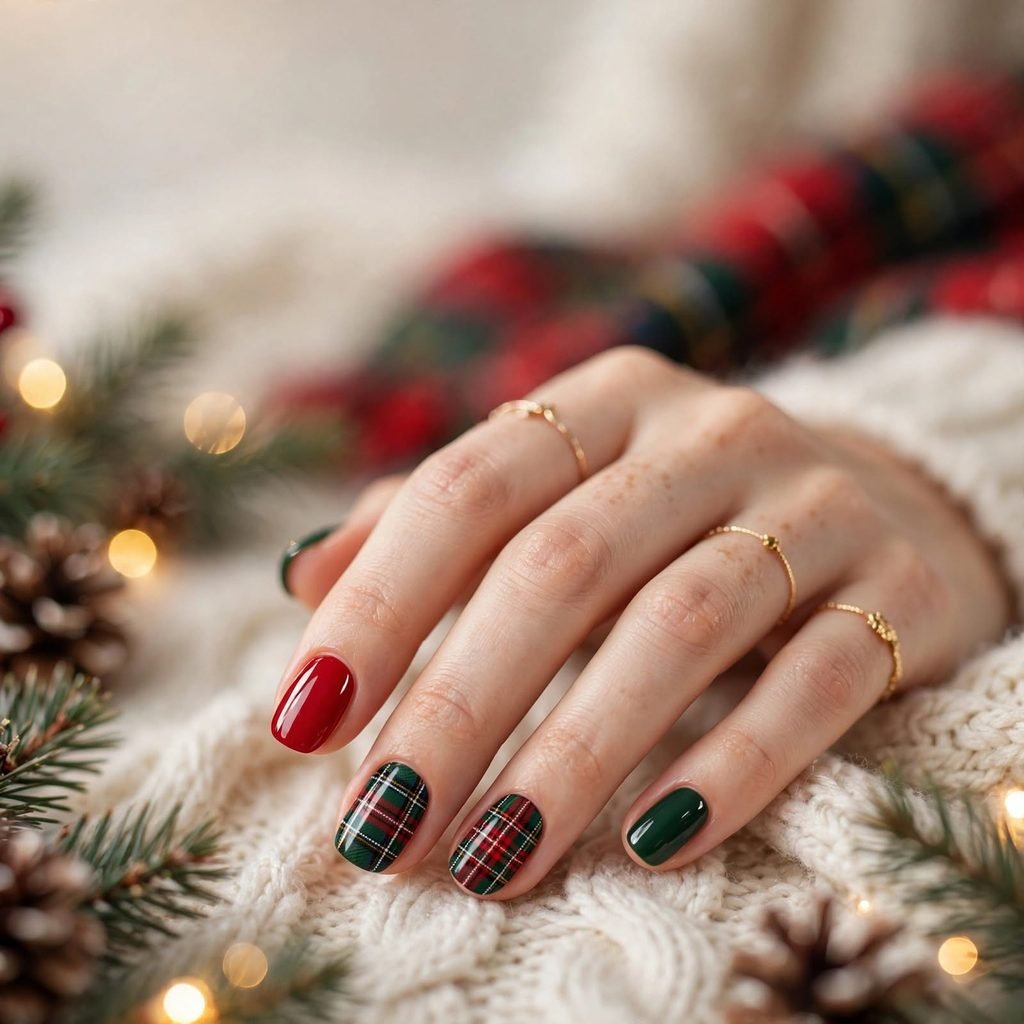
Plaid makes everyone think of warm blankets and holiday pajamas. On nails, it uses crossing lines of red, green, black, and white in a woven pattern. You can paint plaid on all your nails or on just one accent nail. Mixing plaid with solid red or green keeps the look balanced. It feels homey, bold, and very festive.
Who it suits best: People with medium to long nails who enjoy detailed nail art and cozy style.
Styling tip: Start with a solid base color, add wide stripes first, and finish with thin lines on top.
9. Glitter Ombré Tree Lights
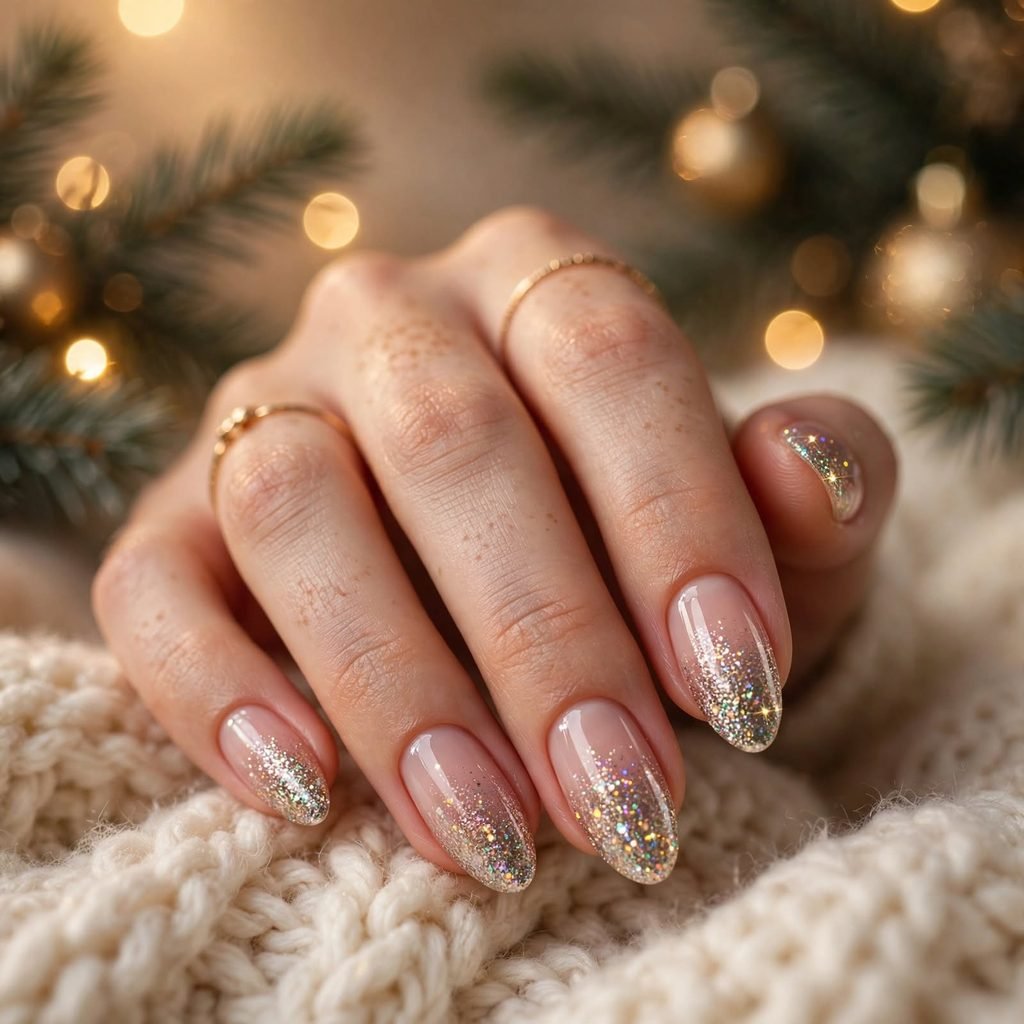
This design fades from a clear or soft base into a rich glitter at the tips. The glitter looks like twinkling lights on a Christmas tree at night. Gold, silver, or multicolor sparkles all work well for this style. A gradient keeps the glitter from feeling too heavy, since it builds up slowly. It is a great choice when you want to sparkle at a party.
Who it suits best: People who love sparkle and want a glam look for holiday events and photos.
Styling tip: Dab glitter on with a sponge or a small brush, and place more at the tips so it fades toward the cuticle.
10. Sheer Nude with Gold Stars
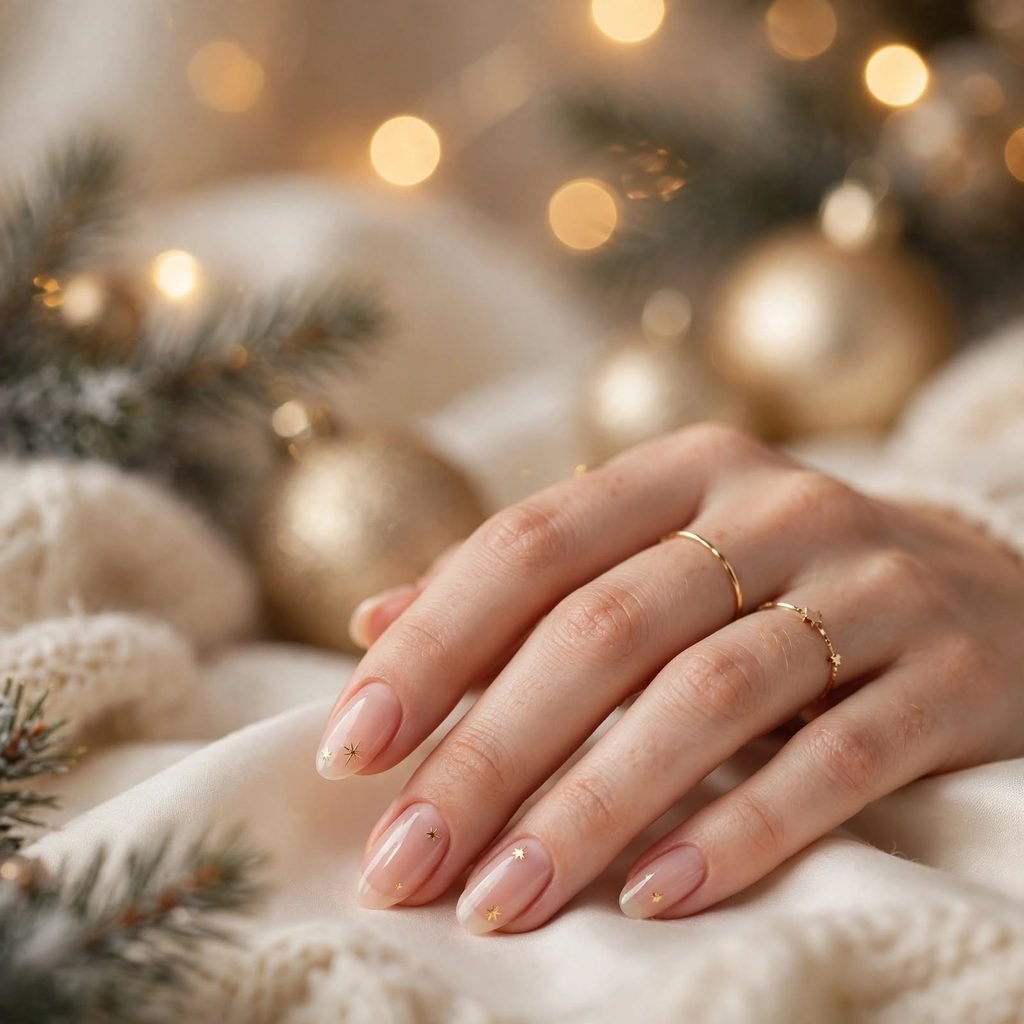
A sheer nude base lets your natural nail show through in a soft, pretty way. Tiny gold stars scattered across the nails add a hint of Christmas night sky. The look is simple, elegant, and easy to wear with any outfit. Stars can be stickers, foil pieces, or tiny painted shapes. It feels calm and classy, like quiet holiday magic.
Who it suits best: People who prefer a soft, natural style and want something office-friendly.
Styling tip: Use tweezers to place stars, then press them gently and cover them with a clear coat so they stay smooth.
11. Cute Reindeer Accent Nails
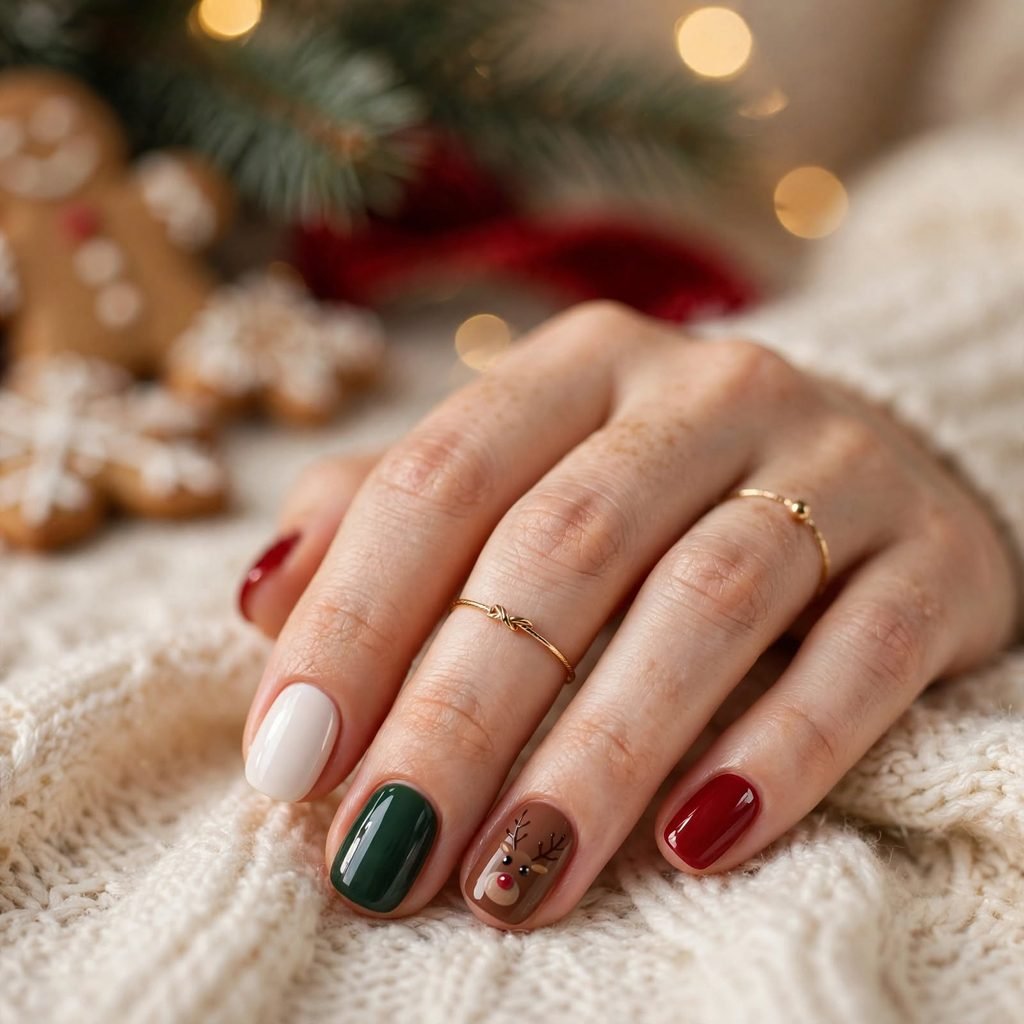
Reindeer nails are a playful way to add personality to your set. Use a brown base on one nail and draw a simple face with antlers, two eyes, and a red nose. Keep the other nails in solid red, green, or cream to match. This way, the cute design pops without making your whole hand feel busy. It is a fun look for kids’ events and holiday parties.
Who it suits best: Playful people, teachers, and parents who love a cute and cheerful holiday touch.
Styling tip: Draw the antlers with a very thin brush and keep them simple, since small lines look neat and clear.
12. Sweater Knit Texture Nails
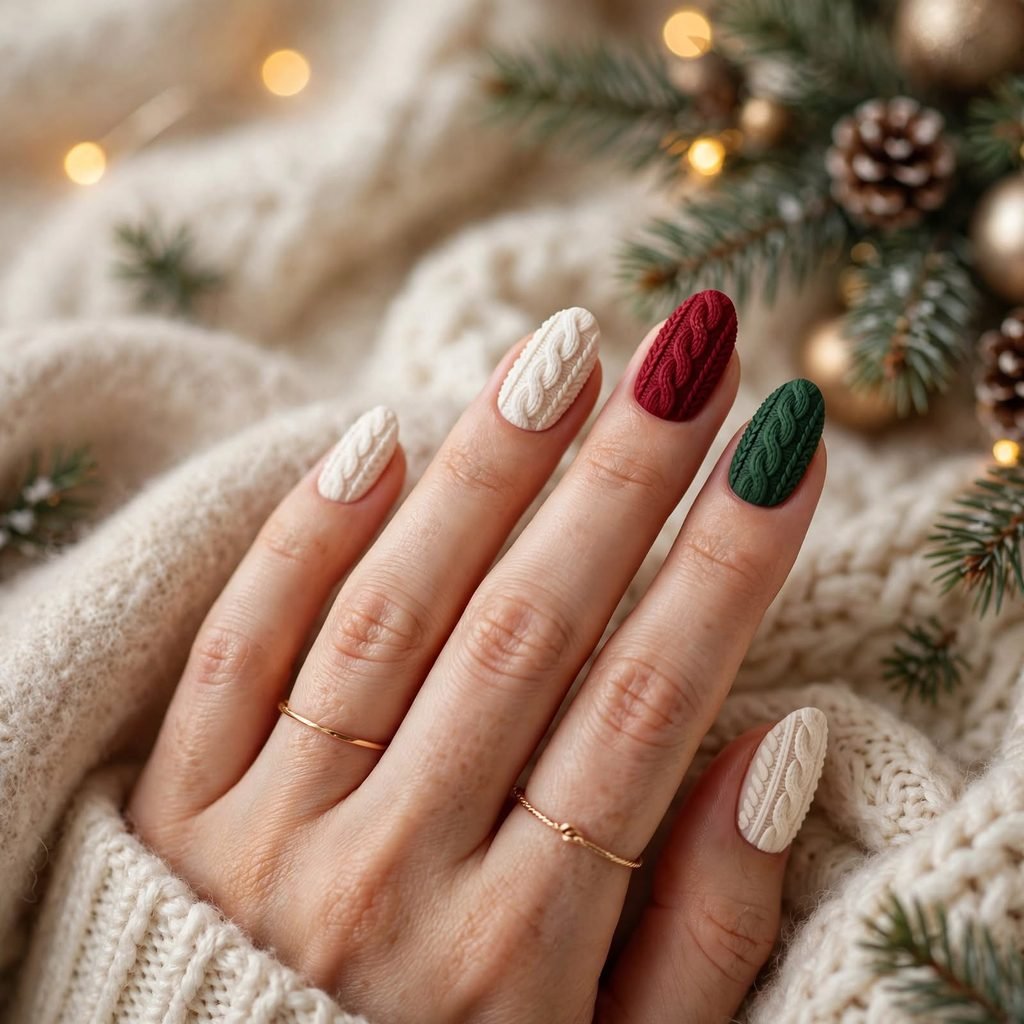
Sweater nails copy the cozy look of a chunky knit with raised lines. You can paint small braided “V” shapes, or use a thicker gel to build gentle texture. A cream, red, or forest green base makes the pattern feel like a real winter sweater. The result looks warm and soft, even though it is just polish. It is one of the best cozy styles for cold days.
Who it suits best: People who love comfy, handmade style and enjoy details they can touch.
Styling tip: Paint the “V” lines in one direction first, then add the next row slightly lower for a knit pattern.
13. Moody Black and Red Holiday Nails
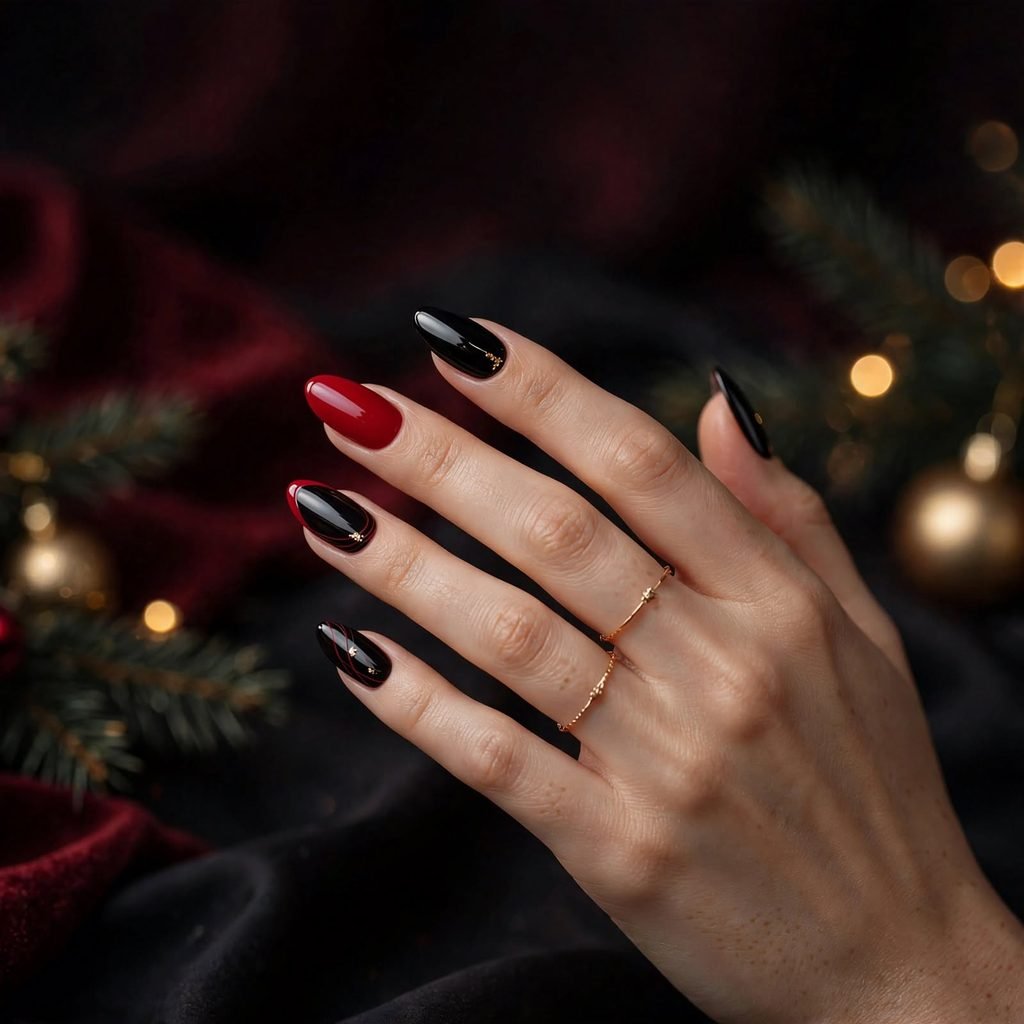
If bright holiday colors are not your thing, this look is for you. Glossy black nails with red accents feel dramatic and bold. You can add a red tip, a red line, or a single red accent nail. A tiny gold or silver detail can make it feel more festive. The mix looks sharp and a bit edgy, like a holiday party after dark.
Who it suits best: People who like bold, dark styles and want something different from the usual Christmas look.
Styling tip: Add a shiny top coat, because black polish looks best when it is glossy and smooth.
How to Do Christmas Nails at Home
Doing your Christmas nails at home is easier than it looks. You only need a few basic tools, such as a nail file, a cuticle pusher, a base coat, your polish colors, a top coat, and a thin brush or dotting tool. A small piece of foil or paper makes a handy palette for your paint. Good lighting also helps you see small details. Set up near a window or a bright lamp before you start.
- Prep your nails. Wash your hands, push back your cuticles gently, and file your nails into your favorite shape.
- Clean the surface. Wipe each nail with a little rubbing alcohol on a cotton pad so the polish sticks well.
- Add a base coat. Apply one thin layer and let it dry, since it protects your nails and helps color last longer.
- Paint your color. Apply two thin coats instead of one thick coat, and wait a minute between layers.
- Add your design. Use a thin brush, dotting tool, or toothpick for lines, dots, stars, and snowflakes.
- Place any extras. Add foil, glitter, or stickers while the polish is still a little tacky, and press them down gently.
- Seal it all. Apply a smooth layer of top coat, and cap the free edge of each nail by brushing along the tip.
- Clean up. Dip a small brush in remover and trace around your cuticles to fix any mistakes.
Cost and Time
Doing Christmas nails at home is the most budget-friendly choice. If you already own basic polish, you may only need a few new colors or a small nail art brush. That can cost around $10 to $30 for supplies. Simple designs take about 45 minutes to an hour, and detailed art can take up to two hours. Plan extra time if you are new, because practice makes your lines cleaner.
Going to a salon costs more, but it saves time and gives a pro finish. A simple polish change often runs about $20 to $40. Gel manicures with art usually cost around $45 to $90, depending on your area and the design. Detailed hand-painted nails or extra-long sets can go higher. Most salon visits take between 60 and 120 minutes.
Wear time depends on the type of polish you use. Regular polish usually lasts three to five days before small chips appear. Gel manicures often last two to three weeks with good care. Press-on or extension sets can last even longer when applied well. Booking your appointment a few days before your big event gives your nails time to settle.
Care Tips
Healthy nails always look better, so care for them every day. Use cuticle oil once or twice a day to keep the skin soft and your nails flexible. Moisturize your hands often, especially in winter when the air is dry. Wear gloves when you wash dishes or clean, since hot water and soap can wear down polish. These small habits help your design stay fresh for much longer.
Be gentle with your nails when you use them. Do not use your nails to open cans, scrape stickers, or pop things open. Use the pads of your fingers or a small tool instead. File any snag right away, because a small catch can turn into a bigger break. Fixing small problems early keeps your set looking neat.
When it is time to remove your nails, do it the safe way. Never peel or pick off polish, since that can pull off layers of your natural nail. Soak cotton pads in remover, wrap them on your nails, and wait until the polish loosens. Then wipe it away softly, and finish with oil and hand cream. Give your nails a short break between sets if they feel thin or sore.
Frequently Asked Questions
1. When should I get my Christmas nails done?
The best time is about three to five days before your biggest holiday event. That way your nails look fresh and shiny when it matters most. If you want to wear them for the whole season, you can do a simple design earlier and add small accents later. Salons get very busy in December, so book early if you want a certain day. Planning ahead also helps you avoid stress.
2. What colors are best for Christmas nails?
Red, green, white, gold, and silver are the classic choices for Christmas nails. Burgundy, icy blue, and soft nude shades are also very popular. The best color is the one that suits your skin tone and your style. You can mix two or three colors for a bigger holiday feel. Or you can stick with one color and add small details for a cleaner look.
3. Are Christmas nails okay for short nails?
Yes, short nails look great with holiday designs. Simple shapes like snowflakes, stars, dots, and thin lines fit well on a small nail. Solid colors with one accent nail are also a smart choice. Short nails are easy to care for and less likely to break during busy days. Many people find them more comfortable for daily life.
4. How can I make my holiday nails last longer?
Start with clean, dry nails and a good base coat. Apply thin layers of polish instead of thick ones, because thick layers chip faster. Always seal the tips of your nails with top coat. Wear gloves when cleaning and use cuticle oil daily. These steps can add several extra days to your manic
5. Can I do Christmas nail art if I am a beginner?
You absolutely can. Start with easy ideas like dots, stripes, stars, or a single accent nail. Tools like a dotting pen or a toothpick make small details much simpler. Practice on a piece of paper first if you feel nervous. With time, your lines will get smoother and your confidence will grow.
6. What if I make a mistake while painting?
Do not panic, because most mistakes are easy to fix. Dip a small brush in remover and clean around the edges. If the design looks messy, you can wipe off that one nail and redo it. Waiting for each layer to dry also helps prevent smudges. A little patience turns small errors into a polished finish.
Final Thoughts
Christmas nails are a small treat that make the whole season feel brighter. If you like things simple, try the classic red gloss, the sheer white snowflakes, or the sheer nude with gold stars. If you want glam, go for the burgundy cat-eye, the silver chrome, or the glitter ombré. If you feel bold, the plaid, the black and red, or the reindeer accent nails will get lots of smiles. Whatever you pick, choose the look that fits your nails, your style, and your holiday plans.
Remember that there are no strict rules here, so mix and match as you like. You can wear a different design each week of December and enjoy them all. Have fun, take your time, and treat your hands with kindness. Happy holidays, and enjoy every sparkle!