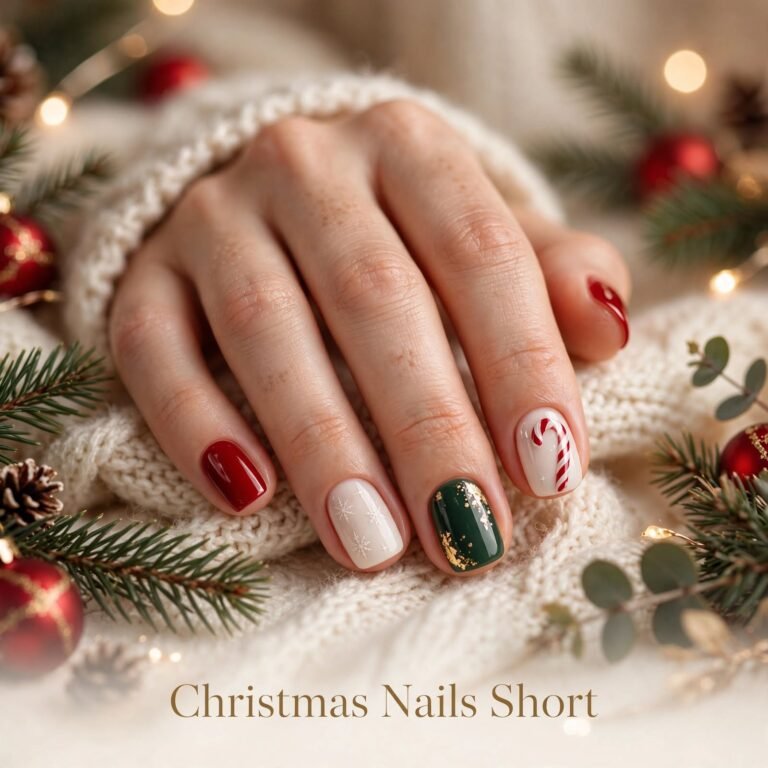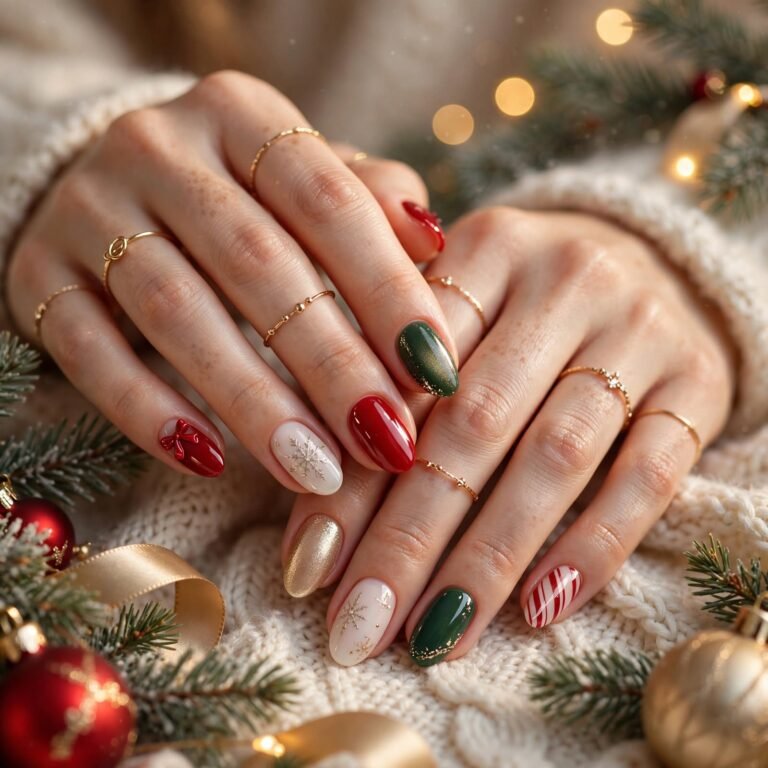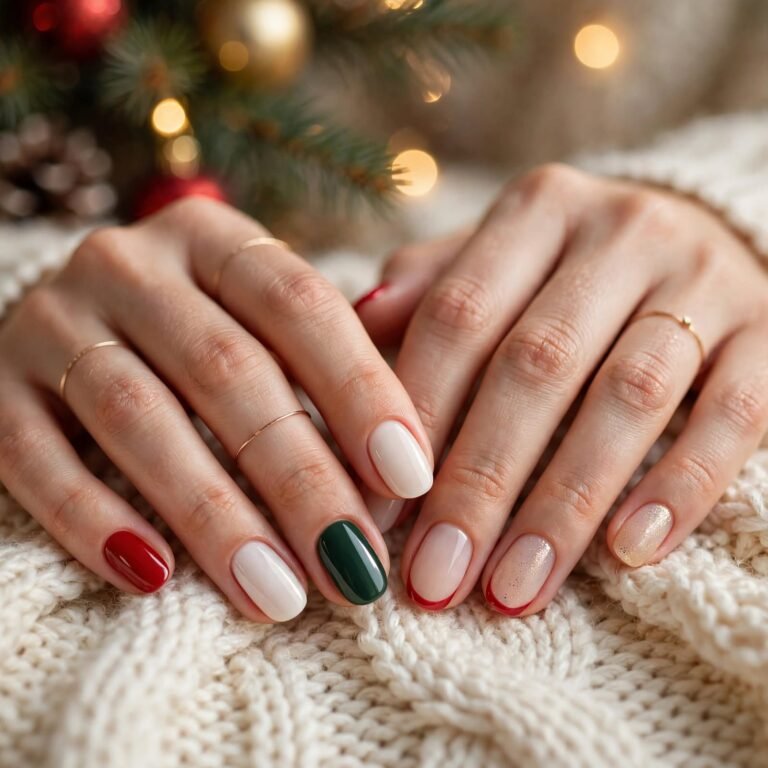
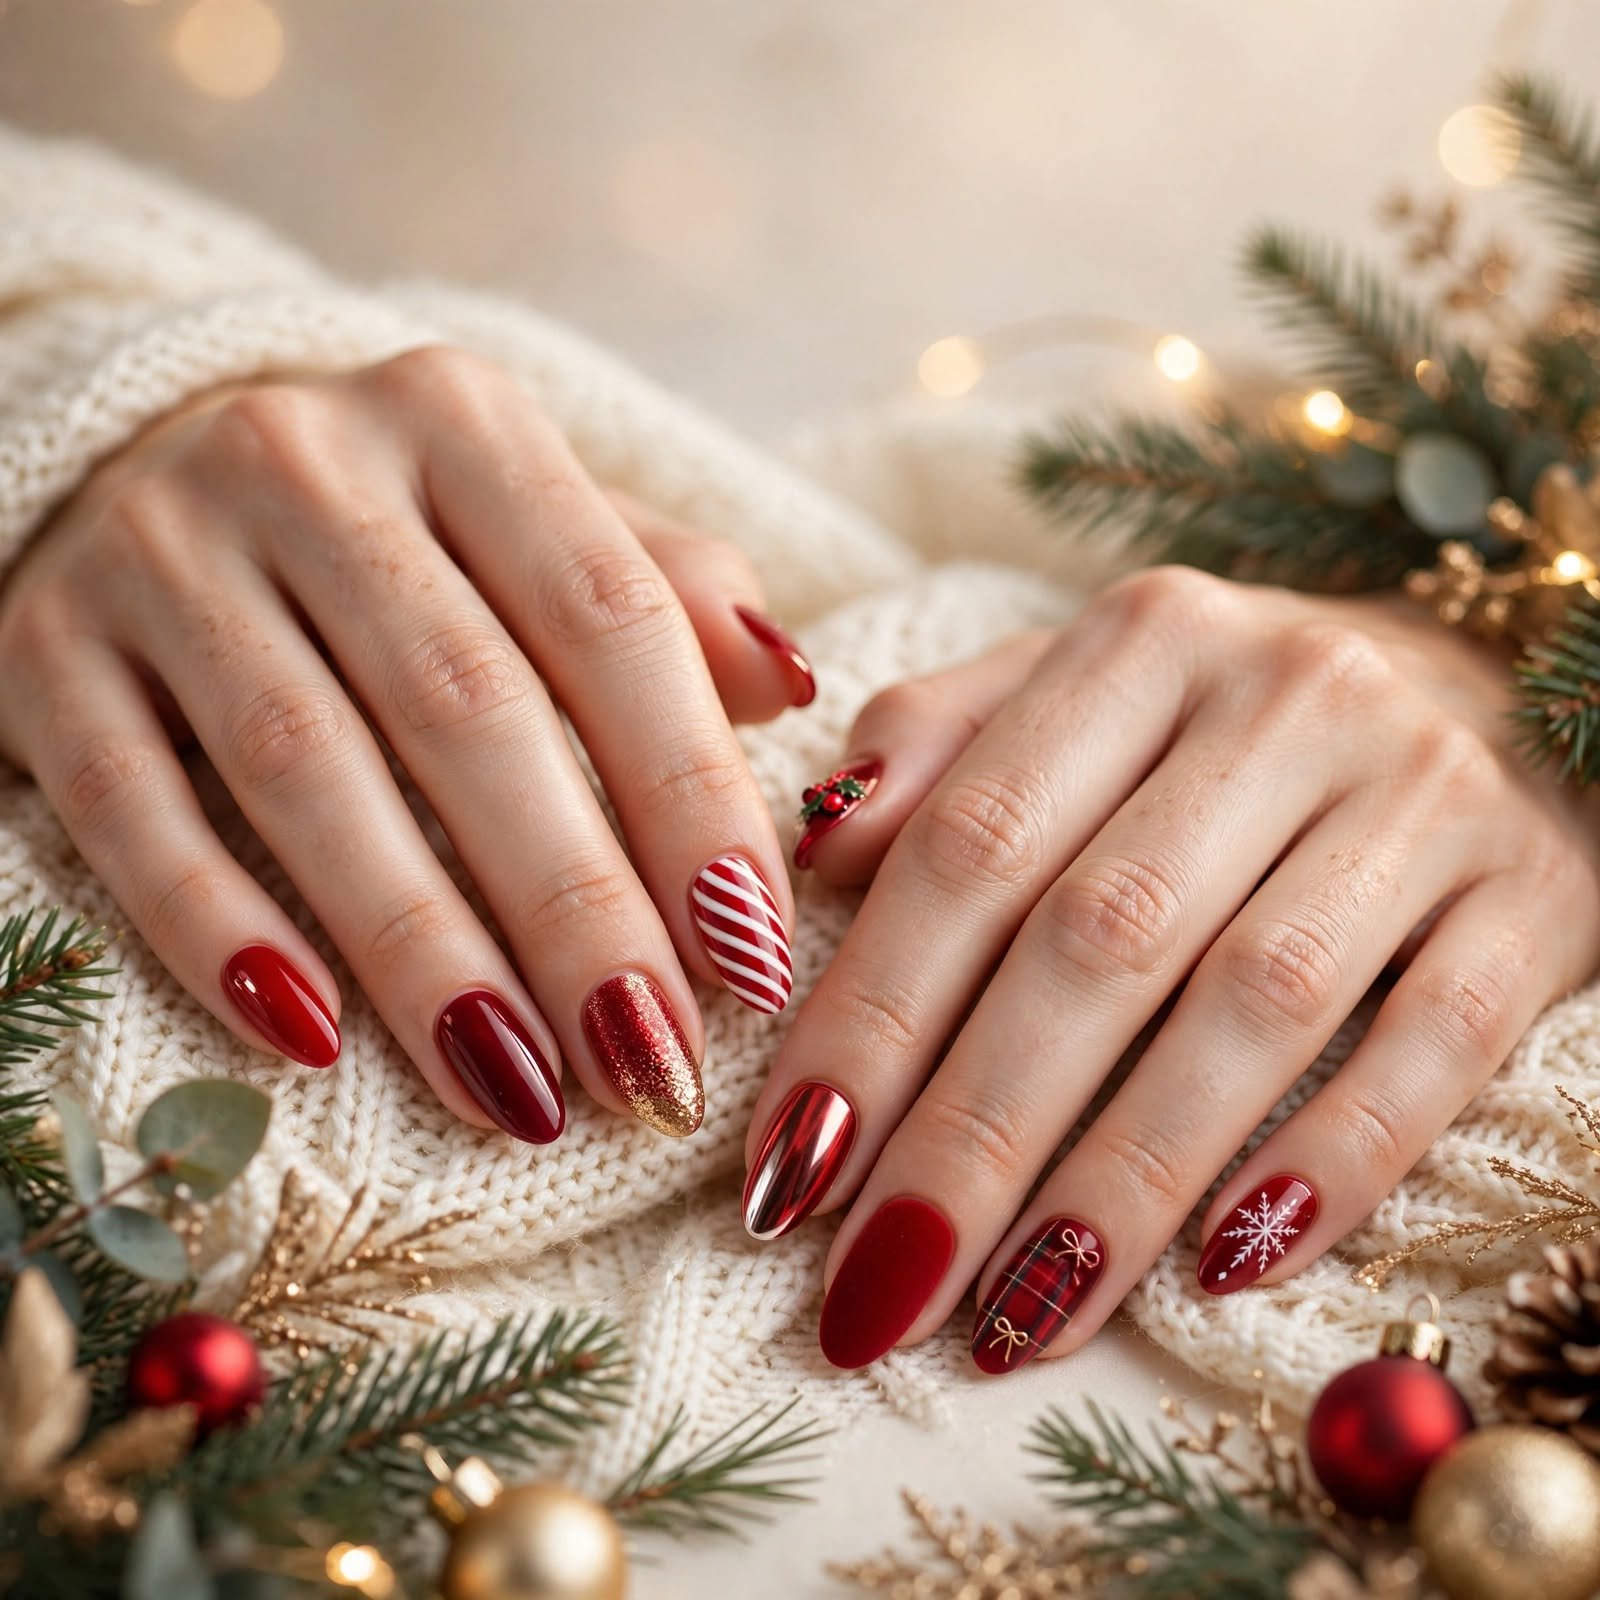
14 Red Christmas Nails Ideas for a Festive and Gorgeous Holiday Look
Red christmas nails are the easiest way to look festive without trying too hard. Red feels warm, cheerful, and a little bit fancy all at once. In this guide, I’ll share 14 red christmas nails ideas, from simple glossy polish to bold glitter and fun holiday art. You’ll also find easy steps to try each look at home, plus costs, care tips, and answers to common questions. Grab a cozy drink and let’s find the red that fits you best.
Why Red Christmas Nails Are Everywhere Right Now
Red has been the star of holiday manicures for as long as people have painted their nails. Long ago, deep reds were seen as a sign of style and confidence, and that feeling has stuck around. Today, red christmas nails are still the top pick every December because they go with almost every outfit. They also look great in photos, which matters at parties and family dinners. It’s October right now, which is the perfect time to start planning your holiday set.
This year, the big trends are glossy cherry reds, soft velvet shimmer, and tiny hand-drawn details. People also love short, neat shapes that don’t get in the way of daily life. Quiet luxury has made simple, rich reds more popular than loud, crowded designs. At the same time, small touches like bows, foil, and sparkle are showing up everywhere. The good news is that you can mix and match, so your red christmas nails can be as calm or as bold as you like.
How to Pick the Right Red Christmas Nails for You
Start with your nail shape and length, because they change how a design looks. Short nails look lovely with solid colors, tiny accents, and simple tips. Long nails give you more space for plaid, stripes, and bigger art. Square and almond shapes show off glossy reds beautifully, while round shapes feel soft and classic. If you type a lot or work with your hands, shorter and rounder is usually the most comfortable choice.
Next, think about your skin tone, since reds can look different on different hands. Cool undertones often glow in blue-based reds like cranberry and wine. Warm undertones usually look amazing in orange-based reds like tomato and cherry. If you’re not sure, hold a few shades next to your hand in daylight and see which one makes your skin look bright. Neutral undertones can wear almost any red, so you get to play.
Finally, match your nails to the occasion. A work party or family dinner often calls for something simple, like a glossy solid or a soft French tip. A holiday party or a night out is a great time for glitter, chrome, or foil. If you want nails for the whole season, choose a classic that won’t feel odd on December 27th. And if you just want to have fun, pick a cute theme like candy canes or snowflakes and enjoy it.
1. Classic Glossy Cherry Red
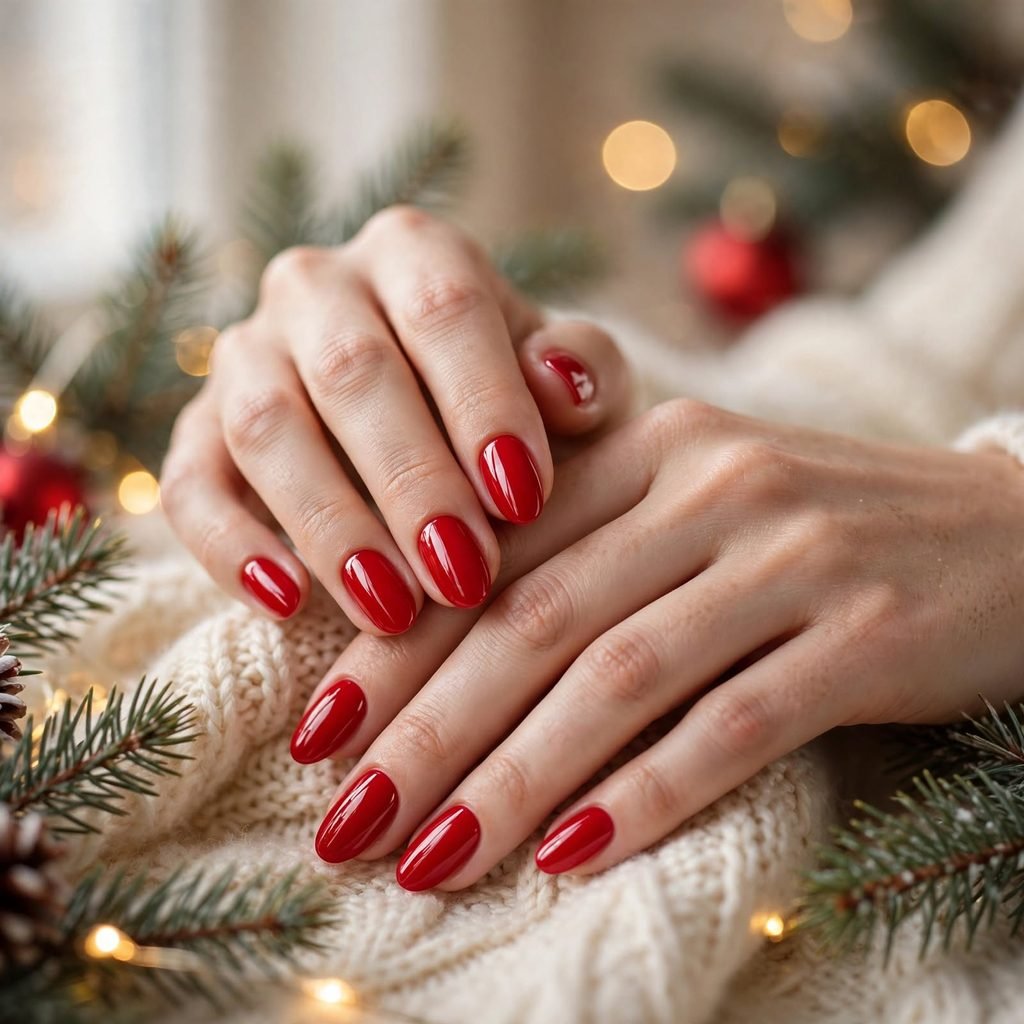
You can never go wrong with a bright, shiny cherry red. It’s the look most people picture when they think of red christmas nails. The color is bold, happy, and bright enough to stand out against winter coats and sweaters. It also needs no art skills, so it’s perfect if you’re new to nail polish. A good gloss on top makes it look fresh and pro-level.
Who it suits best: Almost everyone, especially warm undertones and anyone who wants a no-fuss holiday look.
Quick styling tip: Wear it with a white or cream sweater so the red really pops.
How to do this at home:
- Wash your hands and push back your cuticles gently.
- Apply a thin base coat and let it dry.
- Paint two thin coats of cherry red, waiting a minute between coats.
- Seal with a shiny top coat, and cap the free edge.
Cost & time: DIY costs about 5–15 and takes 30–45 minutes. A salon manicure runs about 25–45 and lasts 1 week with regular polish or 2–3 weeks with gel.
Care tips: Rub a drop of cuticle oil on each nail daily, and wear gloves when washing dishes.
2. Deep Cranberry Red for a Cozy Mood
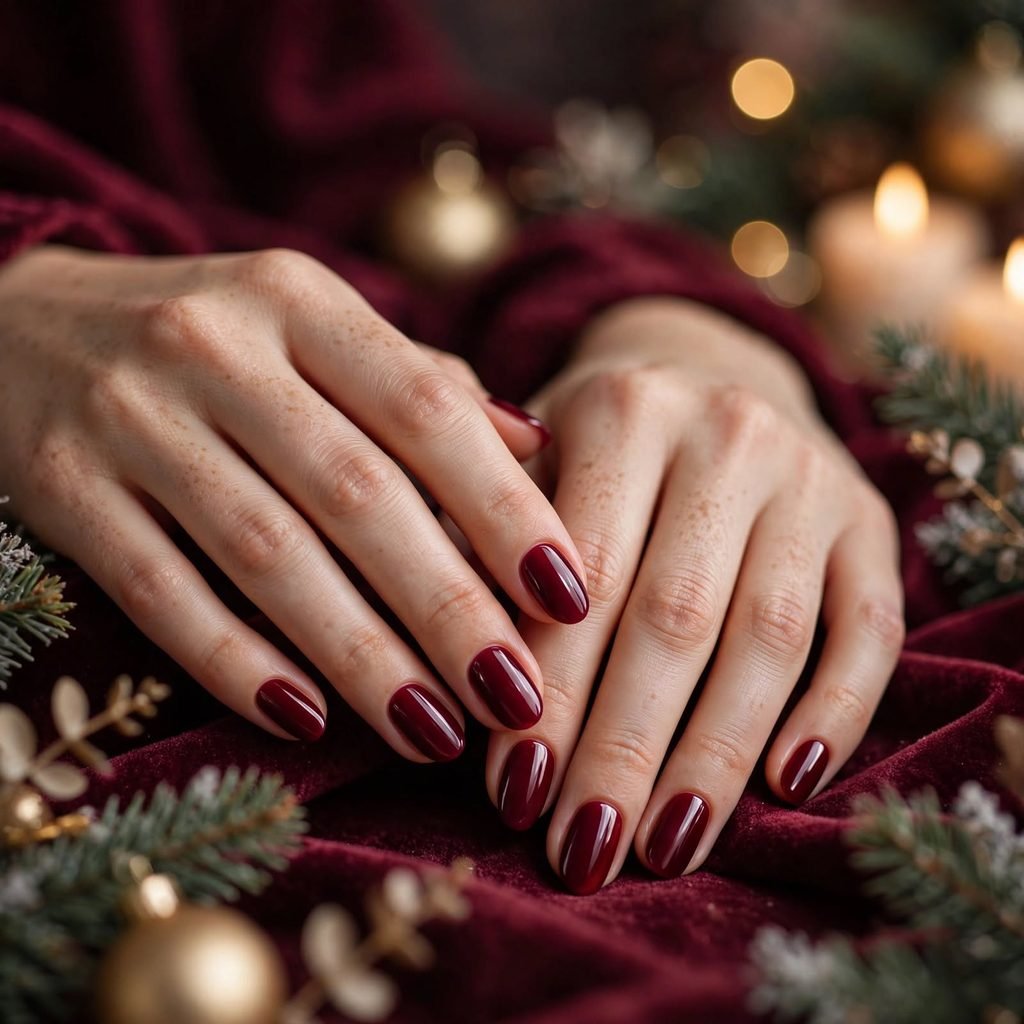
Cranberry red is darker, richer, and a bit more grown-up than classic cherry. It has a purple-wine feel that looks great with candlelight and velvet dresses. This shade is calm and elegant, which is why it’s a big favorite this season. It also hides small polish mistakes better than very bright reds. If you like moody, soft luxury, this is your color.
Who it suits best: Cool undertones and anyone dressing up for formal dinners or evening events.
Quick styling tip: Pair it with gold or silver jewelry for an extra rich look.
How to do this at home:
- Prep your nails and add a base coat.
- Paint the first coat of cranberry in thin, even strokes.
- Add a second coat once the first feels dry to the touch.
- Finish with a glossy top coat.
Cost & time: DIY costs about 5–15 and takes 30–45 minutes. Salon gel runs about 35–60 and lasts up to 3 weeks.
Care tips: Dark shades can stain nails, so always use a base coat and give your nails a break between manicures.
3. Red Nails With a Gold Glitter Accent

This look keeps things simple but adds a little holiday sparkle. You paint all your nails red and give one or two nails a gold glitter finish. The shine catches the light in a way that feels like twinkle lights on a tree. It’s festive without being too much, so it works for both parties and daily life. Gold and red are also a classic Christmas pair that never feels dated.
Who it suits best: Anyone who wants a little glam but still likes a clean, simple manicure.
Quick styling tip: Put the glitter on your ring finger for a polished, balanced look.
How to do this at home:
- Paint all nails with a base coat and two coats of red.
- Let the red dry fully.
- Dab gold glitter polish on the accent nails with a small sponge or brush.
- Add a top coat to smooth the glitter and lock it in.
Cost & time: DIY costs about 8–20 and takes 45–60 minutes. Salon sets run about 40–70 and last 2–3 weeks.
Care tips: Glitter can be tricky to remove, so soak a cotton pad in remover, press it on each nail, and wait before wiping.
4. Red Velvet Cat-Eye Nails
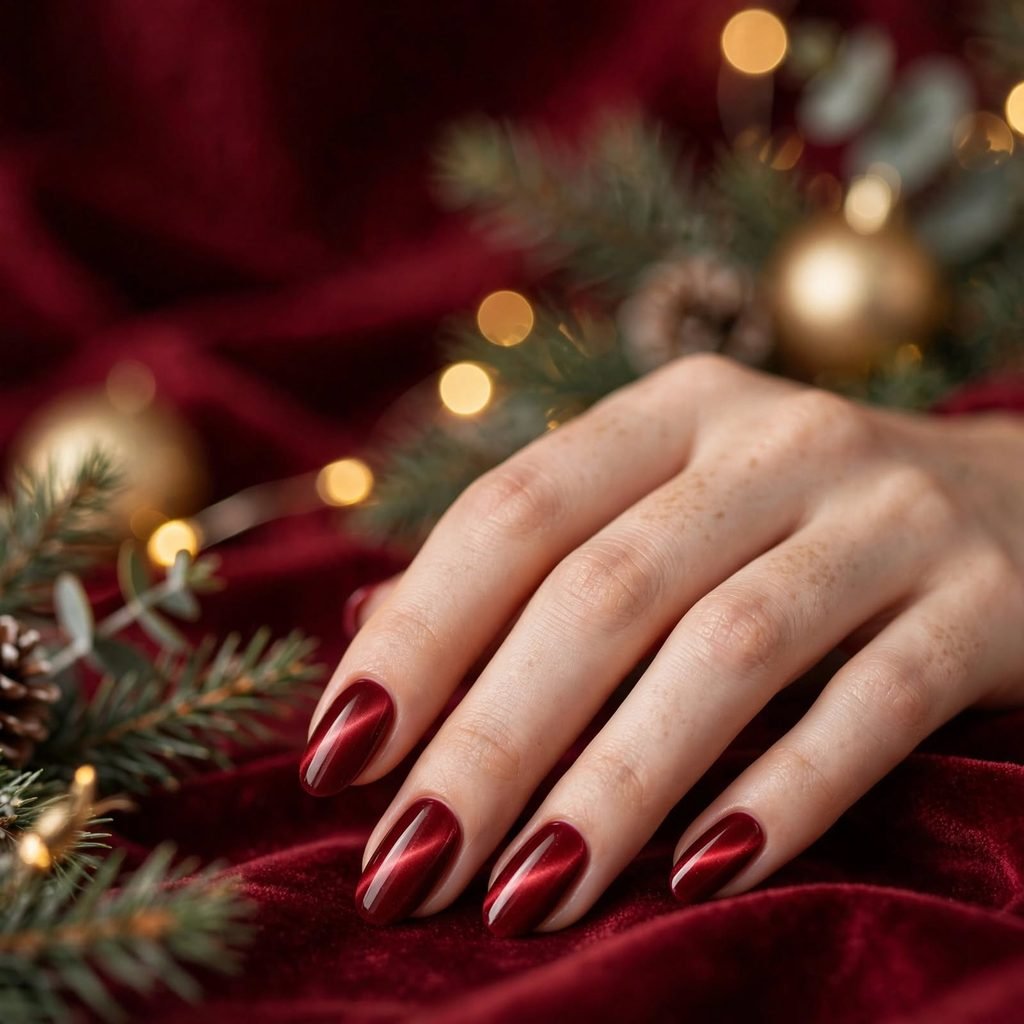
Velvet cat-eye nails have a soft, glowing shimmer that seems to move as you move your hand. A small magnet pulls tiny particles in the polish into a gentle line of light. On red, the effect looks like a fancy holiday ribbon or a velvet dress. It feels very special, so it’s great for parties and photos. Many people love it because it looks expensive but wears comfortably.
Who it suits best: Anyone who loves shimmer and wants a standout look, especially on medium to long nails.
Quick styling tip: Show it off by holding a glass or a drink so the light catches the glow.
How to do this at home:
- Apply a base coat and cure or dry it as directed.
- Paint one thin coat of magnetic red polish.
- Hold a small magnet near the nail for a few seconds to pull the shimmer into a line.
- Dry or cure it, then add a top coat.
Cost & time: DIY costs about 10–20 and takes 45–60 minutes. Salon sets run about 45–75 and last 2–3 weeks.
Care tips: Keep your nails moisturized, and avoid picking at the shimmer layer so the effect stays smooth.
5. Red French Tips for a Soft Holiday Look
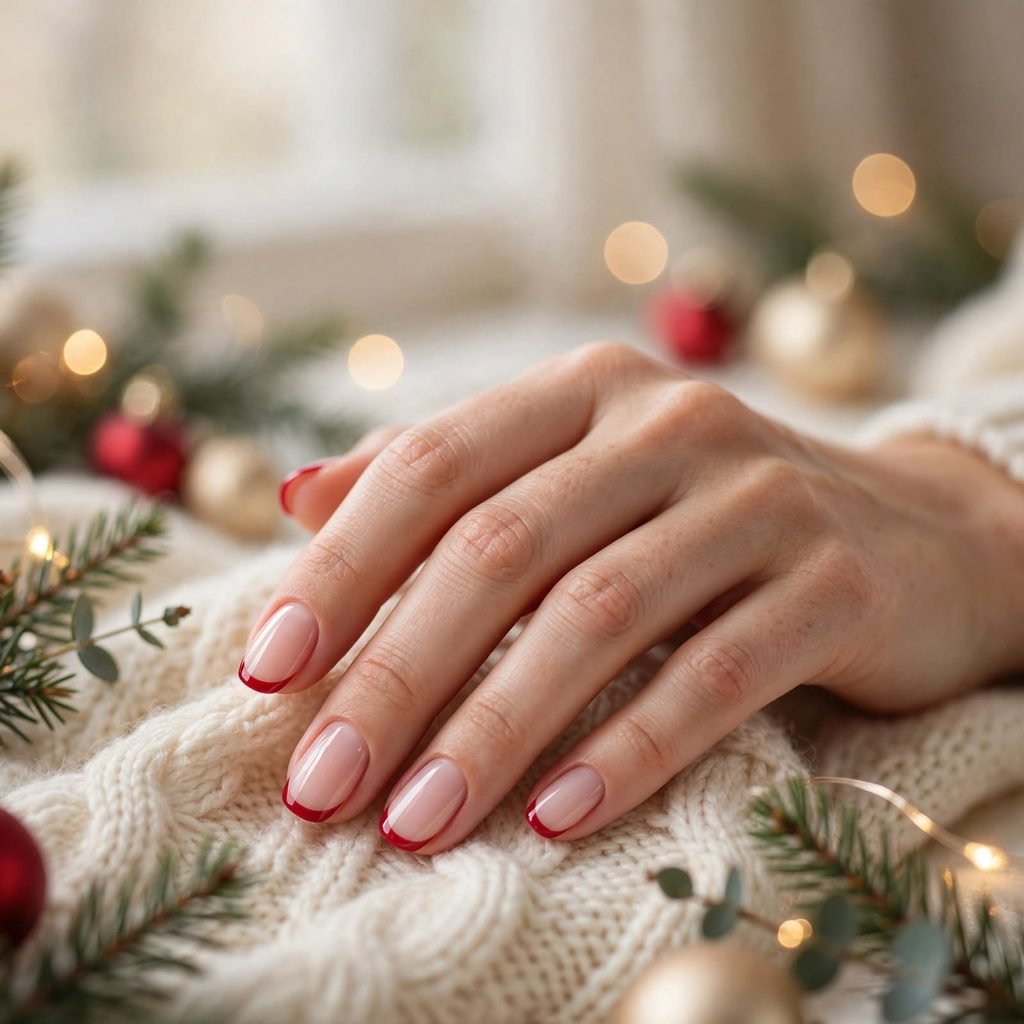
Red French tips take the classic French manicure and give it a festive twist. Instead of white, the tip of each nail is painted red, while the rest stays pale pink or milky. This look is light, clean, and easy to wear with any outfit. It adds a hint of holiday color without covering the whole nail. It’s also a smart choice if you want something that grows out neatly.
Who it suits best: Short to medium nails and anyone who likes a polished, office-friendly style.
Quick styling tip: Try a thin tip for a modern feel, or a thicker one for a bold statement.
How to do this at home:
- Paint a sheer pink or milky base on all nails.
- Let it dry fully.
- Use a thin brush or a tip guide to paint a curved red line across the tip.
- Clean up edges with a small brush dipped in remover, then add a top coat.
Cost & time: DIY costs about 8–18 and takes 45–60 minutes. Salon sets run about 35–65 and last 2–3 weeks.
Care tips: Use a thin top coat every few days to keep the tips from chipping.
6. Red and White Candy Cane Stripes

Candy cane nails are playful, cheerful, and perfect for the holiday season. You paint thin diagonal stripes in red and white to copy the look of the famous treat. It feels like a happy little nod to Christmas morning. You don’t have to paint every nail, so you can keep it simple. Many people paint just one or two nails with stripes and leave the rest solid red.
Who it suits best: Fun-loving people, kids’ parties, and anyone who likes cute, festive details.
Quick styling tip: Make the stripes diagonal and slightly curved for a true candy cane feel.
How to do this at home:
- Paint your nails white and let them dry.
- Use a thin nail art brush or a toothpick dipped in red polish.
- Draw slanted lines across the nail, spacing them evenly.
- Seal with a clear top coat.
Cost & time: DIY costs about 8–15 and takes 45–60 minutes. Salon art runs about 40–70 and lasts 1–3 weeks.
Care tips: Go over the art with a fresh top coat every few days so the lines stay crisp.
7. Red Plaid Nails for Winter Cabin Vibes
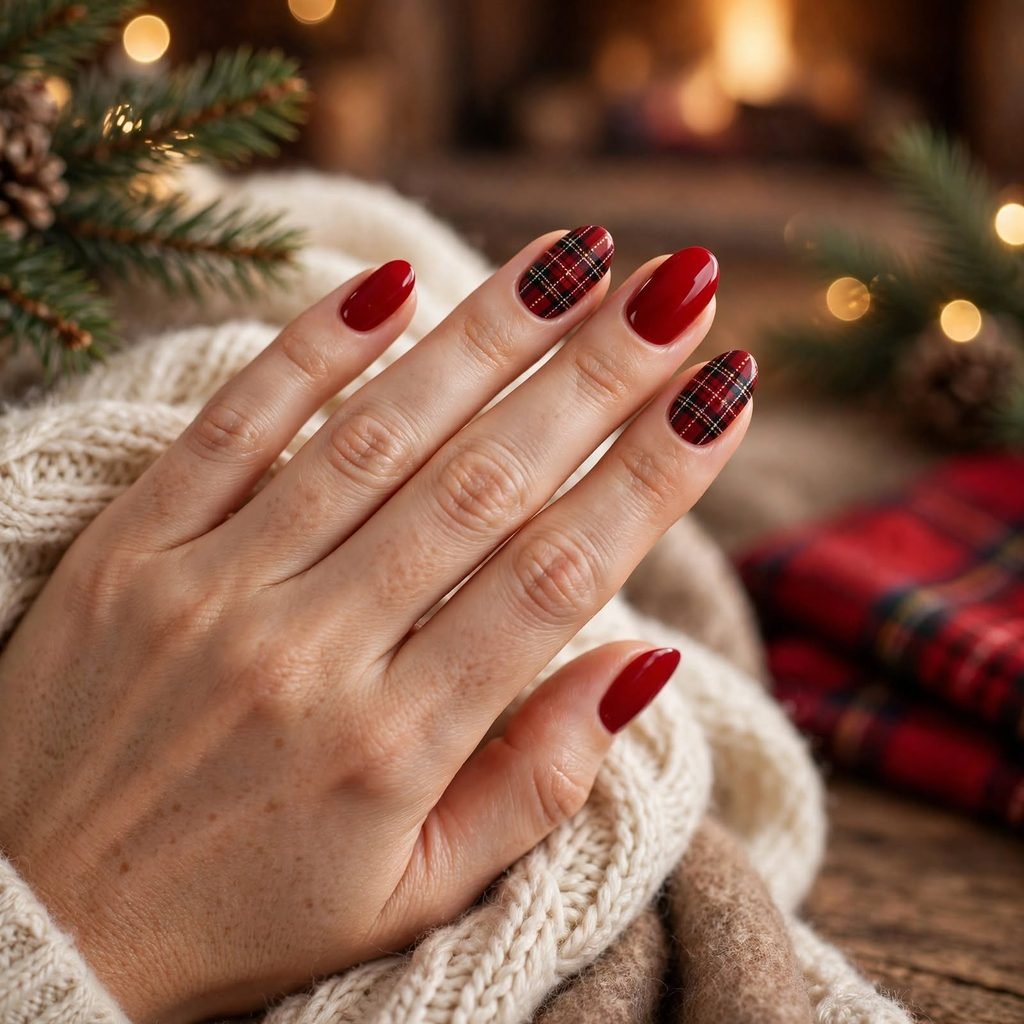
Plaid nails feel like a warm flannel shirt, a blanket by the fire, or a trip to the mountains. Layers of red, black, and a touch of white or gold create a woven pattern. It looks detailed, but you can build it with thin straight lines. It’s a favorite for people who love cozy winter style. Plaid also feels fresh because it’s festive without using obvious holiday symbols.
Who it suits best: Medium to long nails and anyone who loves cozy, cabin-style outfits.
Quick styling tip: Pair plaid nails with a chunky knit sweater to match the mood.
How to do this at home:
- Paint a red base and let it dry.
- Use a thin brush to draw evenly spaced vertical lines in a darker red or black.
- Draw horizontal lines to cross them, then add a few thin white lines.
- Finish with a top coat.
Cost & time: DIY costs about 10–20 and takes 60–90 minutes. Salon art runs about 50–80 and lasts 2–3 weeks.
Care tips: Be gentle with your hands since detailed art can wear down faster on tips.
8. Red Nails With Tiny White Snowflakes

Little snowflakes on red nails look like the first snowfall landing on a red mitten. The white lines pop against the deep color and add a sweet, winter feel. You can paint tiny dots, crosses, and short lines to make simple snowflakes. They don’t need to be perfect, because every real snowflake is a bit different. This look is quiet and pretty, perfect for the whole winter season.
Who it suits best: Anyone who likes delicate art and wants a look that lasts past Christmas.
Quick styling tip: Scatter just a few snowflakes across each nail instead of filling the whole space.
How to do this at home:
- Paint your nails red and let them dry fully.
- Dip a dotting tool or toothpick in white polish.
- Make a small cross, then add tiny lines and dots.
- Seal with a top coat once the art is dry.
Cost & time: DIY costs about 8–15 and takes 45–60 minutes. Salon art runs about 40–65 and lasts 2–3 weeks.
Care tips: Avoid hot water for the first hour so the art can set well.
9. Matte Red Nails With a Soft Finish
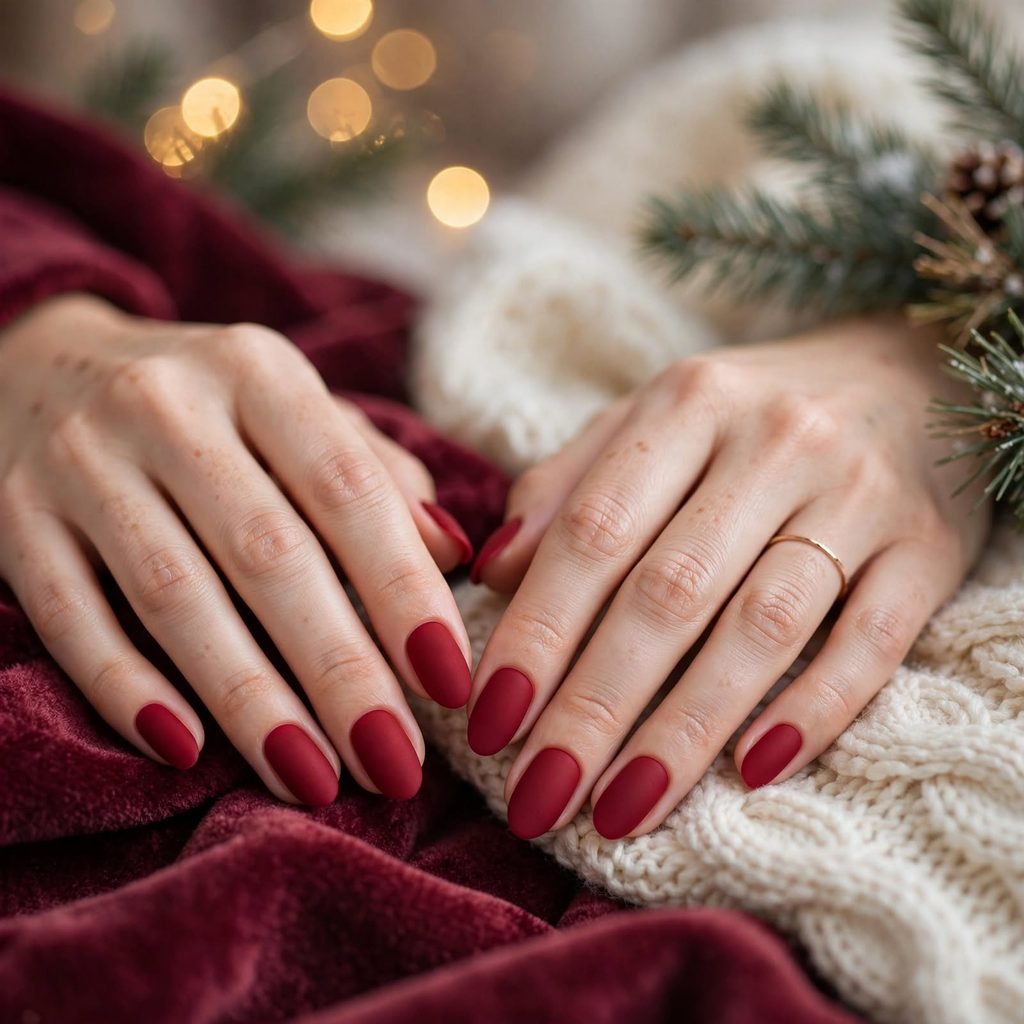
Matte red has a soft, velvety look without any shine. It feels modern and a little bold, which is why it’s so popular for winter. Because there’s no gloss, the color looks deeper and richer. It also gives a calm, quiet feel that fits formal outfits. The finish photographs beautifully since there’s no glare from lights.
Who it suits best: People who love a modern, minimal style and want a break from shiny nails.
Quick styling tip: Add one glossy accent nail to create a fun contrast.
How to do this at home:
- Apply a base coat and two coats of red.
- Let the polish dry completely.
- Add a matte top coat instead of a glossy one.
- Let it set for a few minutes before touching anything.
Cost & time: DIY costs about 8–18 and takes 30–45 minutes. Salon sets run about 35–60 and last 2–3 weeks.
Care tips: Matte finishes can show oil and marks, so wash your hands before touching them and avoid heavy lotions right after.
10. Red Chrome Nails That Shine Like Ornaments
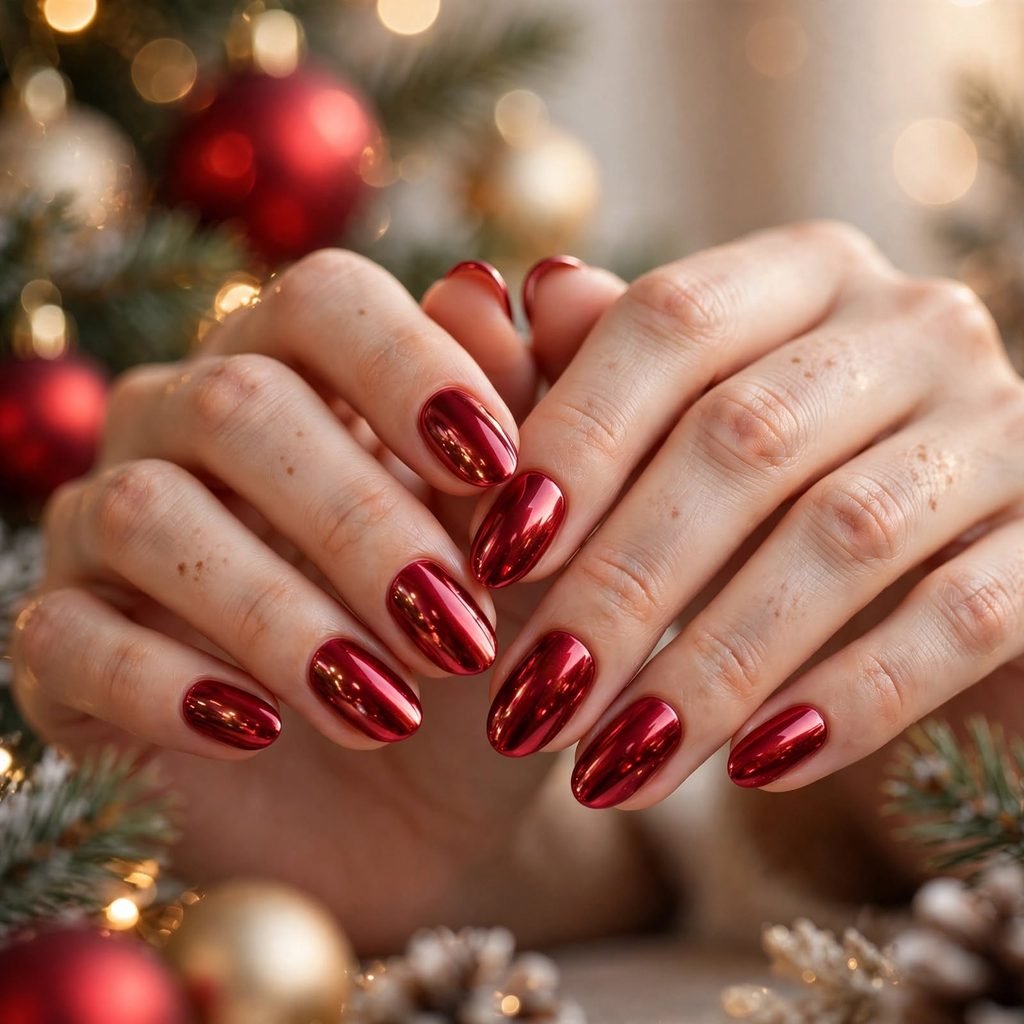
Red chrome nails look like shiny glass ornaments hanging on a tree. A mirror-like powder is rubbed over red polish, which gives a smooth, glowing finish. The look is bold and eye-catching, with lots of bright reflections. It feels modern and a bit futuristic, yet still very festive. It’s a great pick if you want people to notice your nails across the room.
Who it suits best: Bold dressers and anyone going to a holiday party or a night out.
Quick styling tip: Keep the rest of your outfit simple so the shine is the star.
How to do this at home:
- Prep your nails and paint a red or black base, then cure or dry it.
- Use a no-wipe top coat and let it get slightly tacky.
- Rub a small amount of chrome powder over the nail with a soft pad.
- Brush off extra powder and add a final top coat.
Cost & time: DIY costs about 10–25 and takes 60 minutes. Salon sets run about 45–75 and last 2–3 weeks.
Care tips: Protect the shine by avoiding harsh cleaners, and use gloves when scrubbing.
11. Red and Green Holly Berry Accents
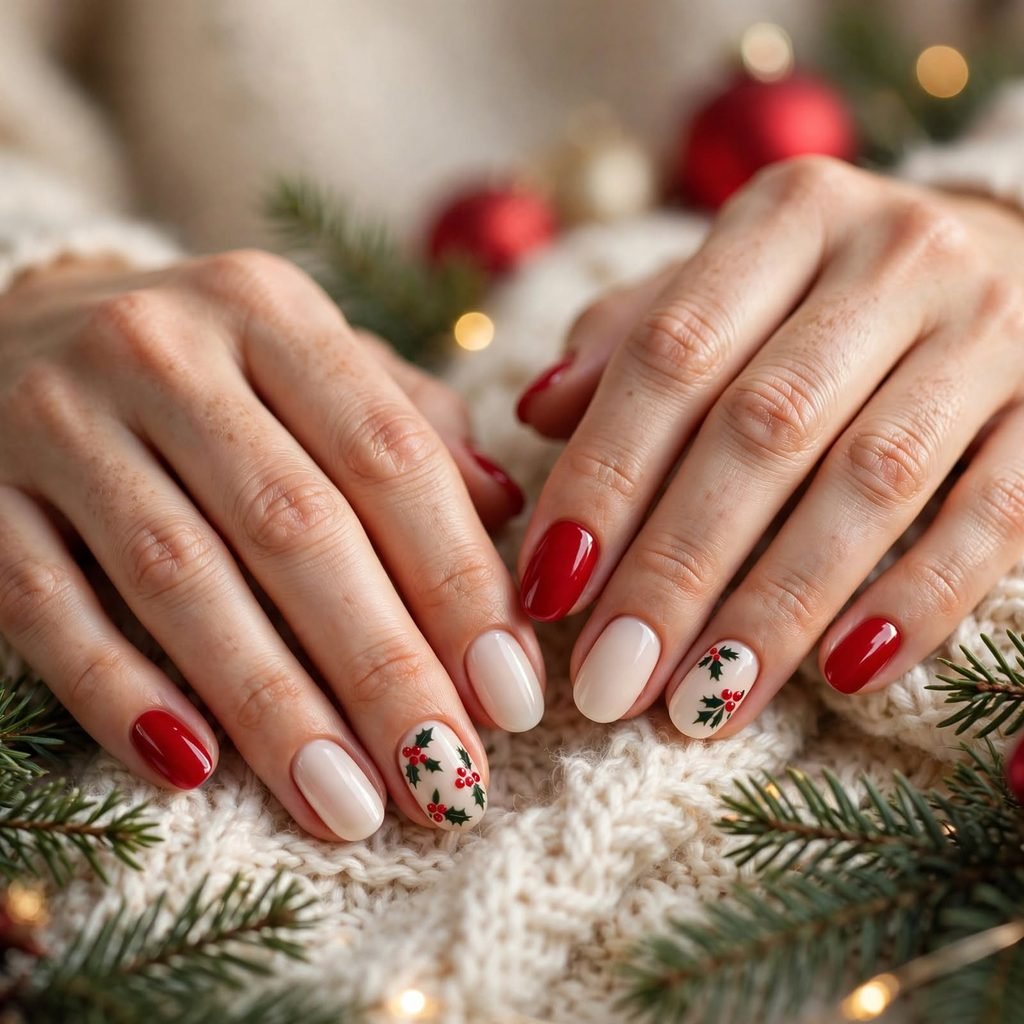
Holly berry nails bring the classic red and green Christmas pairing to your fingertips. You paint tiny green leaves and little red dots on a soft base, like cream or red. It looks like a sweet bit of holiday decoration on each nail. The art is simple, so even beginners can try it. It’s a lovely way to bring a little nature into your look.
Who it suits best: Anyone who loves traditional Christmas style and cute hand-painted details.
Quick styling tip: Keep the leaves small and the berries tiny so the design feels delicate.
How to do this at home:
- Paint your nails with a cream or red base and let them dry.
- Use a thin brush to draw two small green leaves in a corner.
- Dot three small red berries near the leaves.
- Add a top coat to seal the design.
Cost & time: DIY costs about 10–18 and takes 45–60 minutes. Salon art runs about 40–70 and lasts 2–3 weeks.
Care tips: Wait a full minute between each design step so colors don’t smudge.
12. Red Glitter Ombre Fade

A glitter ombre starts with solid red at the base and slowly fades into sparkle at the tips. The blend looks like a glowing sunset or a string of holiday lights. It’s glam and eye-catching, but still soft because the color fades gently. Many people love it because it grows out nicely without harsh lines. It’s a perfect choice for parties and special events.
Who it suits best: Anyone who wants lots of sparkle and a smooth, dreamy look on medium to long nails.
Quick styling tip: Use a fine red or gold glitter for a more refined effect.
How to do this at home:
- Paint your nails red and let them dry fully.
- Dab glitter polish onto a makeup sponge.
- Press the sponge on the tip of each nail and slowly work down, using lighter pressure as you go.
- Smooth the surface with a thick top coat.
Cost & time: DIY costs about 10–20 and takes 45–60 minutes. Salon sets run about 45–75 and last 2–3 weeks.
Care tips: Use a thick top coat so the glitter feels smooth and doesn’t snag on sweaters.
13. Short Red Nails With Tiny Bows
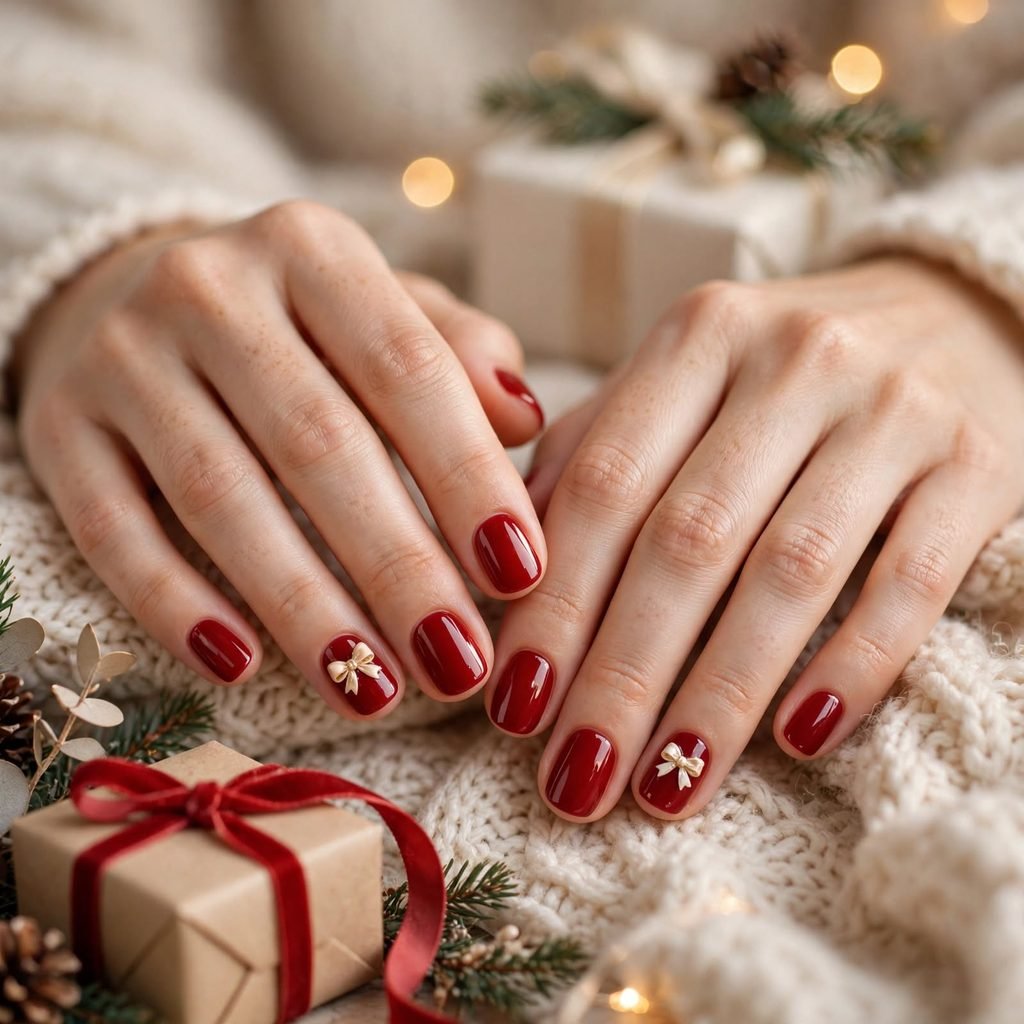
Tiny bows are a sweet, trendy detail that fits right in with holiday gift wrapping. You paint or place a small bow on one or two nails, and keep the rest a solid red. It feels cute, soft, and a little bit playful. Short nails look especially charming with this style because the bow doesn’t feel crowded. It’s an easy way to make a simple manicure feel extra special.
Who it suits best: Short nails, soft-style lovers, and anyone who likes cute, gift-inspired looks.
Quick styling tip: Place the bow near the base of the nail for a neat, balanced look.
How to do this at home:
- Paint all nails red and let them dry.
- Use a thin brush with white or gold polish to draw two small loops.
- Add a tiny dot in the middle and two short tails below it.
- Seal the design with a top coat.
Cost & time: DIY costs about 8–15 and takes 45–60 minutes. Salon art runs about 40–65 and lasts 2–3 weeks.
Care tips: Keep your nails short and file any snags quickly so the bows stay in place.
14. Red Santa Belt Accent Nail

This one is a playful nod to Santa’s famous outfit. You paint one nail with a black stripe across the middle and add a small gold square for a belt buckle. The rest of your nails stay solid red, so it feels fun but not too busy. It’s cheerful, cute, and sure to start a conversation at your holiday party. Even though it looks detailed, it’s made from just a few simple shapes.
Who it suits best: Holiday lovers, teachers, parents, and anyone who enjoys a fun surprise on their hands.
Quick styling tip: Add the belt design to just one accent nail so the look stays fresh.
How to do this at home:
- Paint all nails red and let them dry fully.
- On your accent nail, draw a thick black stripe across the middle.
- Paint a small gold square in the center of the stripe.
- Dot a tiny red center inside the square, then add a top coat.
Cost & time: DIY costs about 10–18 and takes 45–60 minutes. Salon art runs about 40–65 and lasts 2–3 weeks.
Care tips: Let each layer dry well, since black and gold can smear if you rush.
Frequently Asked Questions About Red Christmas Nails
What is the best red shade for Christmas nails?
The best shade depends on your skin tone and style. Cherry red is a safe, bright pick that suits most people. Cranberry and wine reds look rich on cool undertones. Orange-based reds glow on warm undertones. Try a few in daylight before you decide.
How long do red christmas nails usually last?
Regular polish usually lasts about 5 to 7 days with careful wear. Gel polish can last 2 to 3 weeks if it’s applied well. Things like hot water, harsh cleaners, and picking can shorten that time. A fresh top coat every few days helps a lot. Keeping your nails moisturized also helps the polish stay put.
Can I do red christmas nails at home if I’m a beginner?
Yes, you can, especially if you start with a simple glossy red. Thin coats are the secret, since thick coats can bubble or smudge. You can also try one easy accent, like a glitter nail or a dot design. Take your time and let each layer dry. With a little practice, you’ll feel more confident each time
How do I stop red polish from staining my nails?
Always start with a clear base coat before the red. This makes a small shield between the color and your nail. When you take the polish off, soak a cotton pad in remover and hold it on for a few seconds. Then wipe gently instead of scrubbing hard. Giving your nails a short break between manicures also helps.
What nail shape looks best with red christmas nails?
Almond and square shapes show off glossy reds beautifully. Short round or oval shapes feel soft and classic. Long coffin or stiletto shapes give you more space for art. The best shape is the one you find comfortable. Pick what suits your daily life and the way you use your hands.
When should I get my holiday nails done?
Many people book their nails about 2 to 4 days before a big event. That way the polish looks fresh and the shine is at its best. If you’re planning to keep them through the holidays, you can get them done in early December. Just plan a touch-up if you need one. Booking early is smart, since salons get busy in December.
Final Thoughts: Pick Your Red Christmas Nails by Vibe
Red christmas nails come in so many styles that there’s something for every mood. You can keep things calm and classic, add a little shine, or go all out with bold art. The best part is that you can change your look from week to week. Nothing beats the way a good red makes your hands feel finished and festive. Here’s a quick way to choose based on your vibe:
- Simple: Classic glossy cherry red, deep cranberry, matte red, or red French tips.
- Glam: Gold glitter accent, red velvet cat-eye, red chrome, or glitter ombre.
- Bold and fun: Candy cane stripes, plaid, holly berries, snowflakes, tiny bows, or the Santa belt accent.
I hope this list gives you plenty of inspiration for your holiday manicure. Pick the idea that makes you smile and give it a try. Remember, nail art is meant to be fun, so don’t worry about being perfect. Wishing you a cozy, sparkly, and happy holiday season!