15 Simple Christmas Nails Ideas for a Chic Holiday Look
Christmas is closer than you think. Your nails are one of the easiest ways to show off the holiday mood. The best part is that simple christmas nails do not need hours of work or a fancy nail artist. In this guide, you will find 15 easy looks, plus tips on costs, home steps, and care. Pick your favorite, give it a try, and enjoy the season.
Why Simple Christmas Nails Are Trending Right Now
Simple Christmas nails are having a big moment this season. People are moving away from busy, over-the-top designs. Soft shades, clean lines, and tiny details feel fresh and modern. Many nail fans also want looks that last through all of December. A simple design works at the office, at school, and at family dinners.
Christmas nails have a long history, too. People have worn red and green at the holidays for generations because those colors remind us of holly, berries, and evergreen trees. Today we also see cream, gold, silver, and icy blue in the mix. Short and natural-length nails are very popular, which makes DIY much easier. Starting in October gives you plenty of time to practice before the big parties.
How to Pick the Right Simple Christmas Nails for You
The right design depends on your nail shape and length. Short nails look great with solid colors, thin lines, and tiny dots. Long nails have more room for French tips and soft swirls. Round and oval nails look gentle with sheer or glittery polish. Square nails look sharp with bold color blocks.
Think about your skin tone and your plans, too. Warm skin tones glow with gold, brick red, and forest green. Cool skin tones look lovely with icy blue, silver, and cherry red. If you type a lot or work with your hands, choose a low-maintenance look. For a party night, add a little sparkle and have fun with it.
1. Classic Red Solid Nails: The Easiest Festive Look
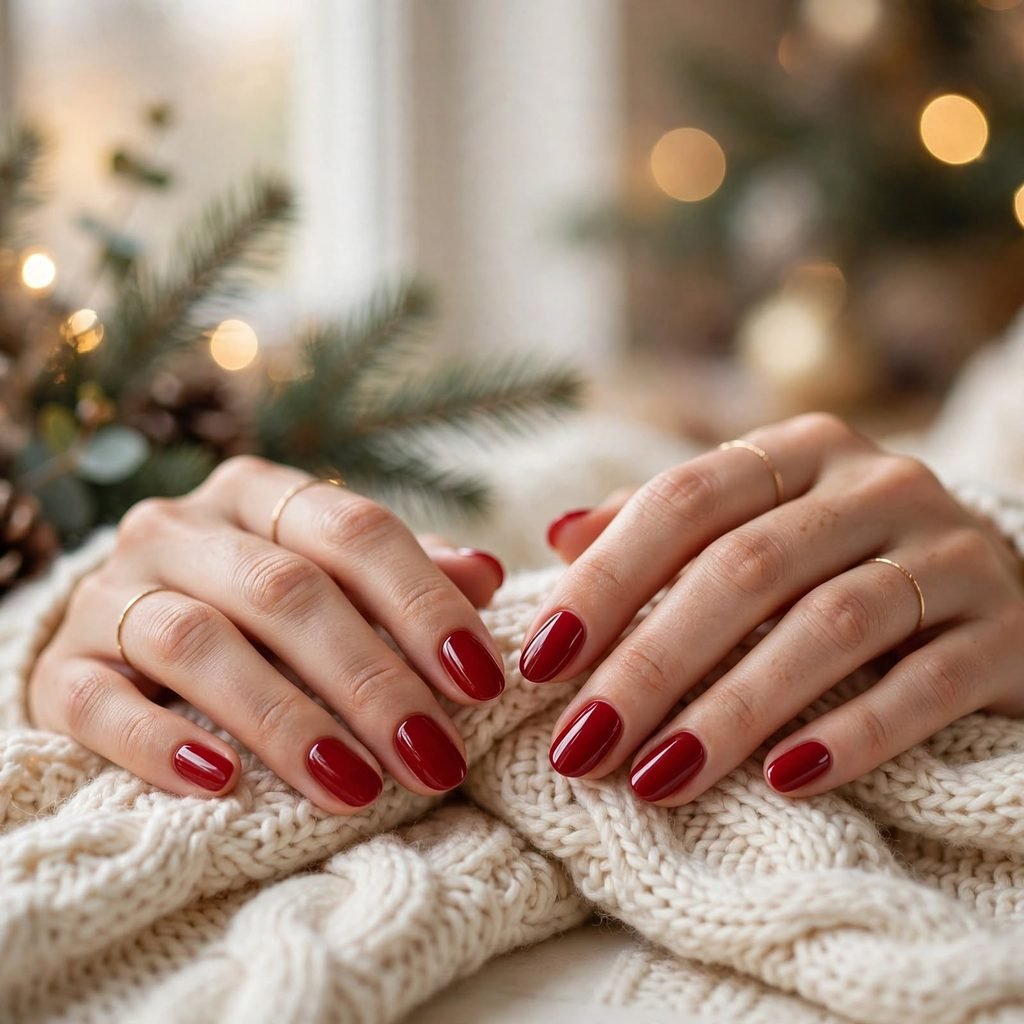
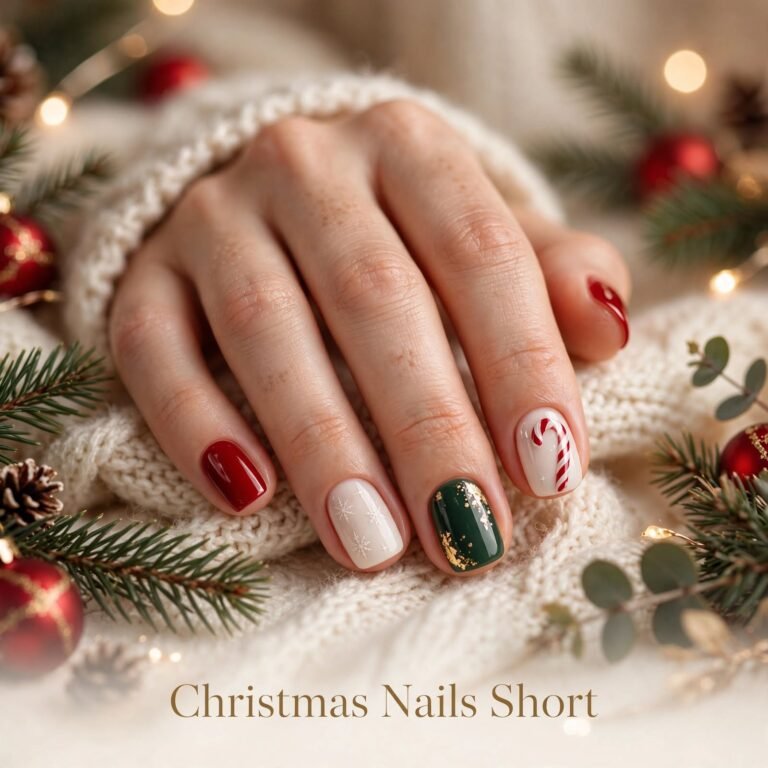
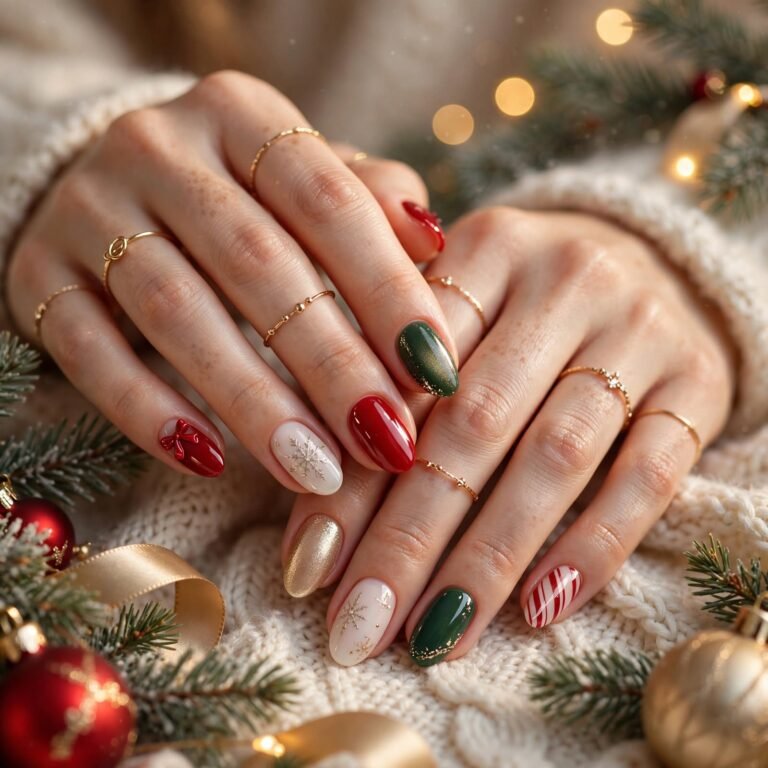
A single coat of red is the heart of simple christmas nails. It looks clean and bold without any extra work. Red goes with every outfit, from a cozy sweater to a party dress. You can pick a bright cherry or a deep wine shade. A glossy top coat makes it look polished and rich.
Who it suits best: Everyone, especially beginners and people with short nails. It is also a great pick for work or school.
Styling tip: Slide the brush along the very tip of each nail. This seals the edge and helps the polish last longer.
2. Soft Snowflake Accent Nail: A Tiny Touch of Winter
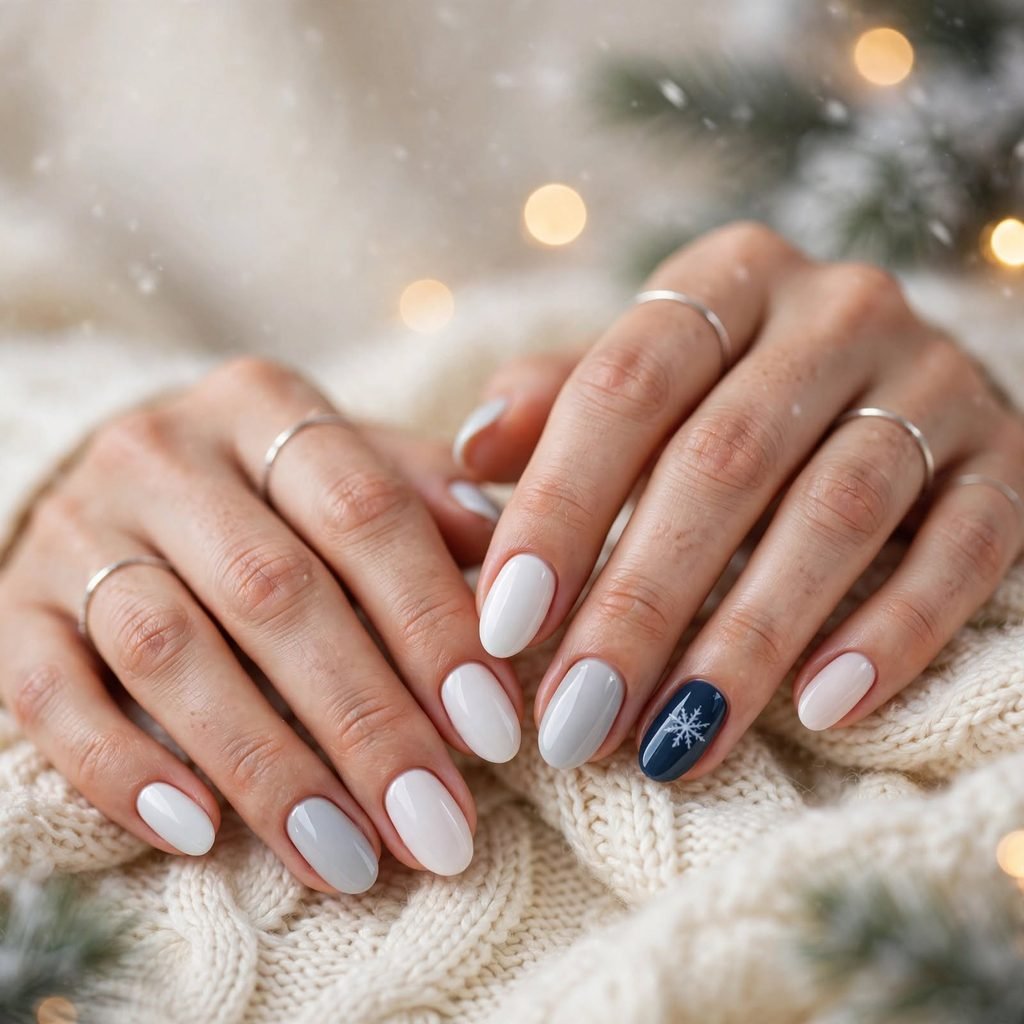
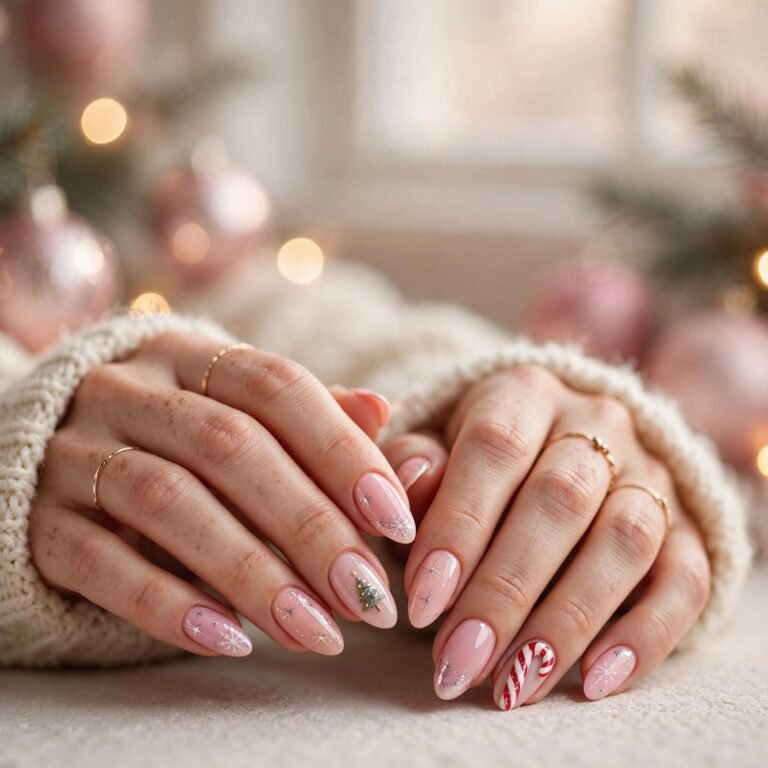
Paint all your nails in one calm color and add a tiny snowflake to one finger. This keeps the look simple but still festive. A navy, white, or soft gray base makes the snowflake stand out. You only need a thin brush or a dotting tool. Even a wobbly snowflake looks sweet, because real snowflakes are never perfect.
Who it suits best: People who want just a hint of holiday cheer. It looks lovely on short to medium nails.
Styling tip: Start with a small plus sign, then add short crossing lines. Finish with a dot in the center.
3. Candy Cane Stripe Accent: Playful and Bright
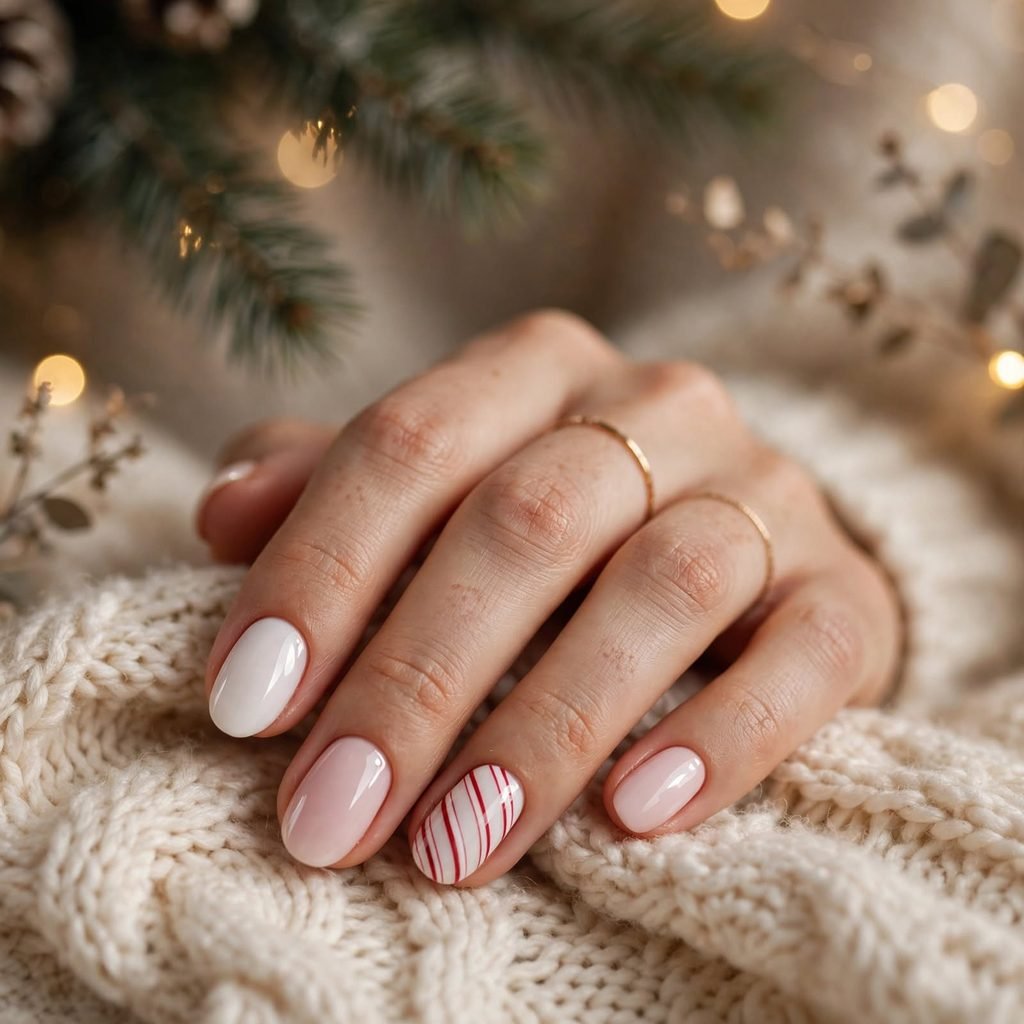
Pick one accent nail and paint thin red stripes on a white base. The look feels cheerful and a little bit playful. Keep the other nails plain white or pale pink so the stripes can shine. Diagonal lines give the best candy cane feel. If a line goes crooked, you can easily cover it and try again.
Who it suits best: Fun-loving people and anyone heading to a casual holiday party. It works on every nail shape.
Styling tip: Use thin nail tape or a striping brush to keep your lines even.
4. Deep Forest Green Glossy Nails: Rich and Elegant
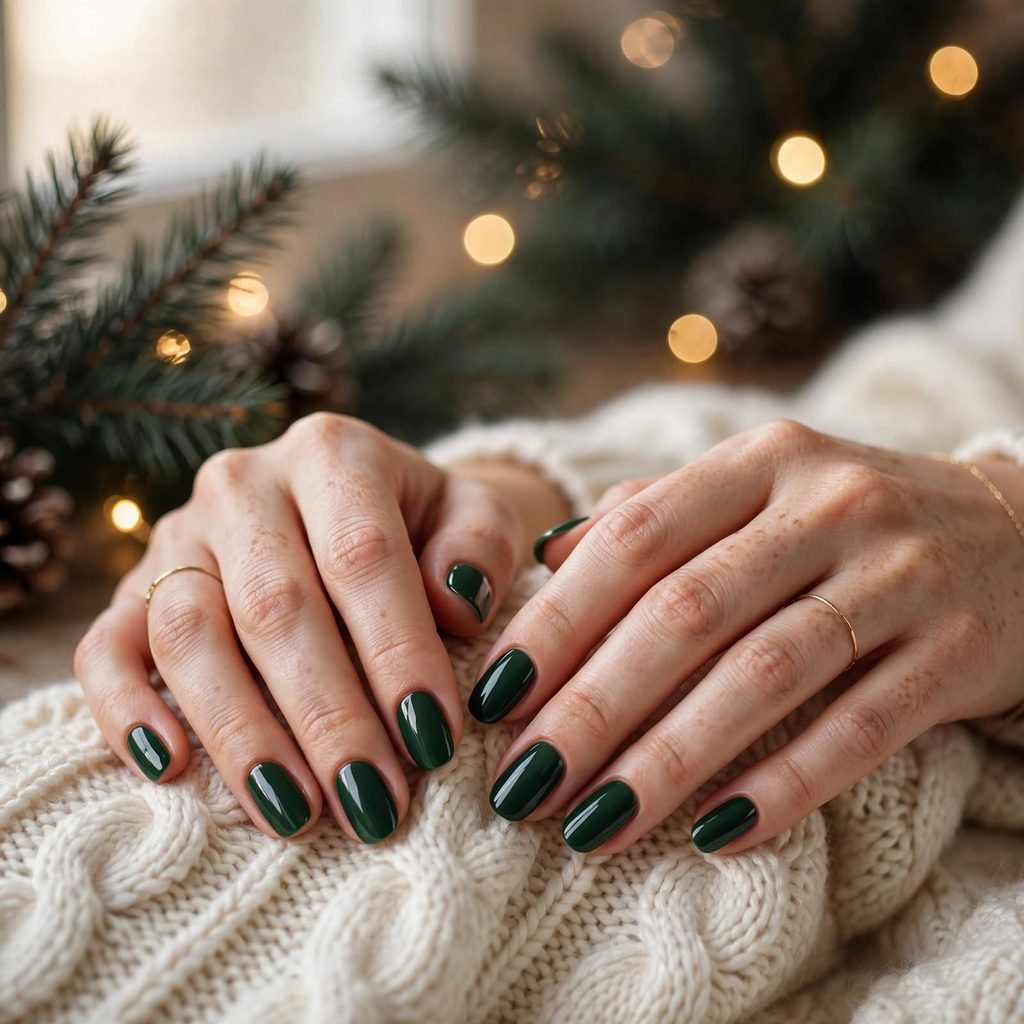
Dark green is moody, rich, and very classy. It reminds people of evergreen trees at Christmas. This shade looks expensive even with just two coats. It pairs beautifully with gold rings and other jewelry. It also hides small mistakes better than light colors do.
Who it suits best: Warm and olive skin tones, and anyone who likes a polished office look.
Styling tip: Apply thin coats. Thick dark polish can streak and take a long time to dry.
5. Red French Tips: A Fresh Twist on a Classic
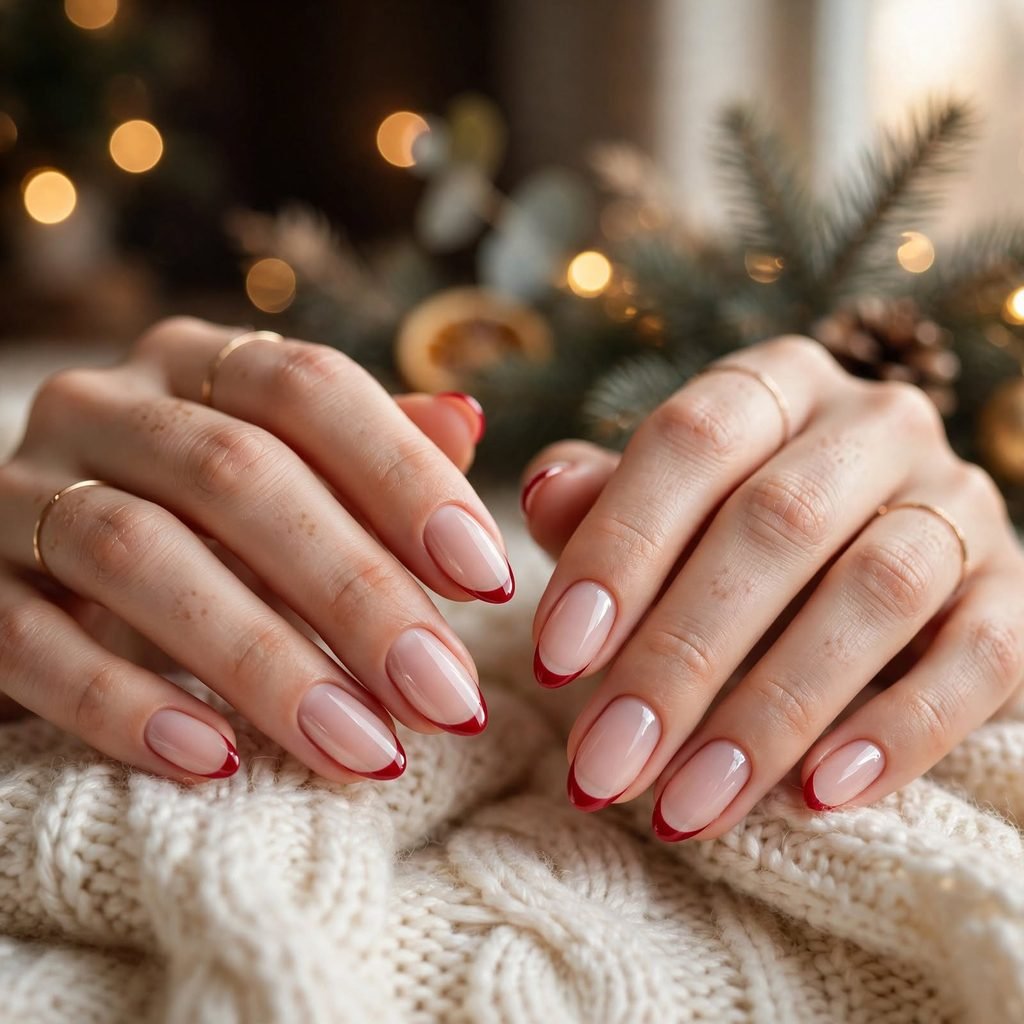
A French tip in red feels new and familiar at the same time. Start with a sheer pink or milky base. Then paint a thin red line across the tips of your nails. The result looks neat, clean, and a little bit retro. The smooth curve of the line is what makes it look professional.
Who it suits best: Medium to long nails, especially square or almond shapes.
Styling tip: Rest your hand on a table while you paint. A steady hand makes a much cleaner line.
6. Gold Glitter Gradient: Twinkle Like Holiday Lights

Gold glitter that fades from the tips toward the middle looks like twinkling lights. The sparkle is heavy at the tip and soft near the center. This design works over a nude, red, or green base. All you need is a makeup sponge and a glitter polish. It feels glam but only takes a few minutes.
Who it suits best: Party lovers and anyone who wants a little sparkle. It looks great on long nails.
Styling tip: Dab the sponge onto your nail. Do not swipe, or the glitter will smear.
7. Milky White Snowy Nails: Calm and Clean
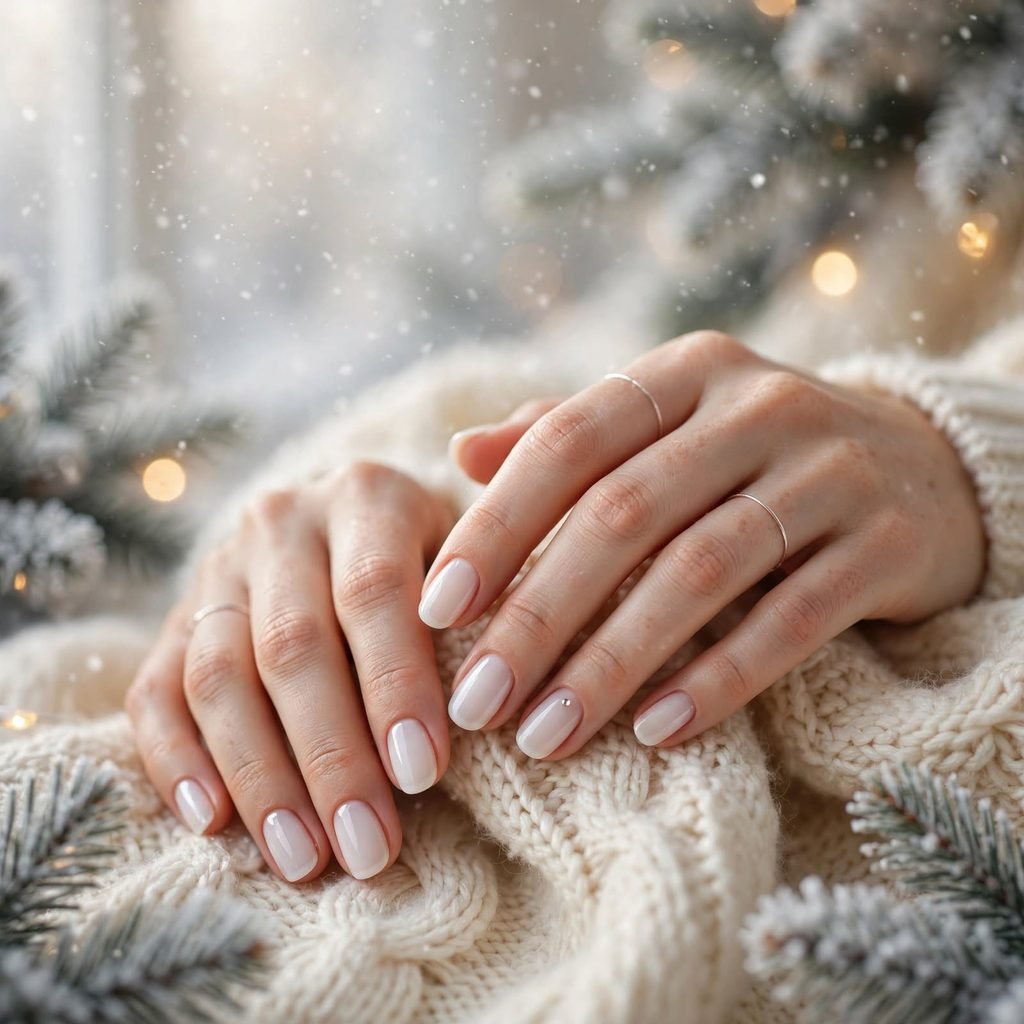
A sheer, milky white gives your nails a soft, snowy look. It feels calm and fresh, like a quiet winter morning. Layer two or three thin coats until the color looks creamy. You can add one small silver dot if you want a little extra. This shade goes with every outfit you own.
Who it suits best: Minimalists and people with short nails. It looks especially nice on cool skin tones.
Styling tip: Keep each coat very thin. Thick white polish can look streaky.
8. Tiny Holly Berry Dots: Sweet and Subtle
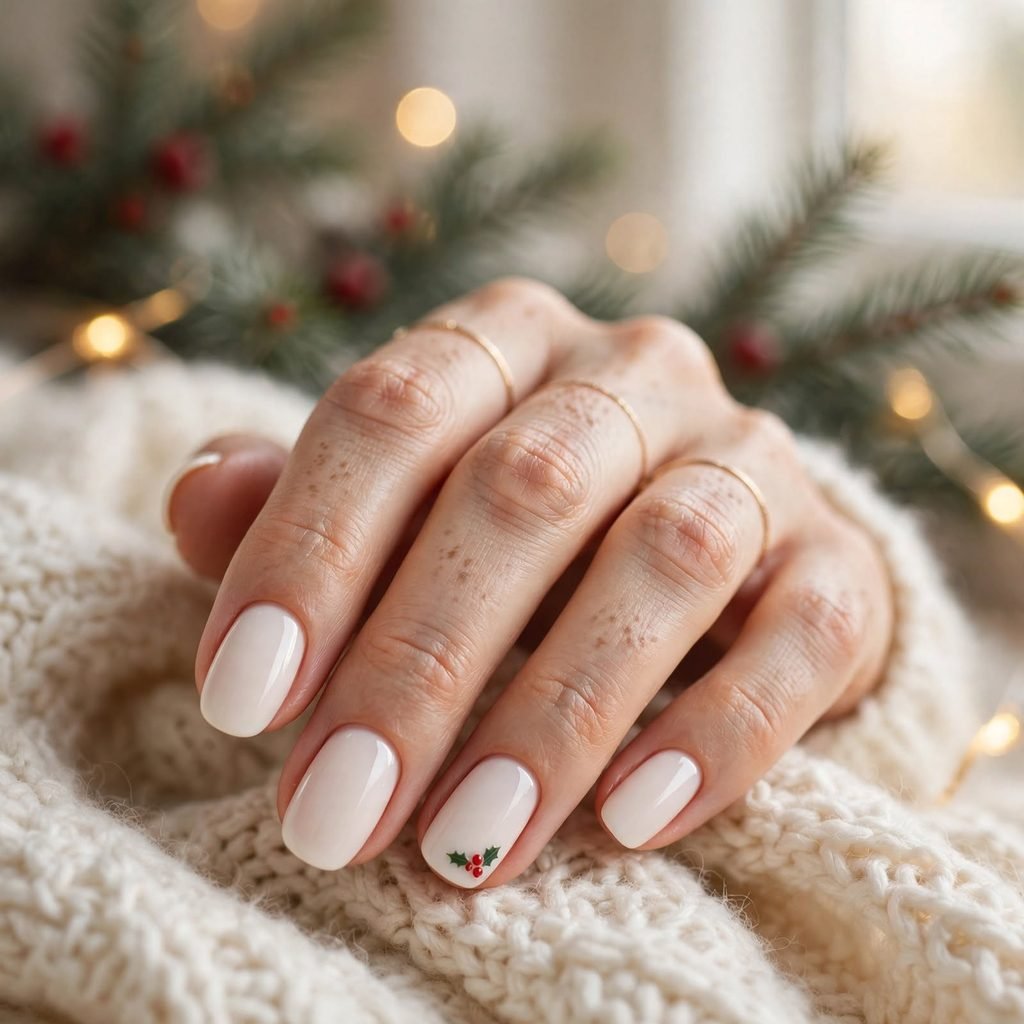
Holly berries are just three small red dots with two green leaves. A dotting tool makes them easy to draw. Place them near the cuticle or at the corner of one nail. A cream or white base makes the colors pop. Dots are far easier than drawing detailed pictures, so this one is great for beginners.
Who it suits best: Beginners and anyone who loves cute little details.
Styling tip: Make each leaf with two small teardrop strokes that meet at a point.
9. Cozy Red and Green Plaid Accent: Cabin Vibes
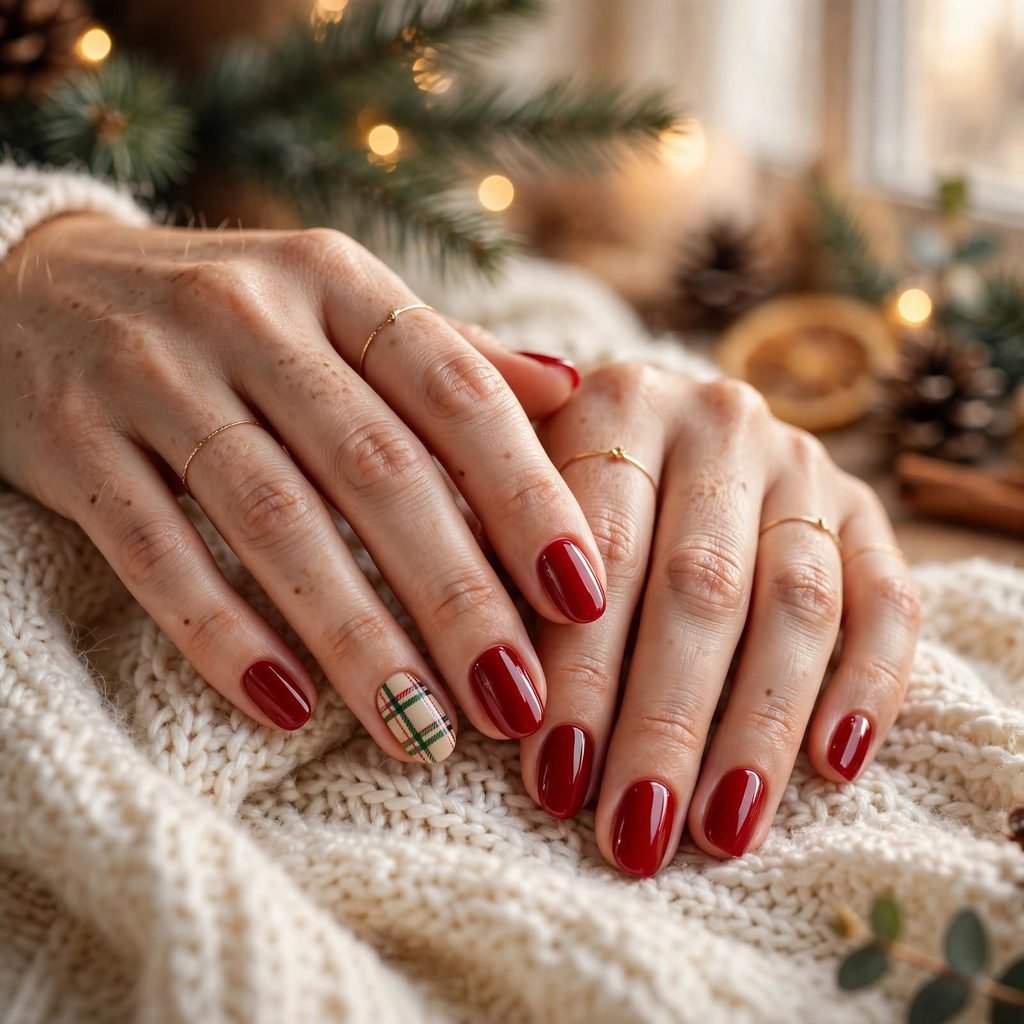
Plaid instantly says “cozy cabin” and warm blankets. Paint one accent nail with crossing lines in red, green, and black. Keep the other nails a solid red or black so the plaid stands out. Thin lines are the secret to a neat look. It takes a little patience, but the result is worth it.
Who it suits best: Fans of cozy style and people with medium-length nails.
Styling tip: Draw the long lines first. Then add the shorter lines across them.
10. Icy Blue Winter Frost: A Cool Alternative
Pale icy blue looks like frost on a window. It is a calm choice if you want something different from red and green. The color feels fresh, light, and a little bit magical. Add a touch of silver shimmer if you want some sparkle. It still counts as one of the simplest christmas nails you can wear.
Who it suits best: Cool skin tones and anyone who likes a non-traditional holiday color.
Styling tip: Finish with a shimmery top coat for a frosty glow.
11. Silver Shimmer Ornament Nails: Shiny and Glam
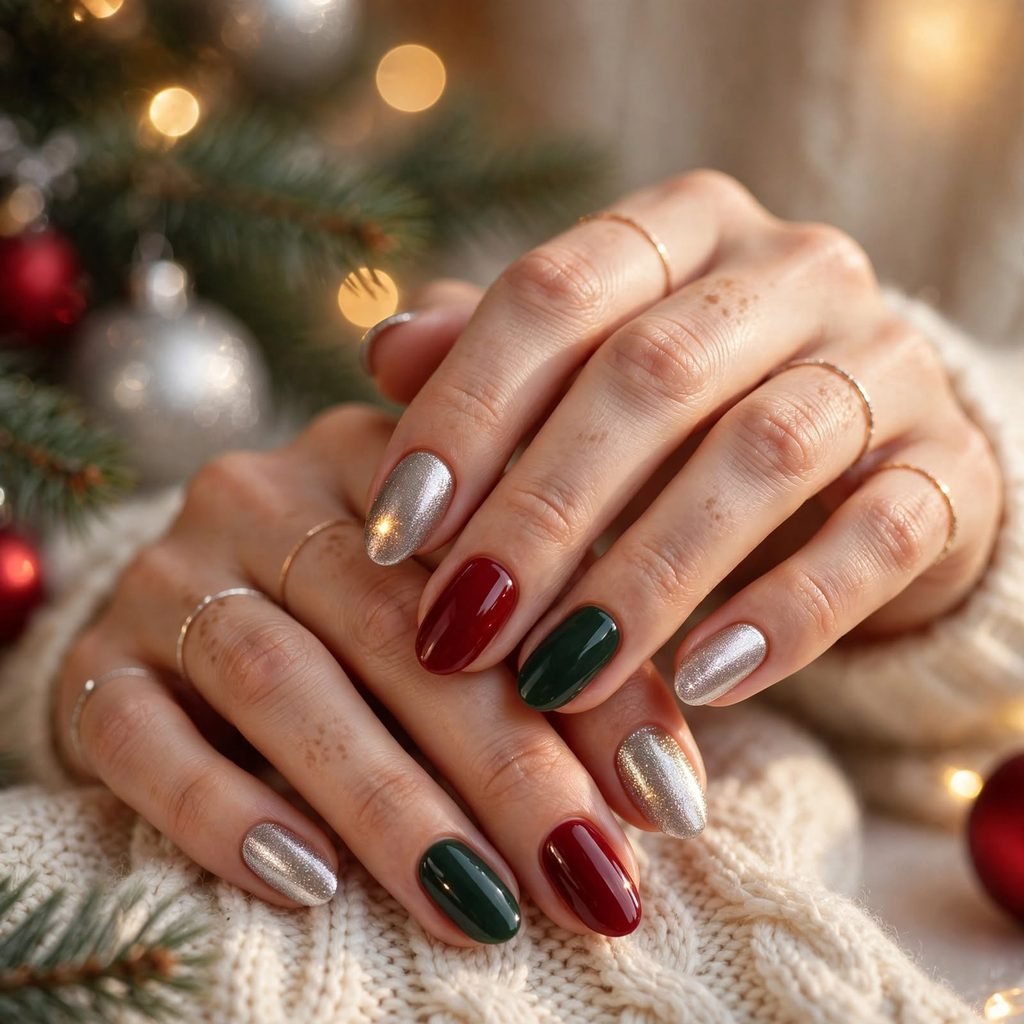
Silver shimmer looks just like shiny ornaments on a tree. Use a metallic or glittery silver polish for the best effect. Try pairing it with deep red or green on a couple of fingers. The light bounces off the shimmer, so your hands look bright in photos. It is simple, but it still feels dressed up.
Who it suits best: Glam lovers and anyone heading to an evening event.
Styling tip: Alternate silver nails with solid-color nails to keep the look balanced.
<a id=”idea-12″></a>
12. Velvet Burgundy Nails: Soft and Luxurious
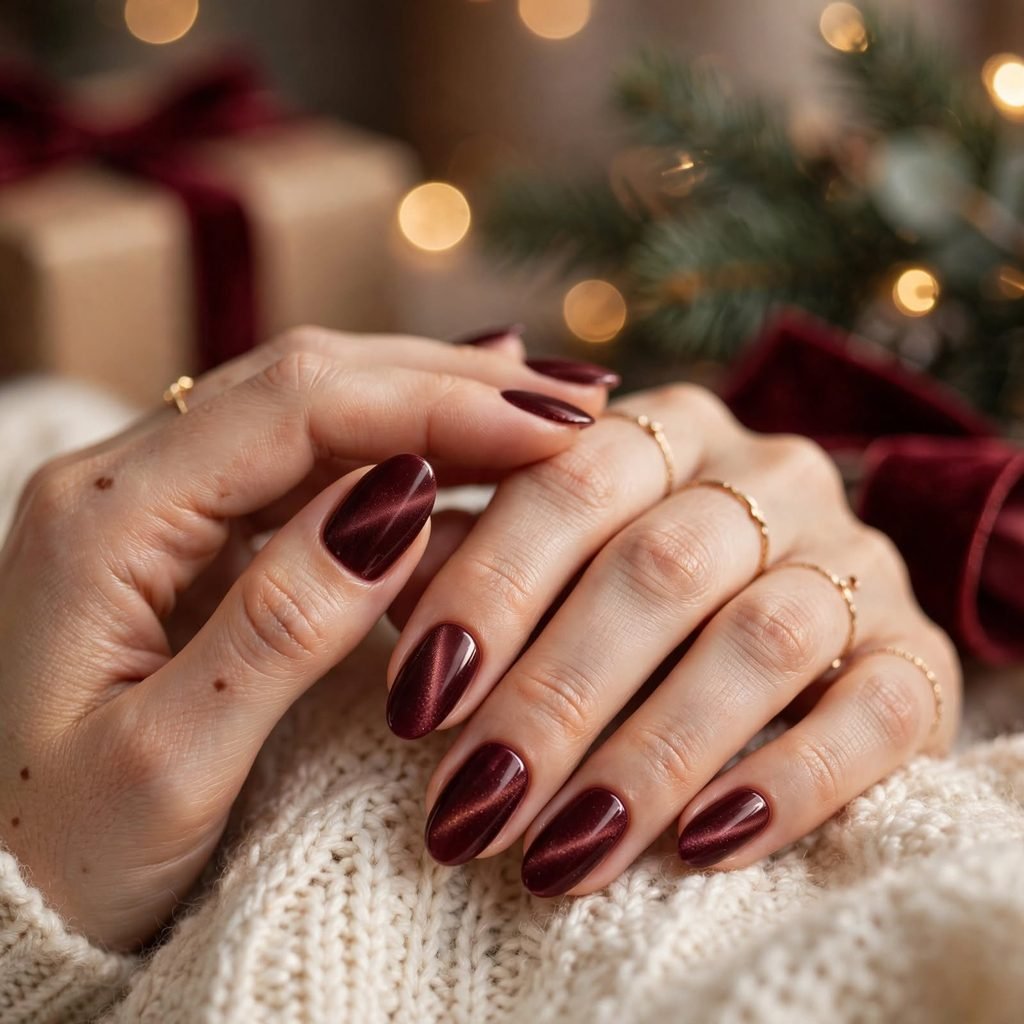
Burgundy has a deep, cozy feel, like a velvet ribbon on a gift. Some people use magnetic polish to get a soft velvet shine. If you do not have that, a creamy burgundy polish still looks lovely. This shade is great if bright red feels too loud for you. It also looks stunning with gold jewelry.
Who it suits best: Almond and oval nails, medium to deep skin tones, and formal events.
Styling tip: If you use magnetic polish, hold the magnet steady for a few seconds before the polish dries.
13. Cute Santa Hat Accent Nail: Fun for Photos
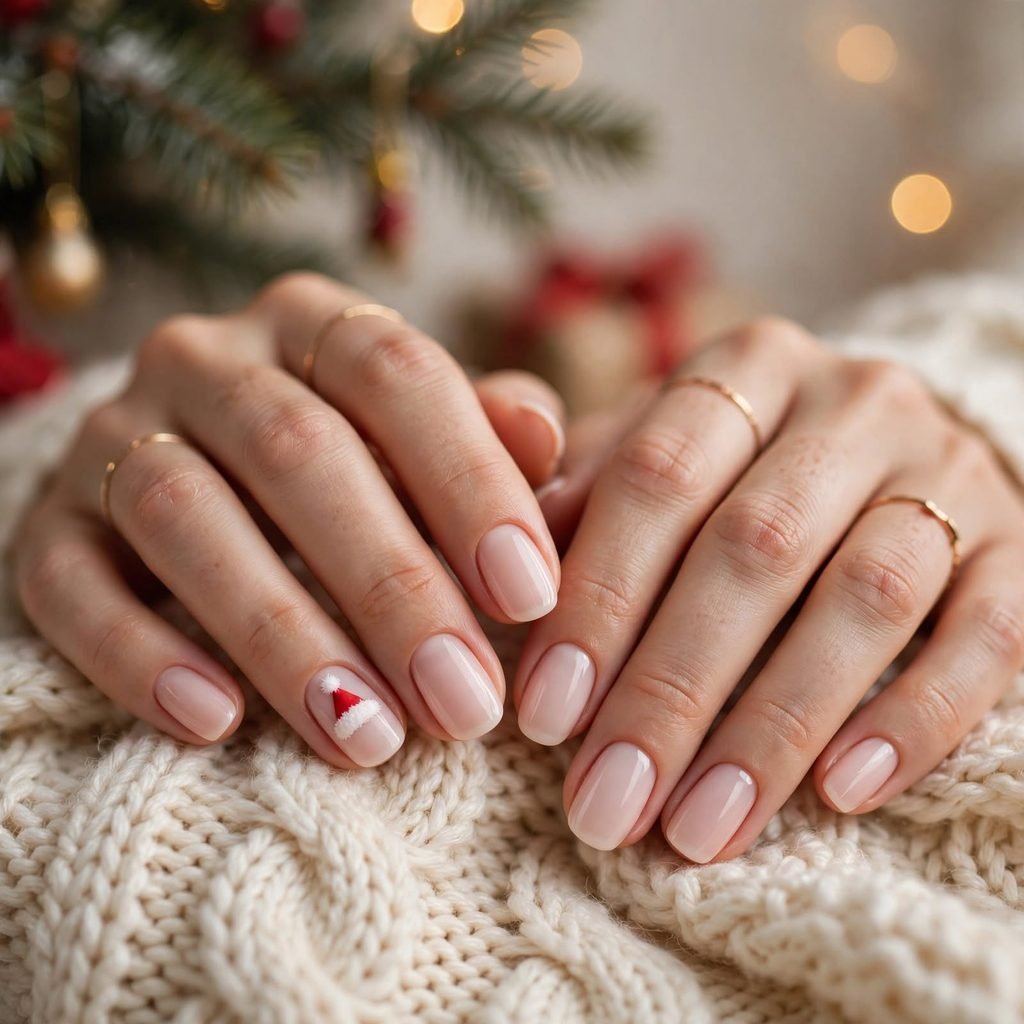
This design turns one nail into a tiny Santa hat. Paint the tip red, add a white band, and finish with a white dot for the pom-pom. It is playful, and people love to notice it. Keep your other nails plain so the hat gets all the attention. It looks adorable in holiday photos and on greeting cards.
Who it suits best: Kids, teens, and anyone going to a fun holiday party.
Styling tip: Paint the red shape first, then the white band, and add the pom-pom last.
14. Nude Nails with Gold Foil Flecks: Soft Sparkle
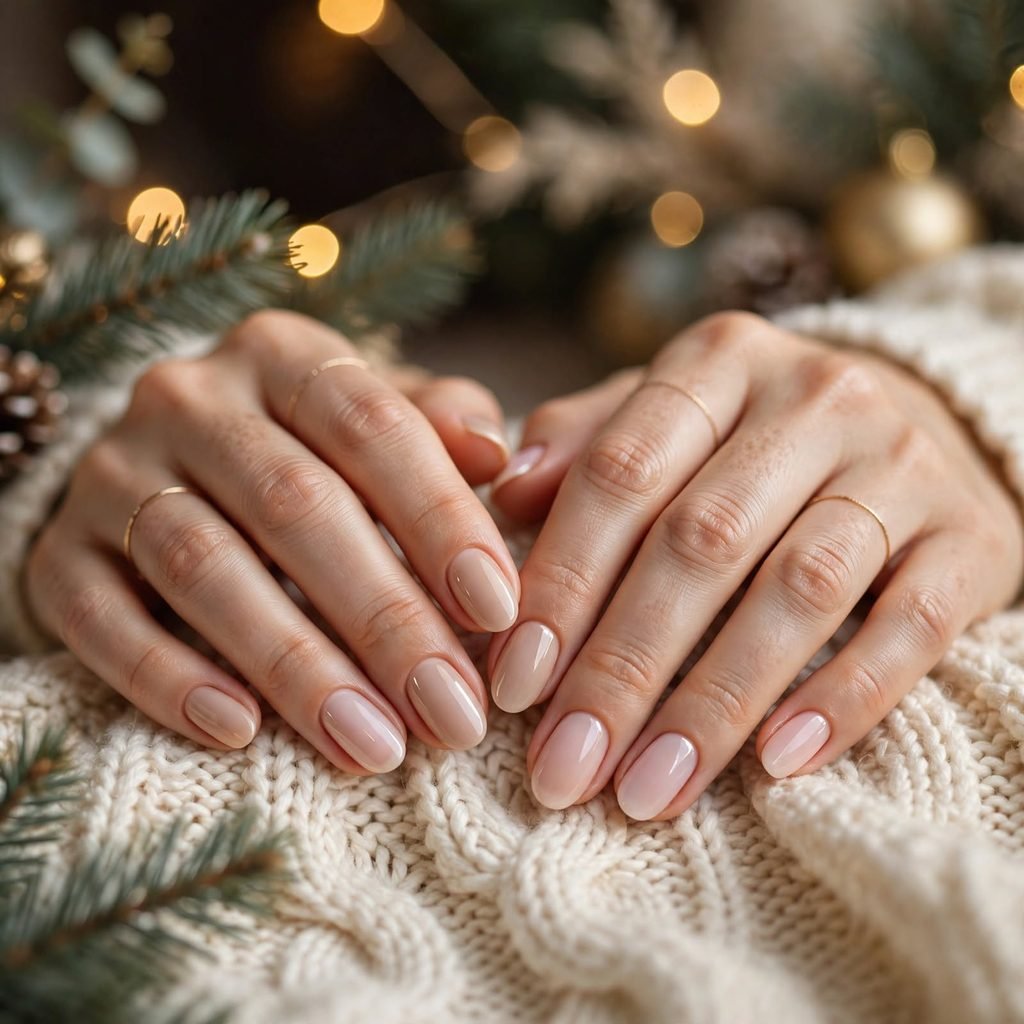
A nude base with tiny gold flecks looks like gentle sparkle. Foil flecks are thin, shiny bits that stick to tacky polish. This look is light and subtle, so it is perfect if you do not like bright colors. It matches every outfit and fits almost any setting. It also takes just a few minutes to finish.
Who it suits best: Office workers and anyone who loves a natural, quiet look.
Styling tip: Dab the flecks onto wet polish with a small brush, then seal them with a top coat.
15. Mix-and-Match Christmas Color Nails: Playful and Easy
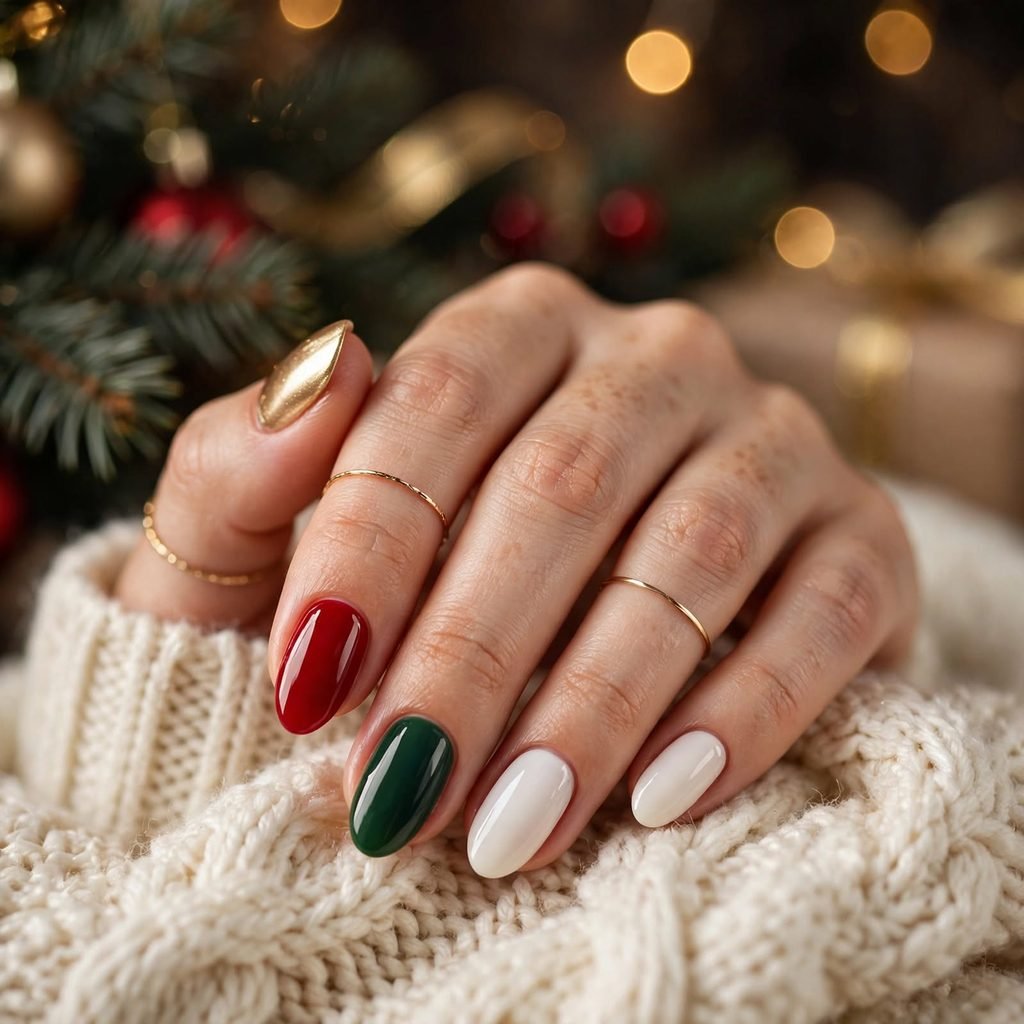
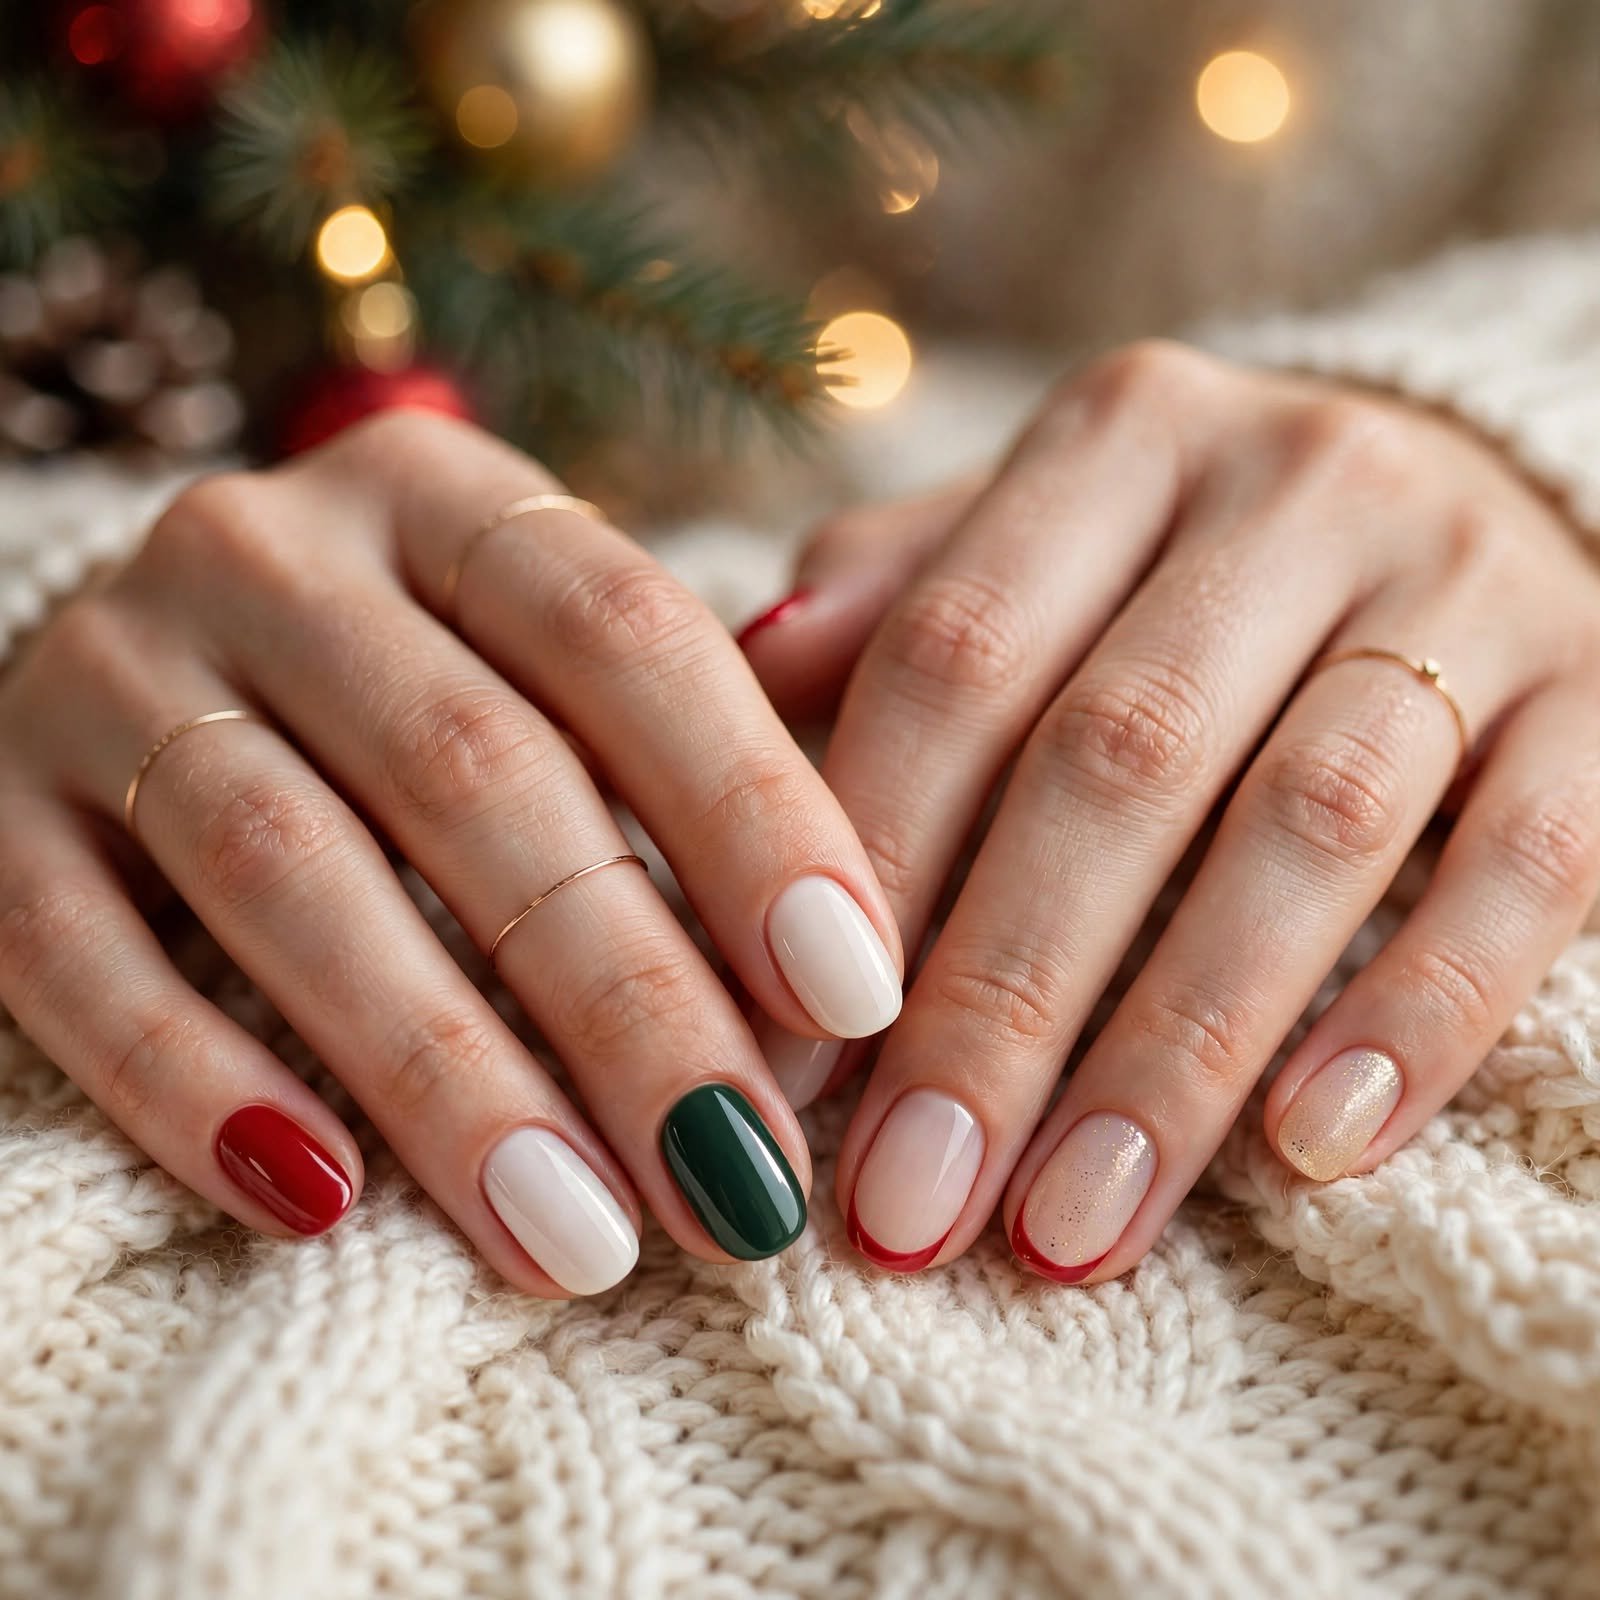
Paint each nail a different color from your holiday set, like red, green, white, and gold. You do not need to match anything perfectly. The look feels playful and balanced. It is easy because there are no designs to draw. You can use polishes you already own.
Who it suits best: Playful people and total beginners.
Styling tip: Keep all the shades the same finish, like all creamy or all shiny, so the set looks neat.
How to Do This at Home
You can do almost every one of these simple christmas nails with just a few basic tools. You will need a nail file, a cuticle pusher, a clear base coat, your polish colors, and a top coat. A thin brush and a dotting tool are helpful for the small designs. A makeup sponge helps with gradients and glitter. Take your time, and do not worry if the first try is not perfect.
- Remove old polish and wash your hands with soap and water.
- File your nails into your favorite shape and gently push back your cuticles.
- Wipe each nail with a little rubbing alcohol on a cotton pad to remove oil.
- Apply one thin coat of clear base coat and let it dry for about a minute.
- Paint your main color in two thin coats, waiting a minute or two between them.
- Add your design, like dots, stripes, or glitter, using a thin brush or dotting tool.
- Let the design dry fully, then apply a generous layer of top coat.
- Clean up the edges around your skin with a small brush dipped in nail polish remover.
Cost & Time
Doing your nails at home is the budget-friendly choice. A few polishes and a couple of simple tools usually cost about $5 to $25 in total. Most designs take 30 to 60 minutes, including drying time. Once you own the supplies, each new look costs almost nothing. Regular polish usually lasts about 5 to 7 days before it starts to chip.
A salon visit costs more but saves you effort. A regular polish manicure is often about $25 to $60. Gel manicures or nail art can run about $50 to $90 or more, depending on the design. A salon appointment usually takes 45 to 90 minutes. Gel polish can last two to three weeks, so it is a good choice if you want one look all through the holidays.
Care Tips
Good care helps your simple christmas nails stay shiny and fresh. Apply cuticle oil every day to keep your nails and skin healthy. Use hand cream often, because winter air can be very dry. Wear gloves when you wash dishes or clean, since hot water and soap can wear polish down. Add a fresh layer of top coat every two or three days to keep the shine.
Be gentle with your nails, too. Do not use your nails to open cans or peel stickers, because that can chip the polish and weaken the nail. Remove glitter and gel polish with the proper steps instead of scraping or peeling. Peeling can pull off layers of your natural nail and leave it thin and sore. Give your nails a short break between manicures if they start to feel weak.
<a id=”faq”></a>
frequently Asked Questions
How early should I start wearing Christmas nails?
Many people start in early to mid-November, when holiday music and decorations begin to appear. Starting in October is fine if you want to practice a design. You can also wear subtle shades like deep green or burgundy that work in fall and winter. That way, you will not feel too early. It is your holiday, so wear what makes you happy.
What are the easiest simple christmas nails for a beginner?
Classic red nails, mix-and-match colors, and tiny holly berry dots are the easiest choices. These looks use basic polish and very little skill. You do not need special tools for most of them. A dotting tool or a toothpick is enough for the small details. Start with one of these and work up to stripes or plaid later.
Can I do Christmas nails on short nails?
Yes, you can, and they often look wonderful. Short nails suit solid colors, tiny dots, and thin accent lines. Avoid very large designs that need a lot of space. A neat, glossy finish makes short nails look polished. Many of the 15 ideas above work perfectly on short nails.
How do I make glitter easier to remove?
Apply a peel-off base coat first, if you have one, and then add your glitter polish on top. This helps the glitter come off in one piece. Another option is to soak a cotton pad in remover and press it on each nail for about 10 seconds. Then wipe gently from the cuticle to the tip. Never scrape at the glitter, because that can hurt your nails.
What colors go well with Christmas besides red and green?
Gold, silver, white, cream, and icy blue all feel very festive. Burgundy and navy are also lovely and a little more modern. Nude shades with a touch of shimmer work well for a quiet look. Warm tones like brick red and rust can feel cozy and unique. You can mix any of these colors to find your own style.
How do I fix a smudge or bubble in my polish?
For a small smudge, wait until the polish is almost dry. Then dab a tiny bit of fresh polish on the spot and smooth it with a brush. For a bubble, let the nail dry fully, then press the area gently and add a thin new coat. Thin coats and slow drying help prevent most bubbles. A good top coat will hide small flaws and add shine.
Final Thoughts
If you want a simple look, try classic red, milky white, or a nude shade with gold flecks. If you feel glam, go for the gold glitter gradient, silver shimmer, or velvet burgundy. If you want something bold, pick candy cane stripes, red and green plaid, or the Santa hat accent. Every one of these simple christmas nails is easy to learn and fun to wear. You can mix a few ideas together or stick with just one.
Have fun with your holiday manicure, and do not stress about being perfect. A little color and a lot of joy are all you need. Take a moment for yourself, play your favorite Christmas songs, and enjoy the process. Happy painting, and merry Christmas!